Pomni (The Amazing Digital Circus) Cosplay
Hello everyone! In this post I'm gonna go into the process of how I made my Pomni cosplay. It took several months to complete, and while there are still some things I want to adjust/update, overall I am very happy with how it turned out!
I started planning at the beginning of this year, and I made a unique design choice-- I decided to use a mascot head instead of makeup for Pomni's head. I had never made a mascot head or even worked with EVA foam before, so this was a risk for sure. There are a couple reasons I decided to do this. One reason was that I'm not very confident in my makeup skills, especially to make myself look more feminine. The bigger reason was that I wanted to preserve the cartoon-y style and proportions from the show.
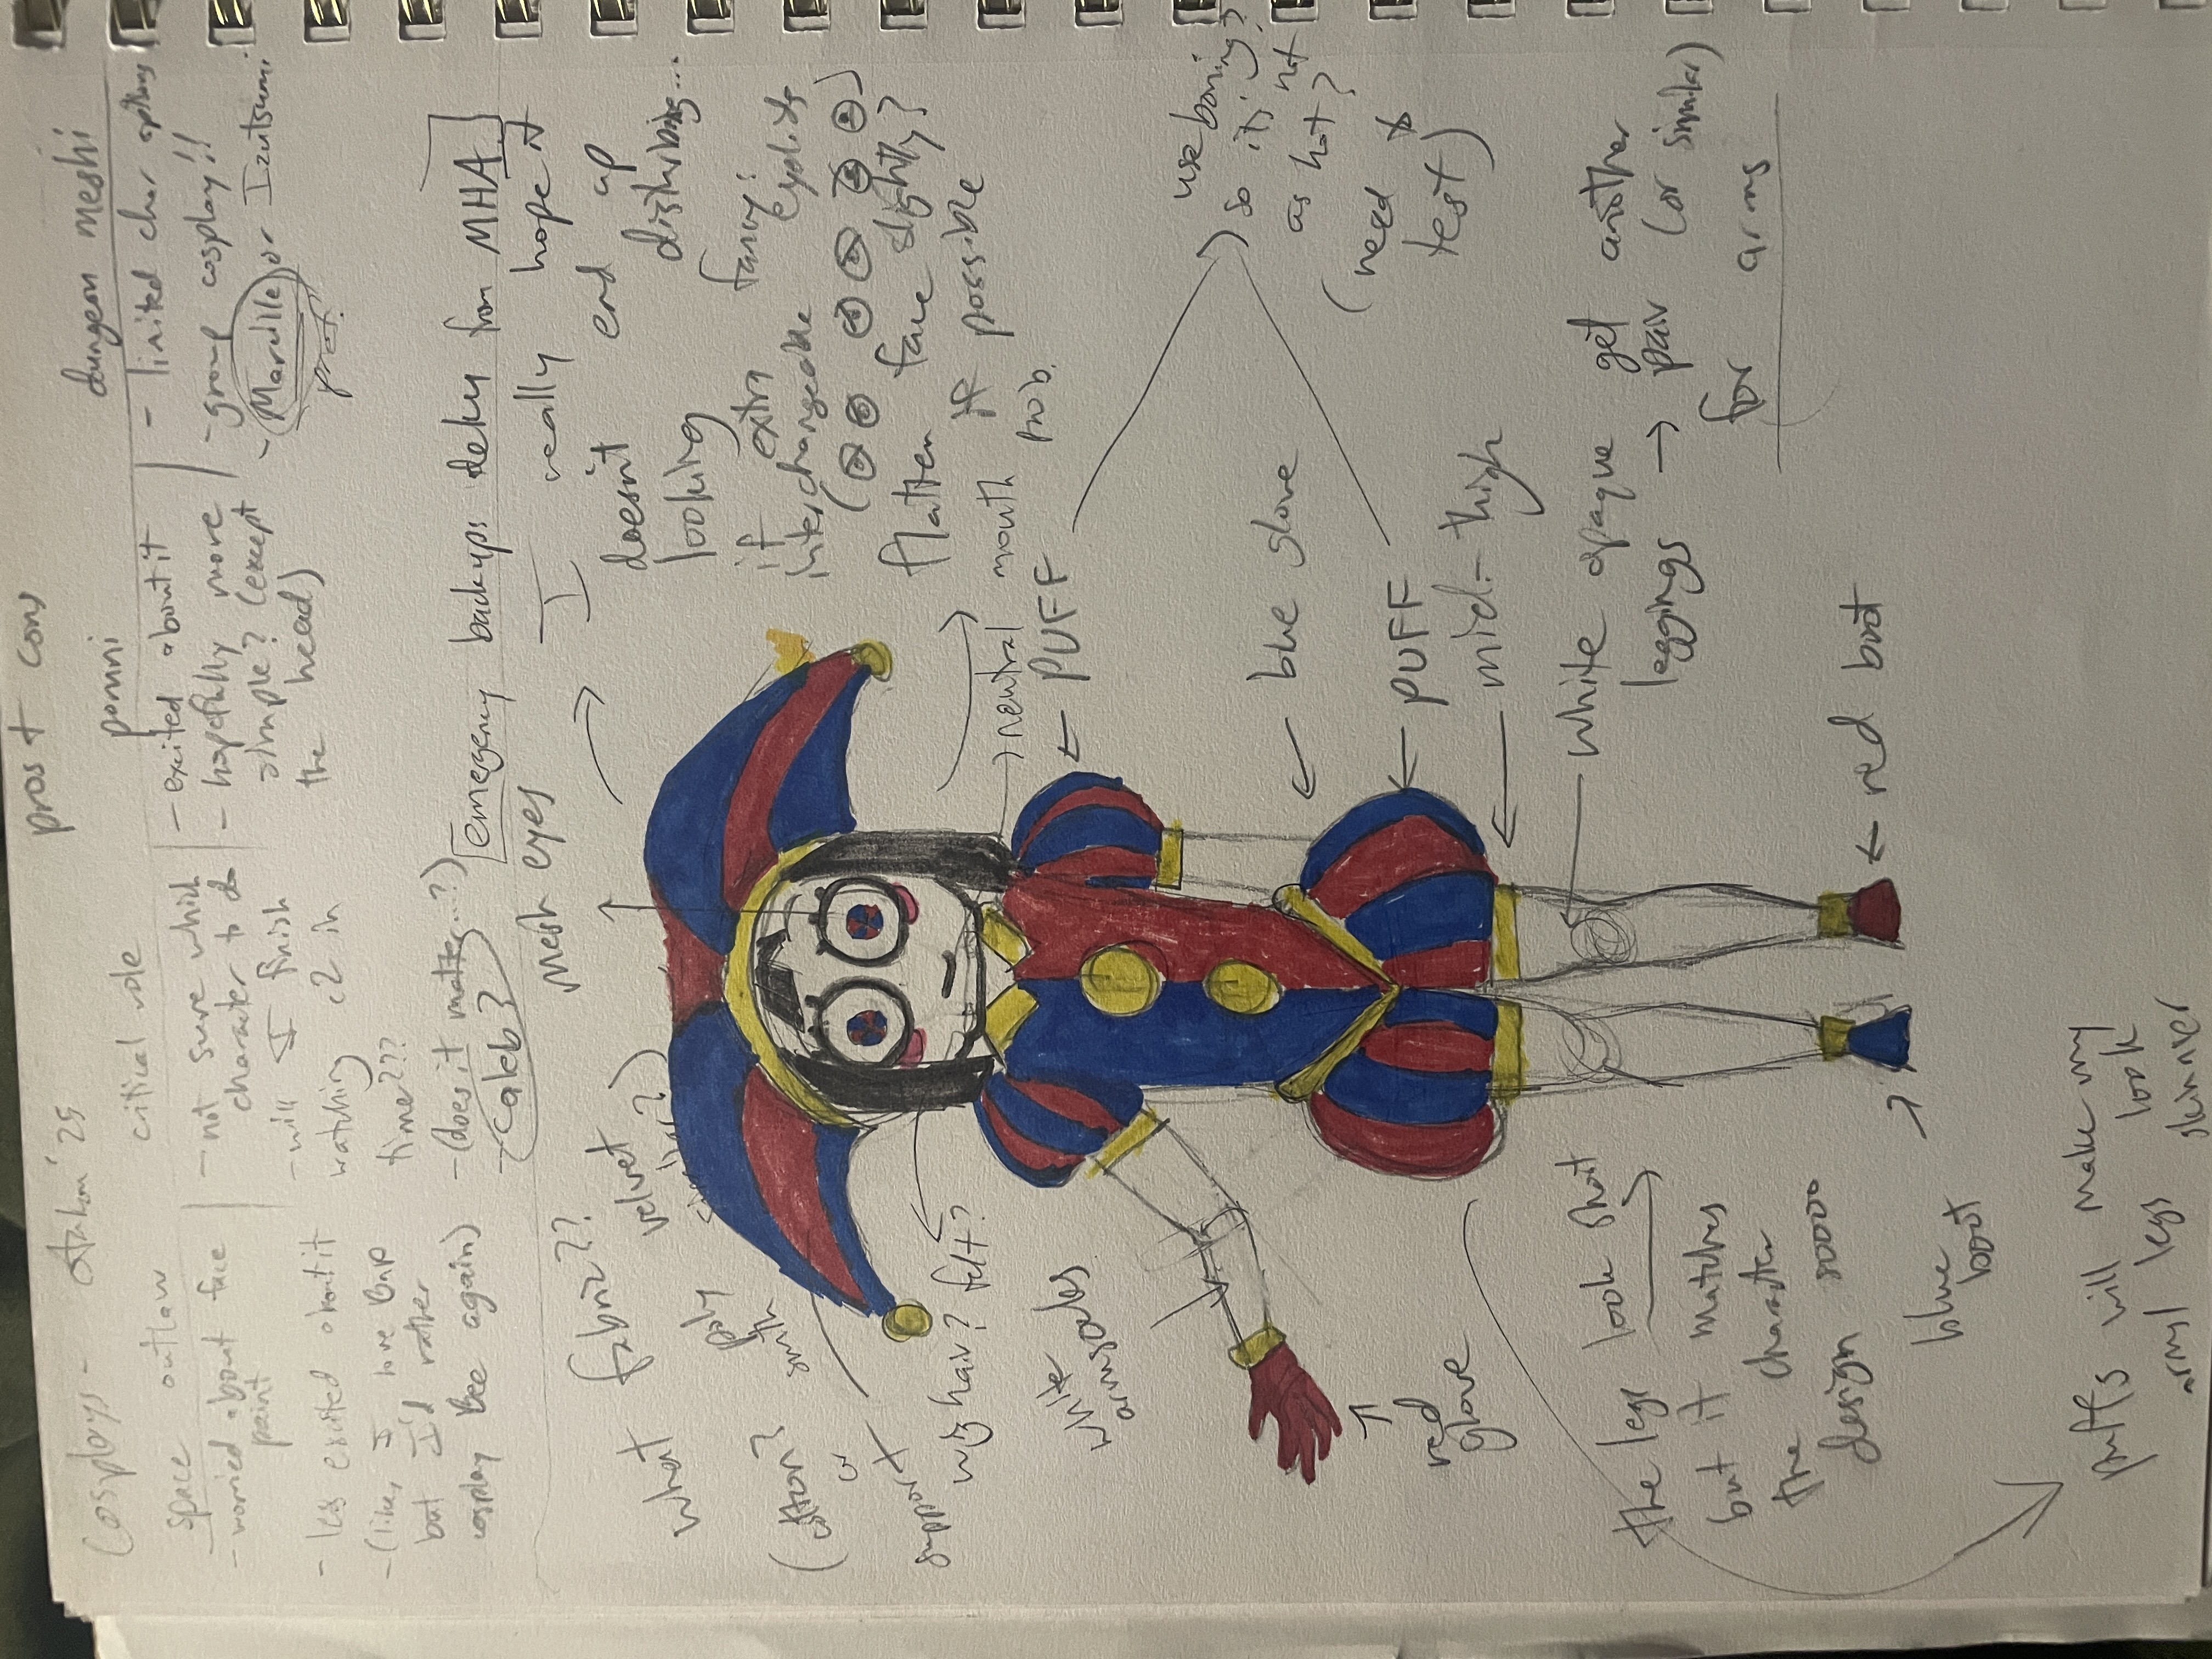
Above, you can see my initial sketch and planning for the cosplay. I try to identify all the parts that I'll need to make/buy, and start thinking about things like fabric choices and the structural design.
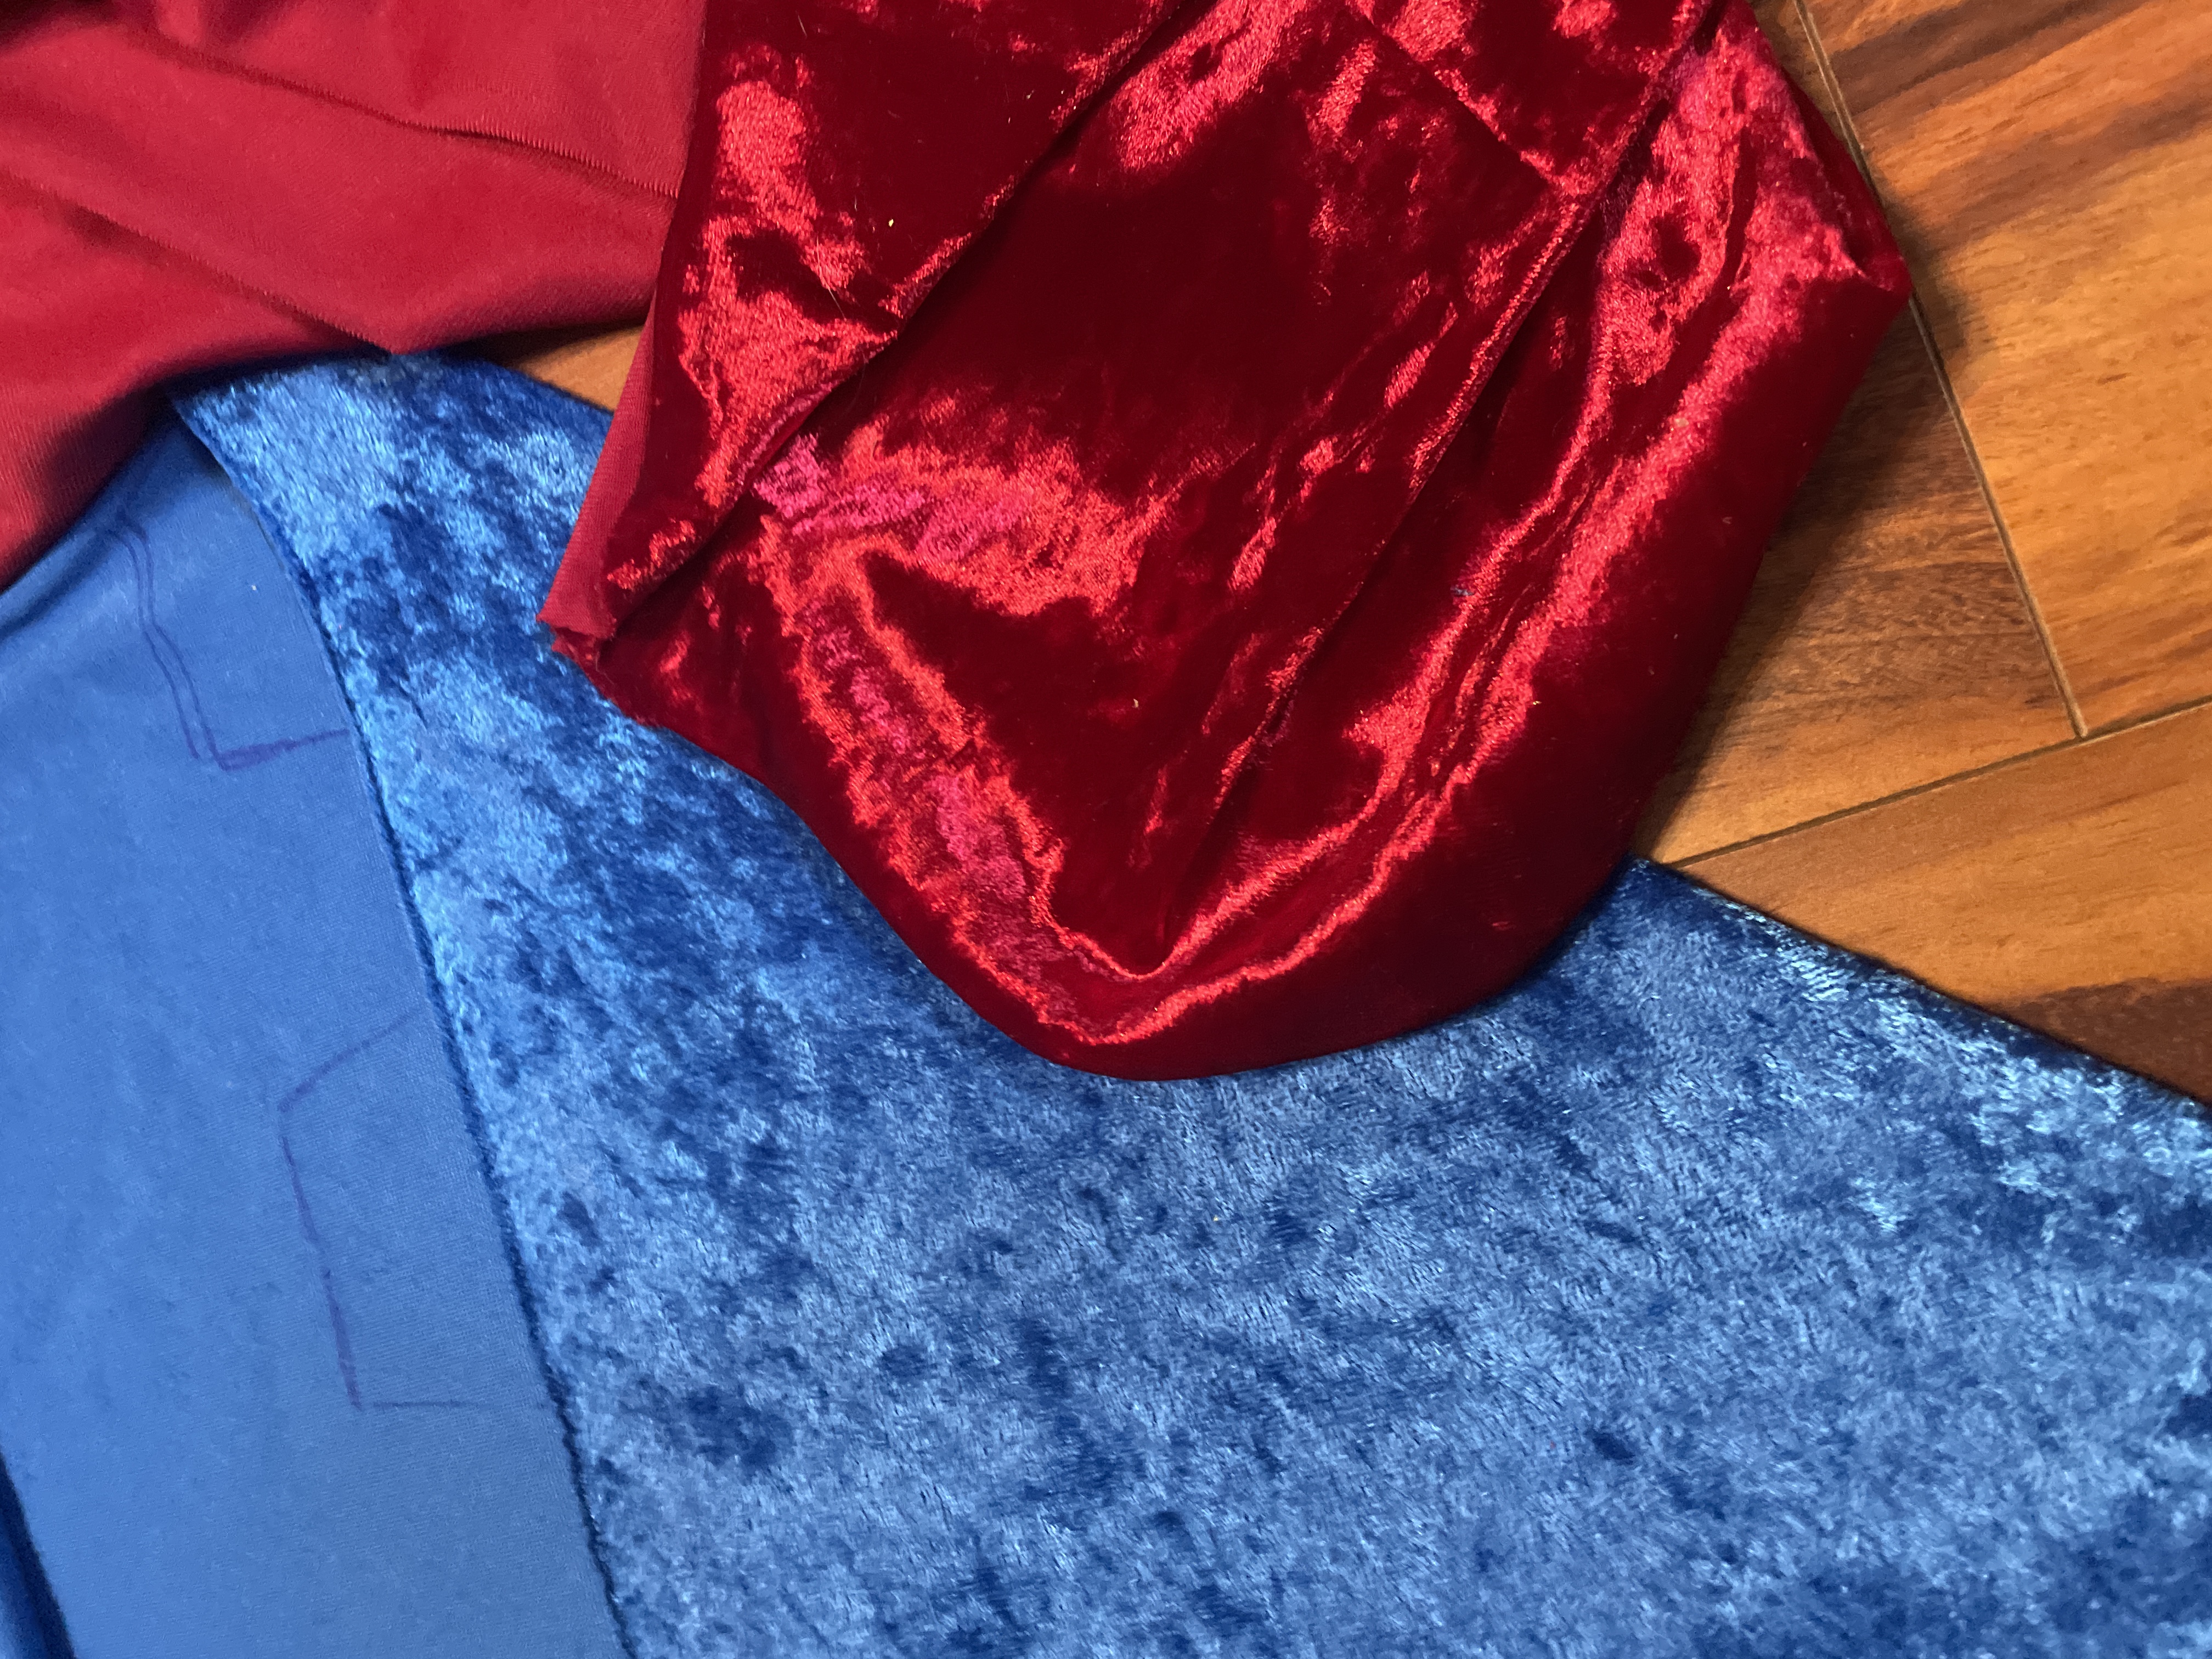
After that, I took a trip to Joann's (RIP) to check out their fabric. I ended up choosing a synthetic stretch velvet fabric-- it looks nice for the cosplay, plus the stretch helps with fit and comfort for a tight-fitting garment without having to get a super accurate pattern for my body. They didn't have a yellow velvet that I liked for the trim, and since I would only need a bit, I ended up buying some white velvet ribbon on sale and dying it yellow with Rit Dye. (In hindsight, I needed a lot more of the yellow trim than I anticipated, and wider pieces than the ribbon, so I wish I had gotten ~1yd of white velvet and dyed that instead of the ribbon. But oh well!). I only bought about 3 yards of each fabric, so I was also playing fabric chicken the whole time.
The Body

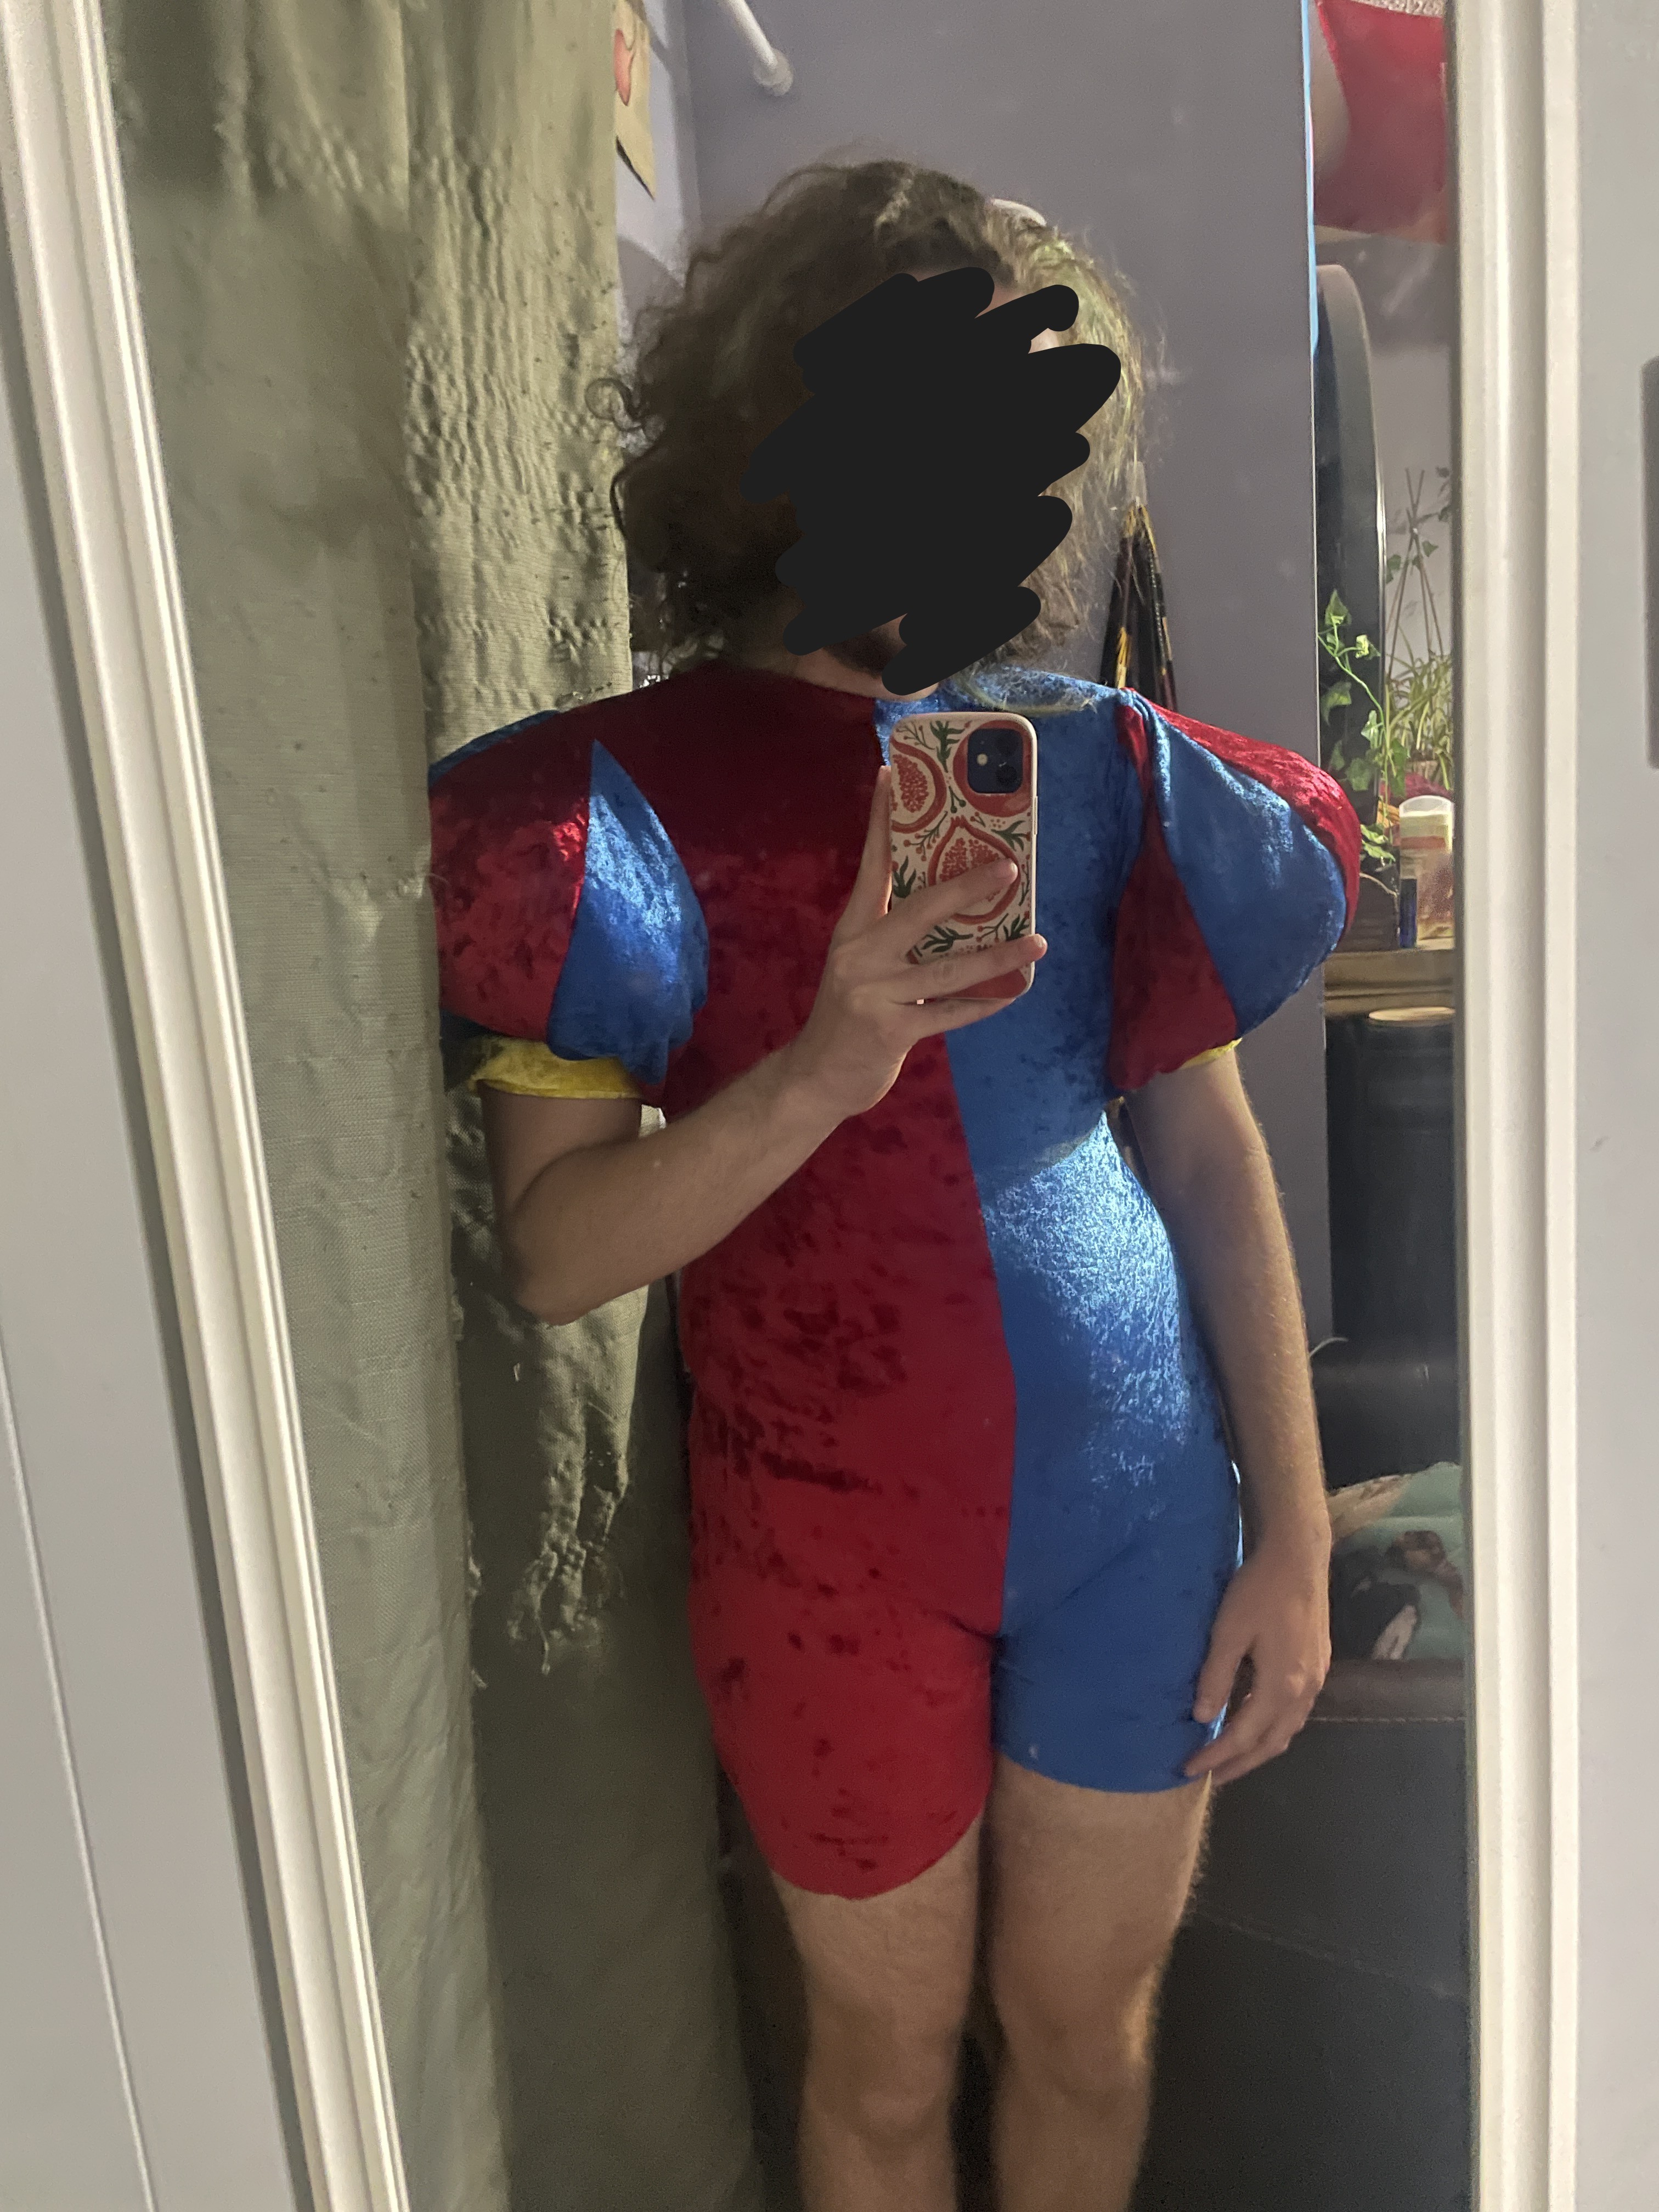
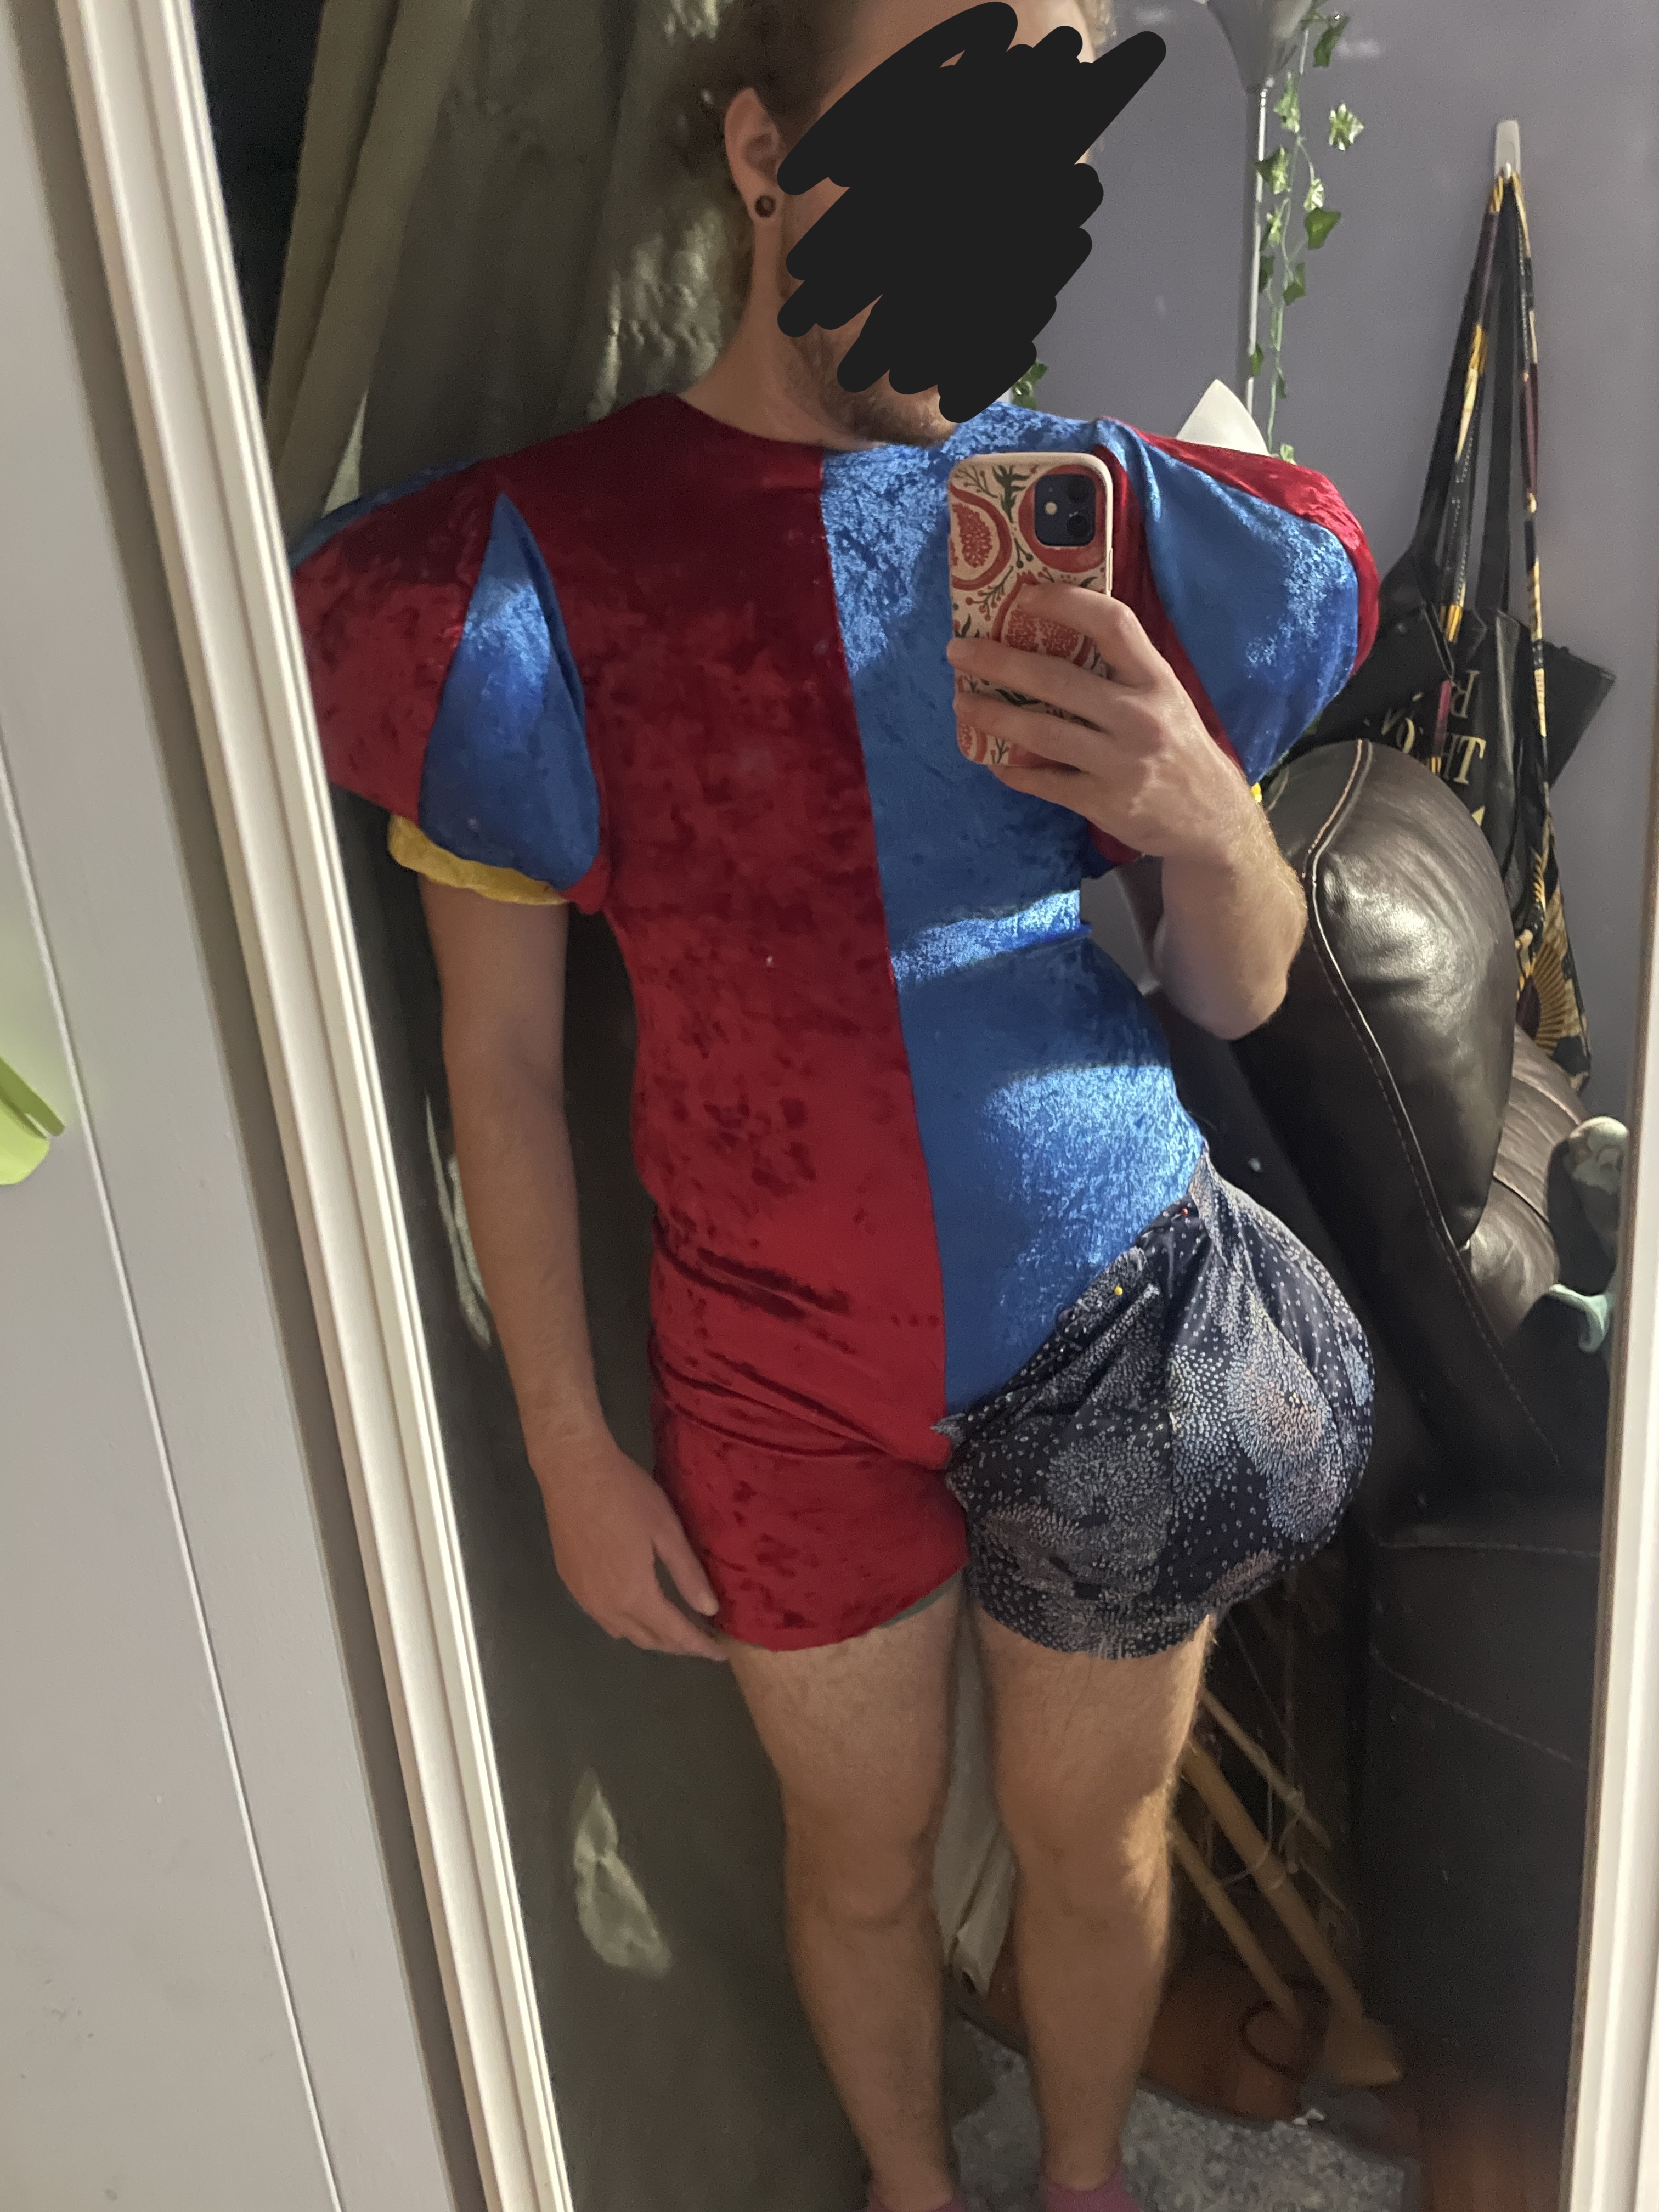
Once I got the fabric home, the first thing I did was make the basic bodysuit piece. For this, I copied a bodysuit I already owned and liked the fit of. I folded it in half and traced the front and back separately onto my brown craft paper to get the pattern pieces. I sewed the pieces together with an elastic thread (I used Coats & Clark Eloflex) and a zigzag stitch. When I tried the bodysuit on, it caused a severe wedgie, so I unpicked part of the crotch and added a gusset. This didn't entirely fix the wedgie-ing, but by the time I was finished with the cosplay it either fixed itself or I got used to it.
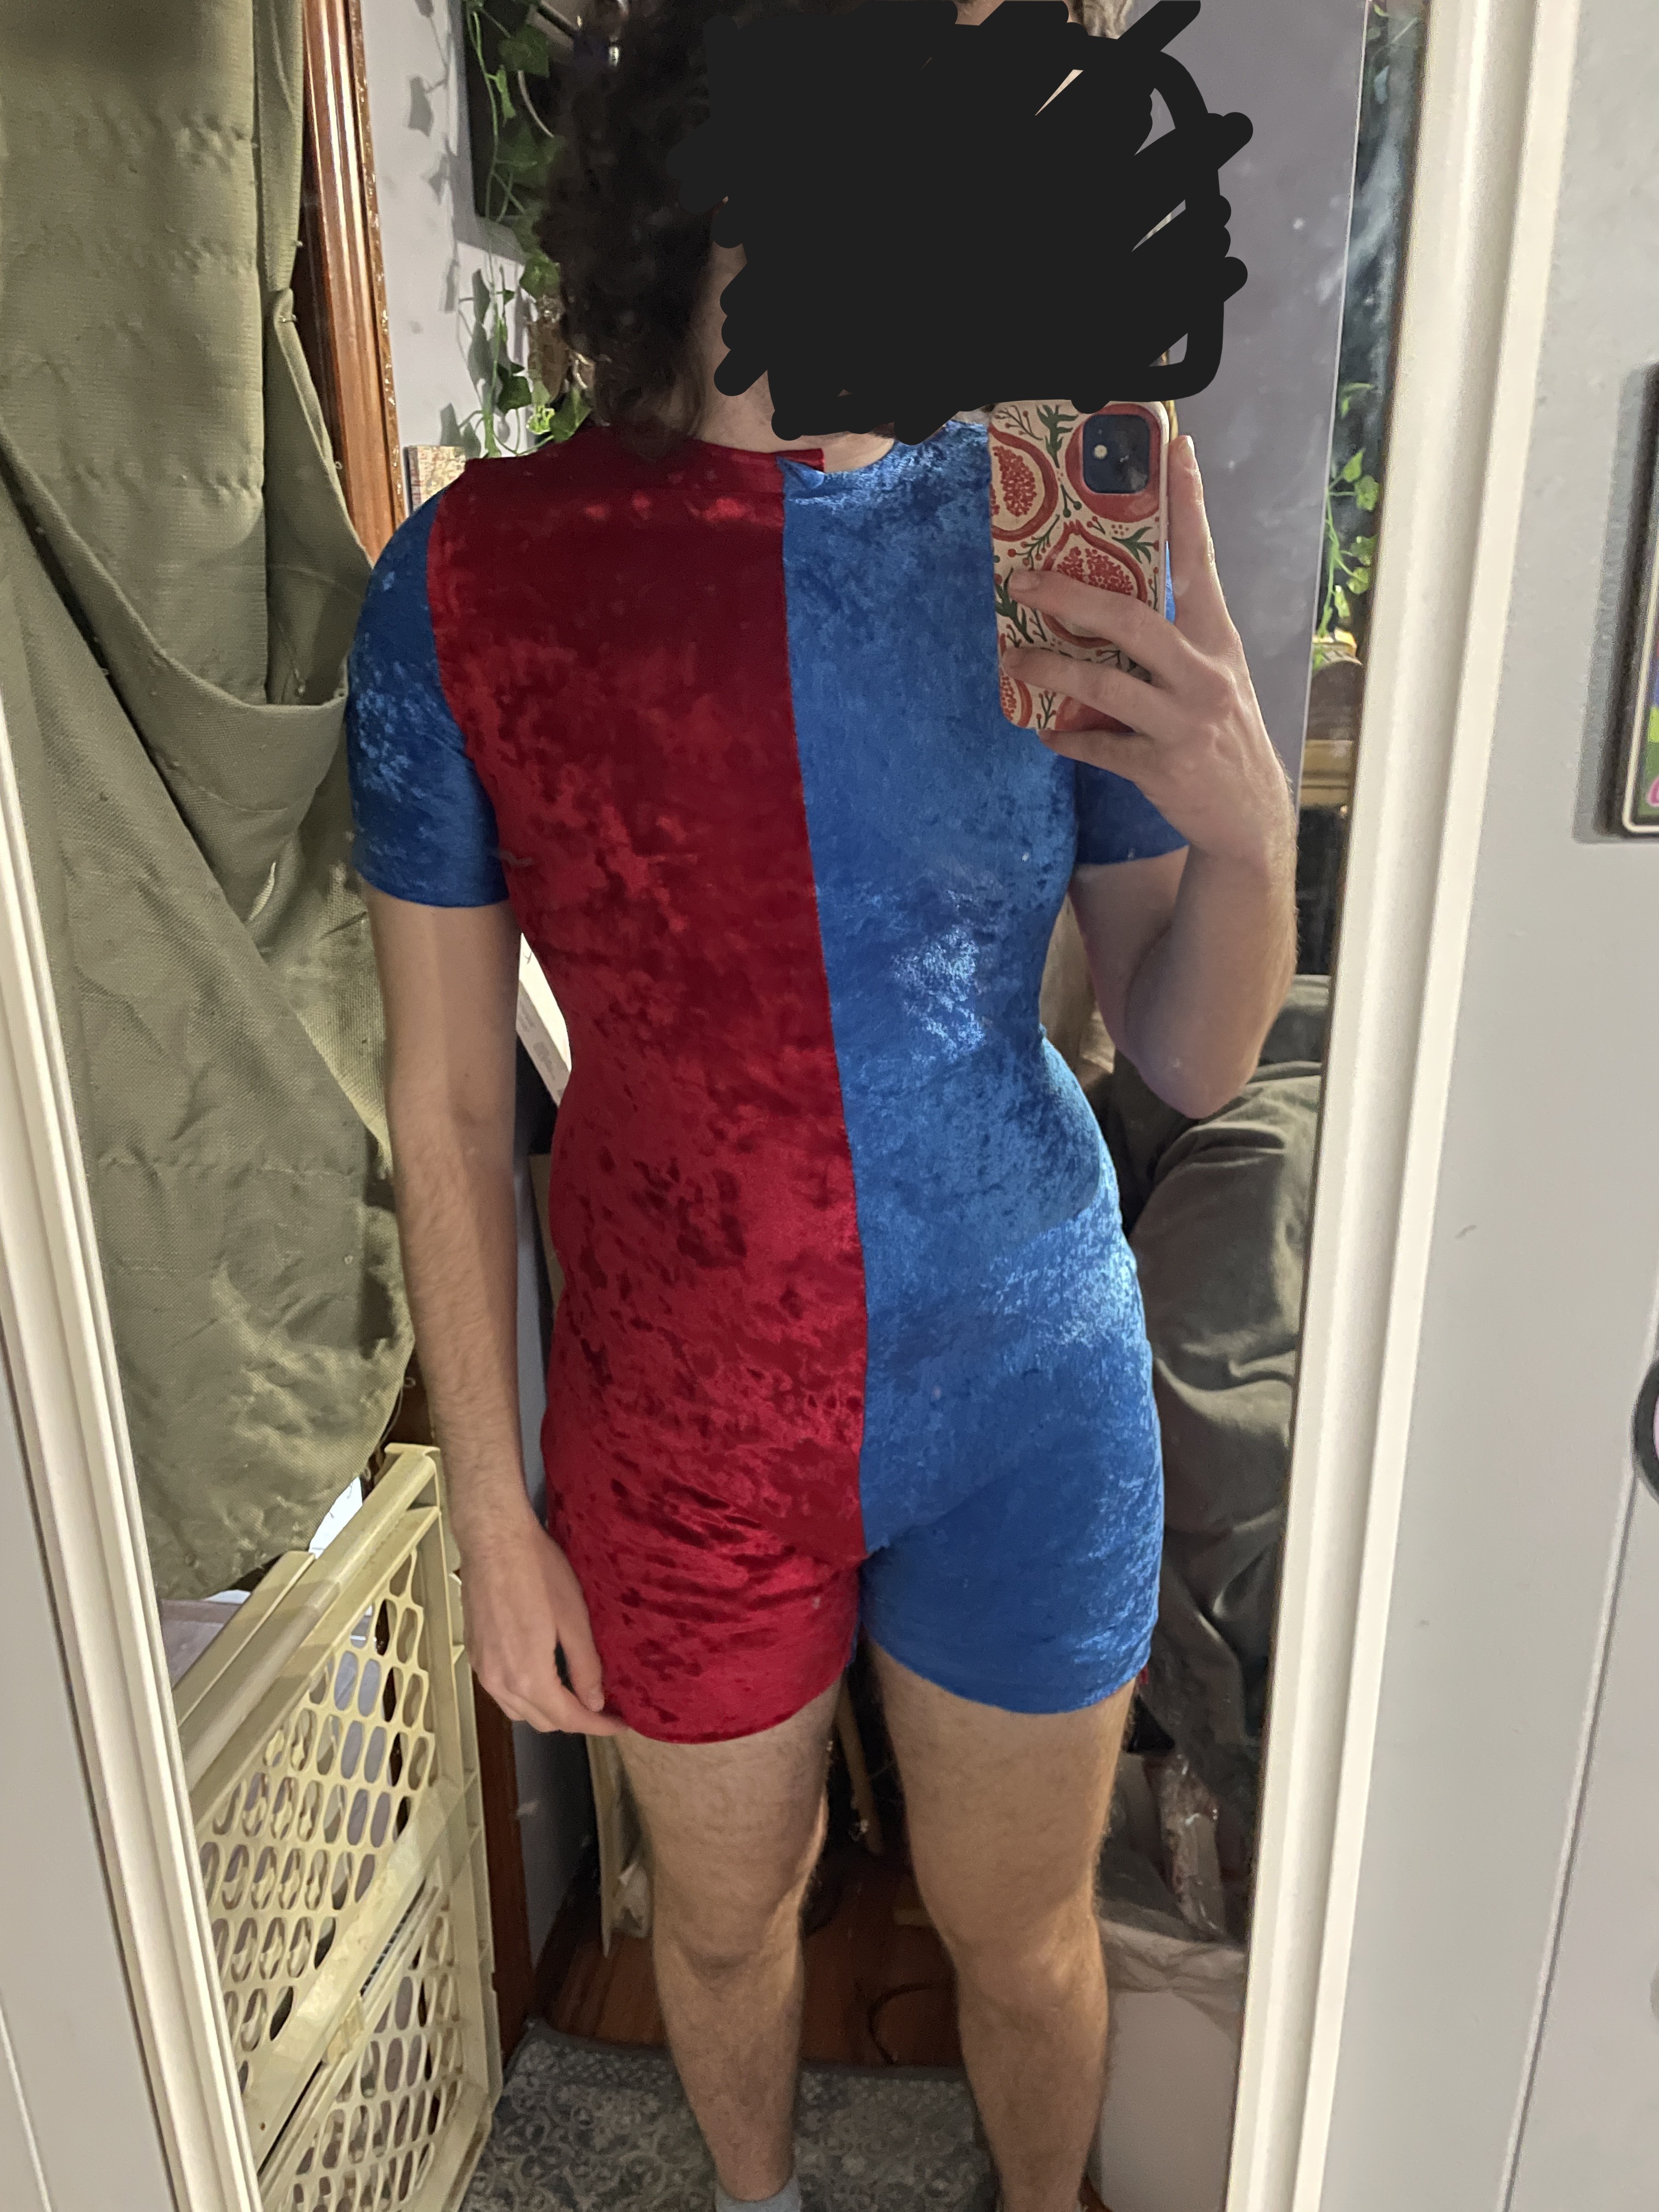
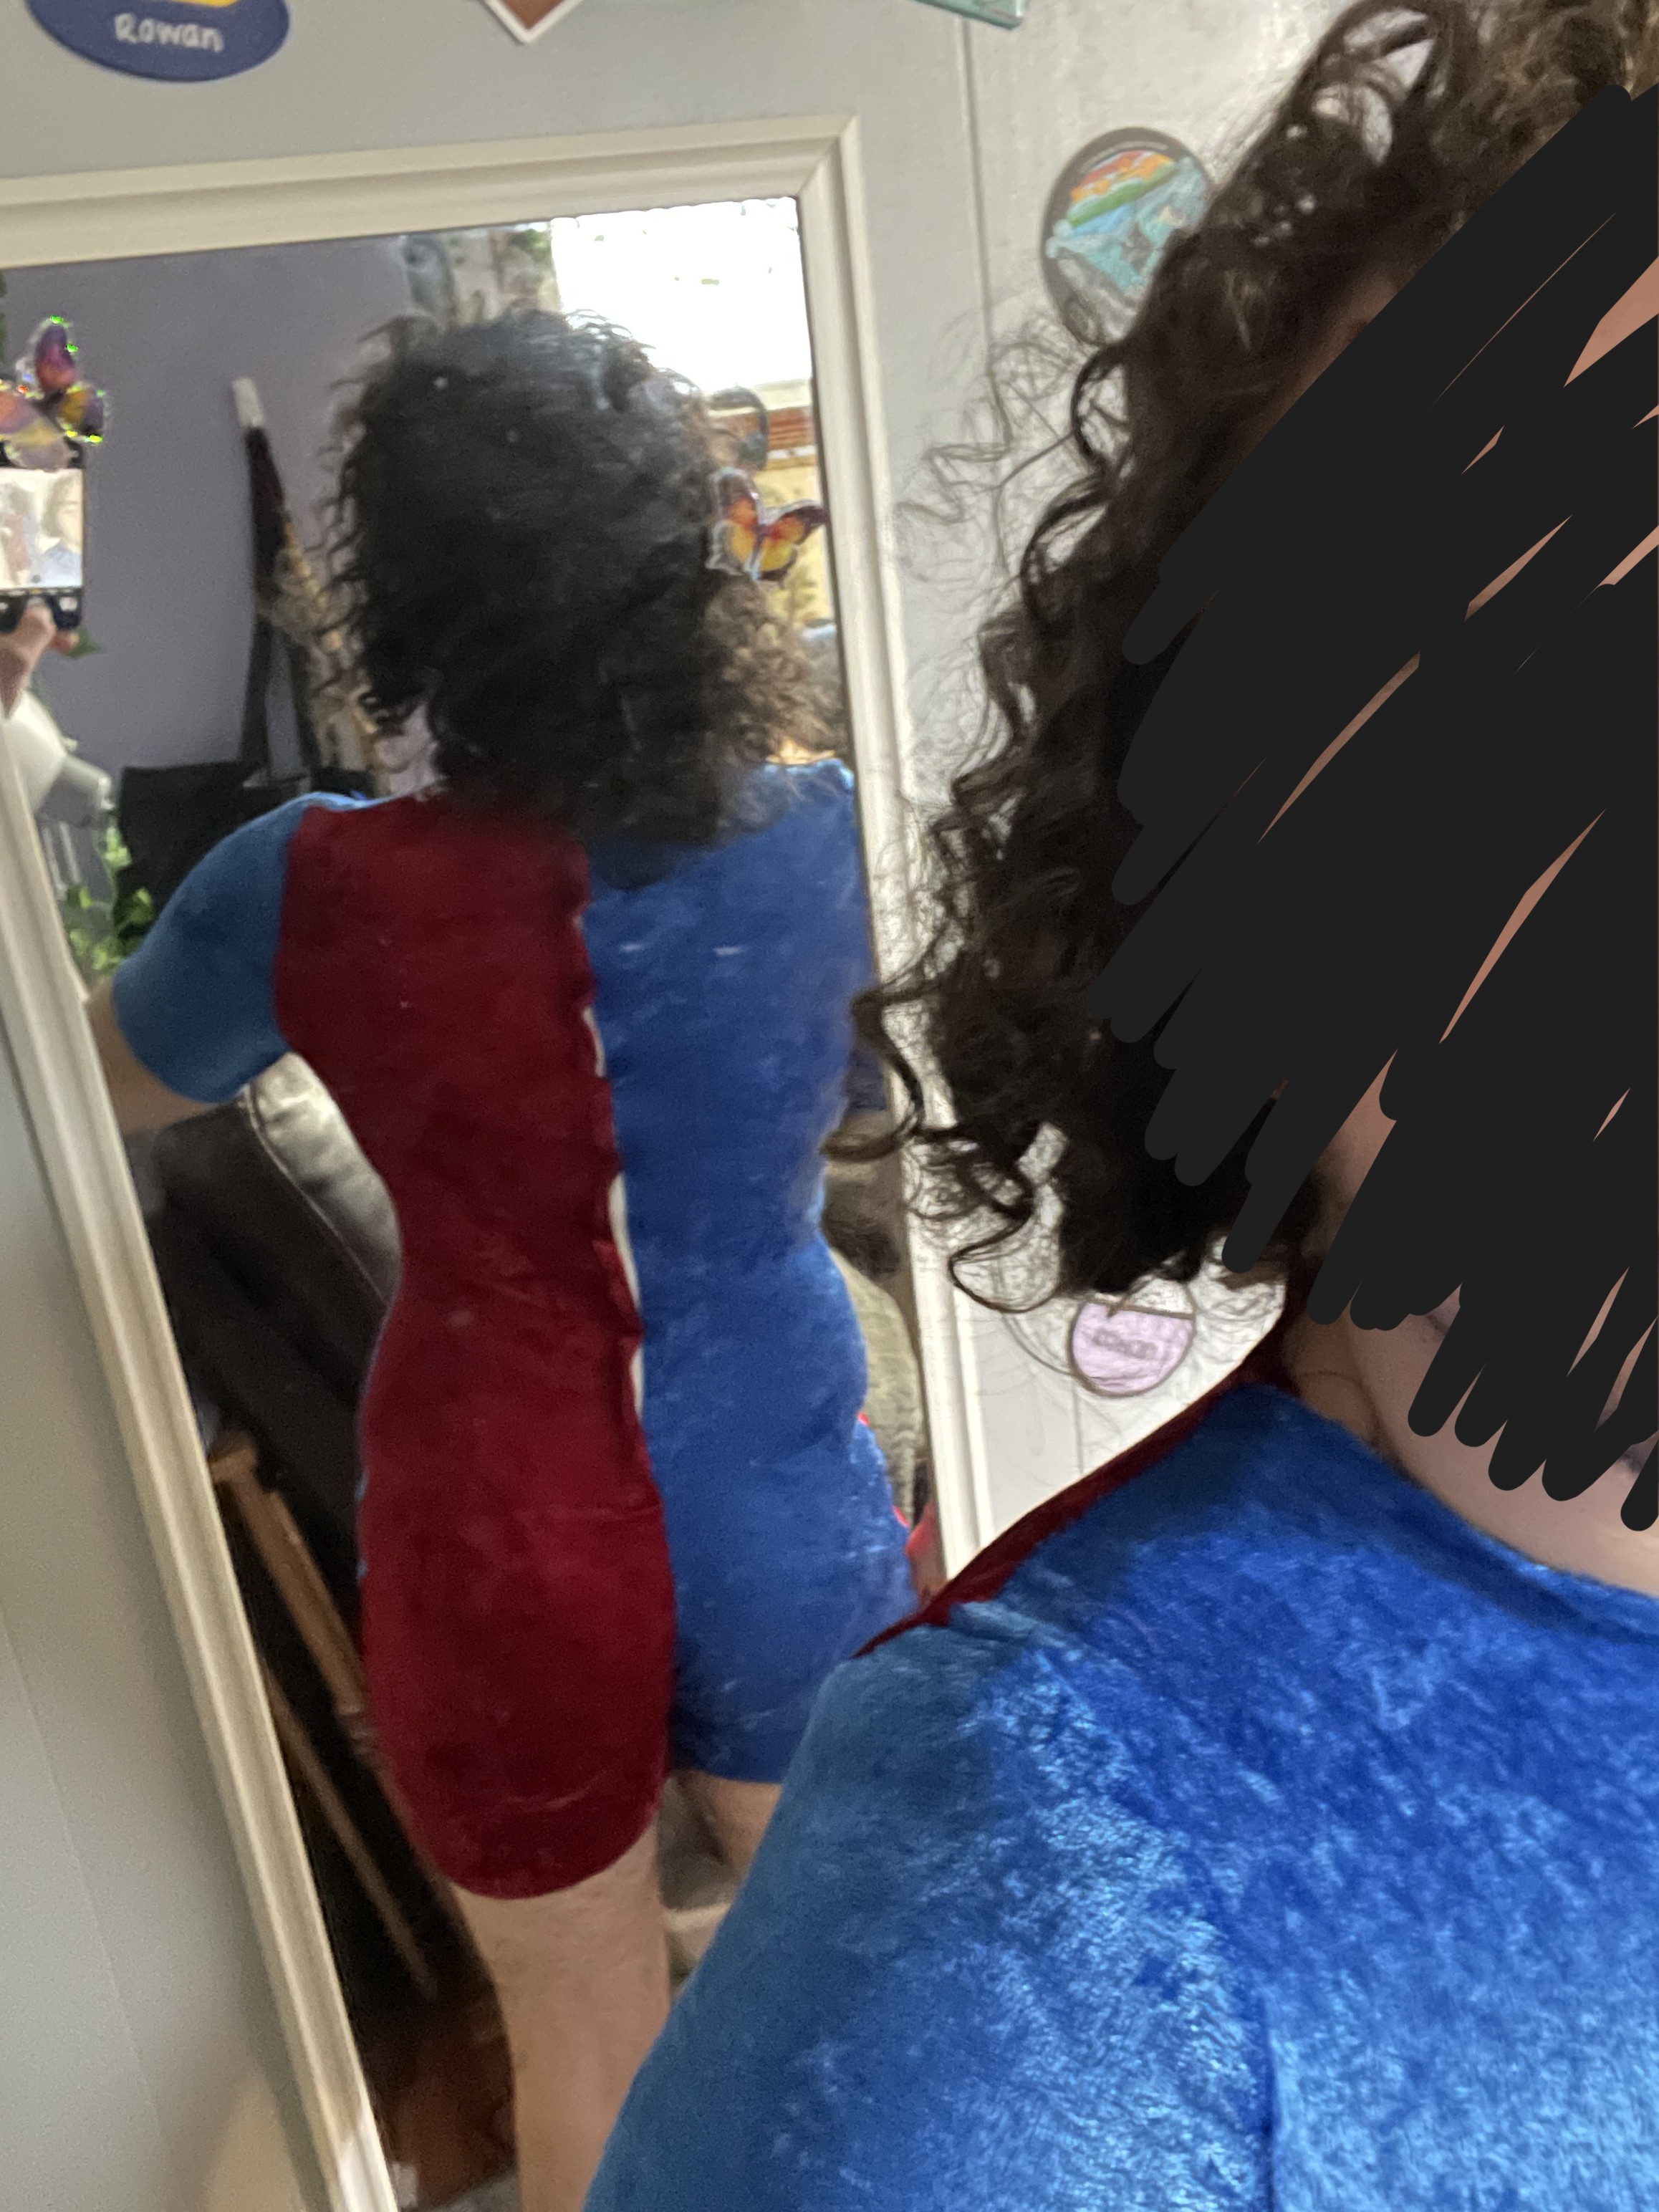
Here you can see just how tight-fitting the bodysuit was. And up my ass. At this point I was feeling a bit nervous about having my lumps and curves on display like that, but it ended up feeling much less revealing later on, once the shoulder/leg poofs and other details were added. Here you can also see the zipper in the back, which I could barely zip myself. Lol. I also tested my base sleeve pattern, which was adjusted slightly from a vintage pattern I already owned. They were a bit tight, so I used the red velvet instead of blue for the next iteration.
Side note: The red and blue fabrics stretched slightly differently. This was a constant source of frustration throughout the project.
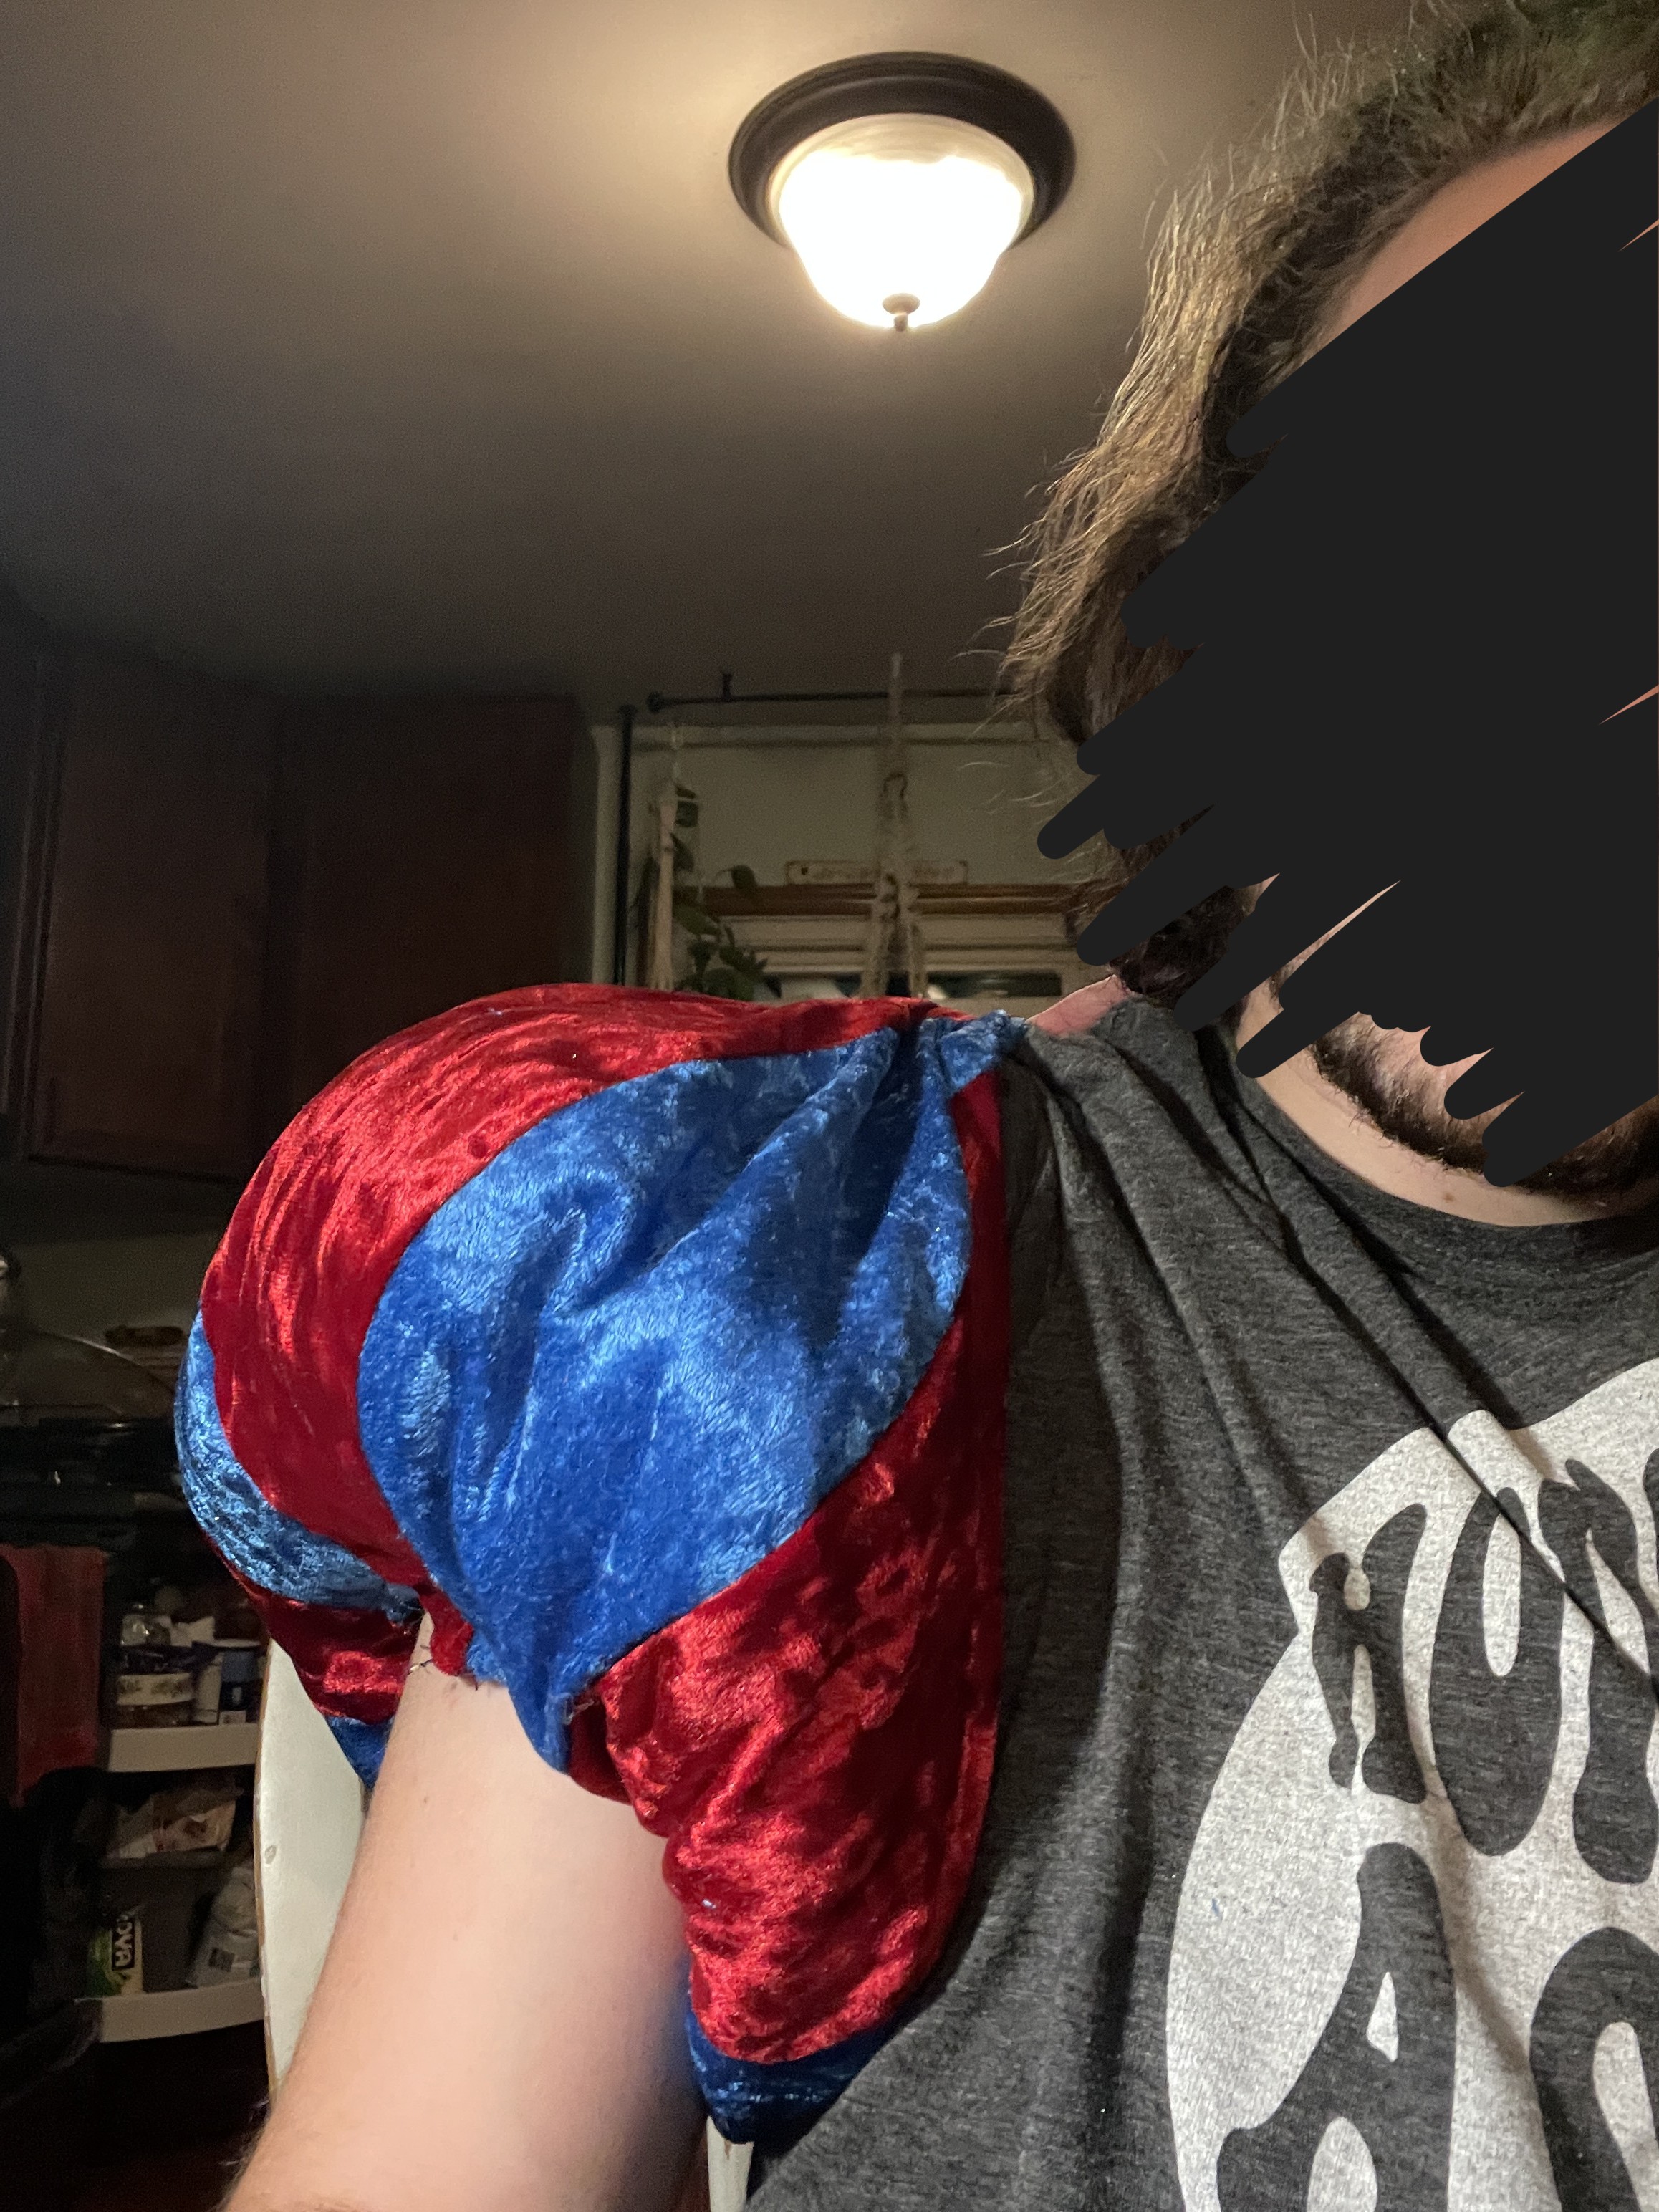
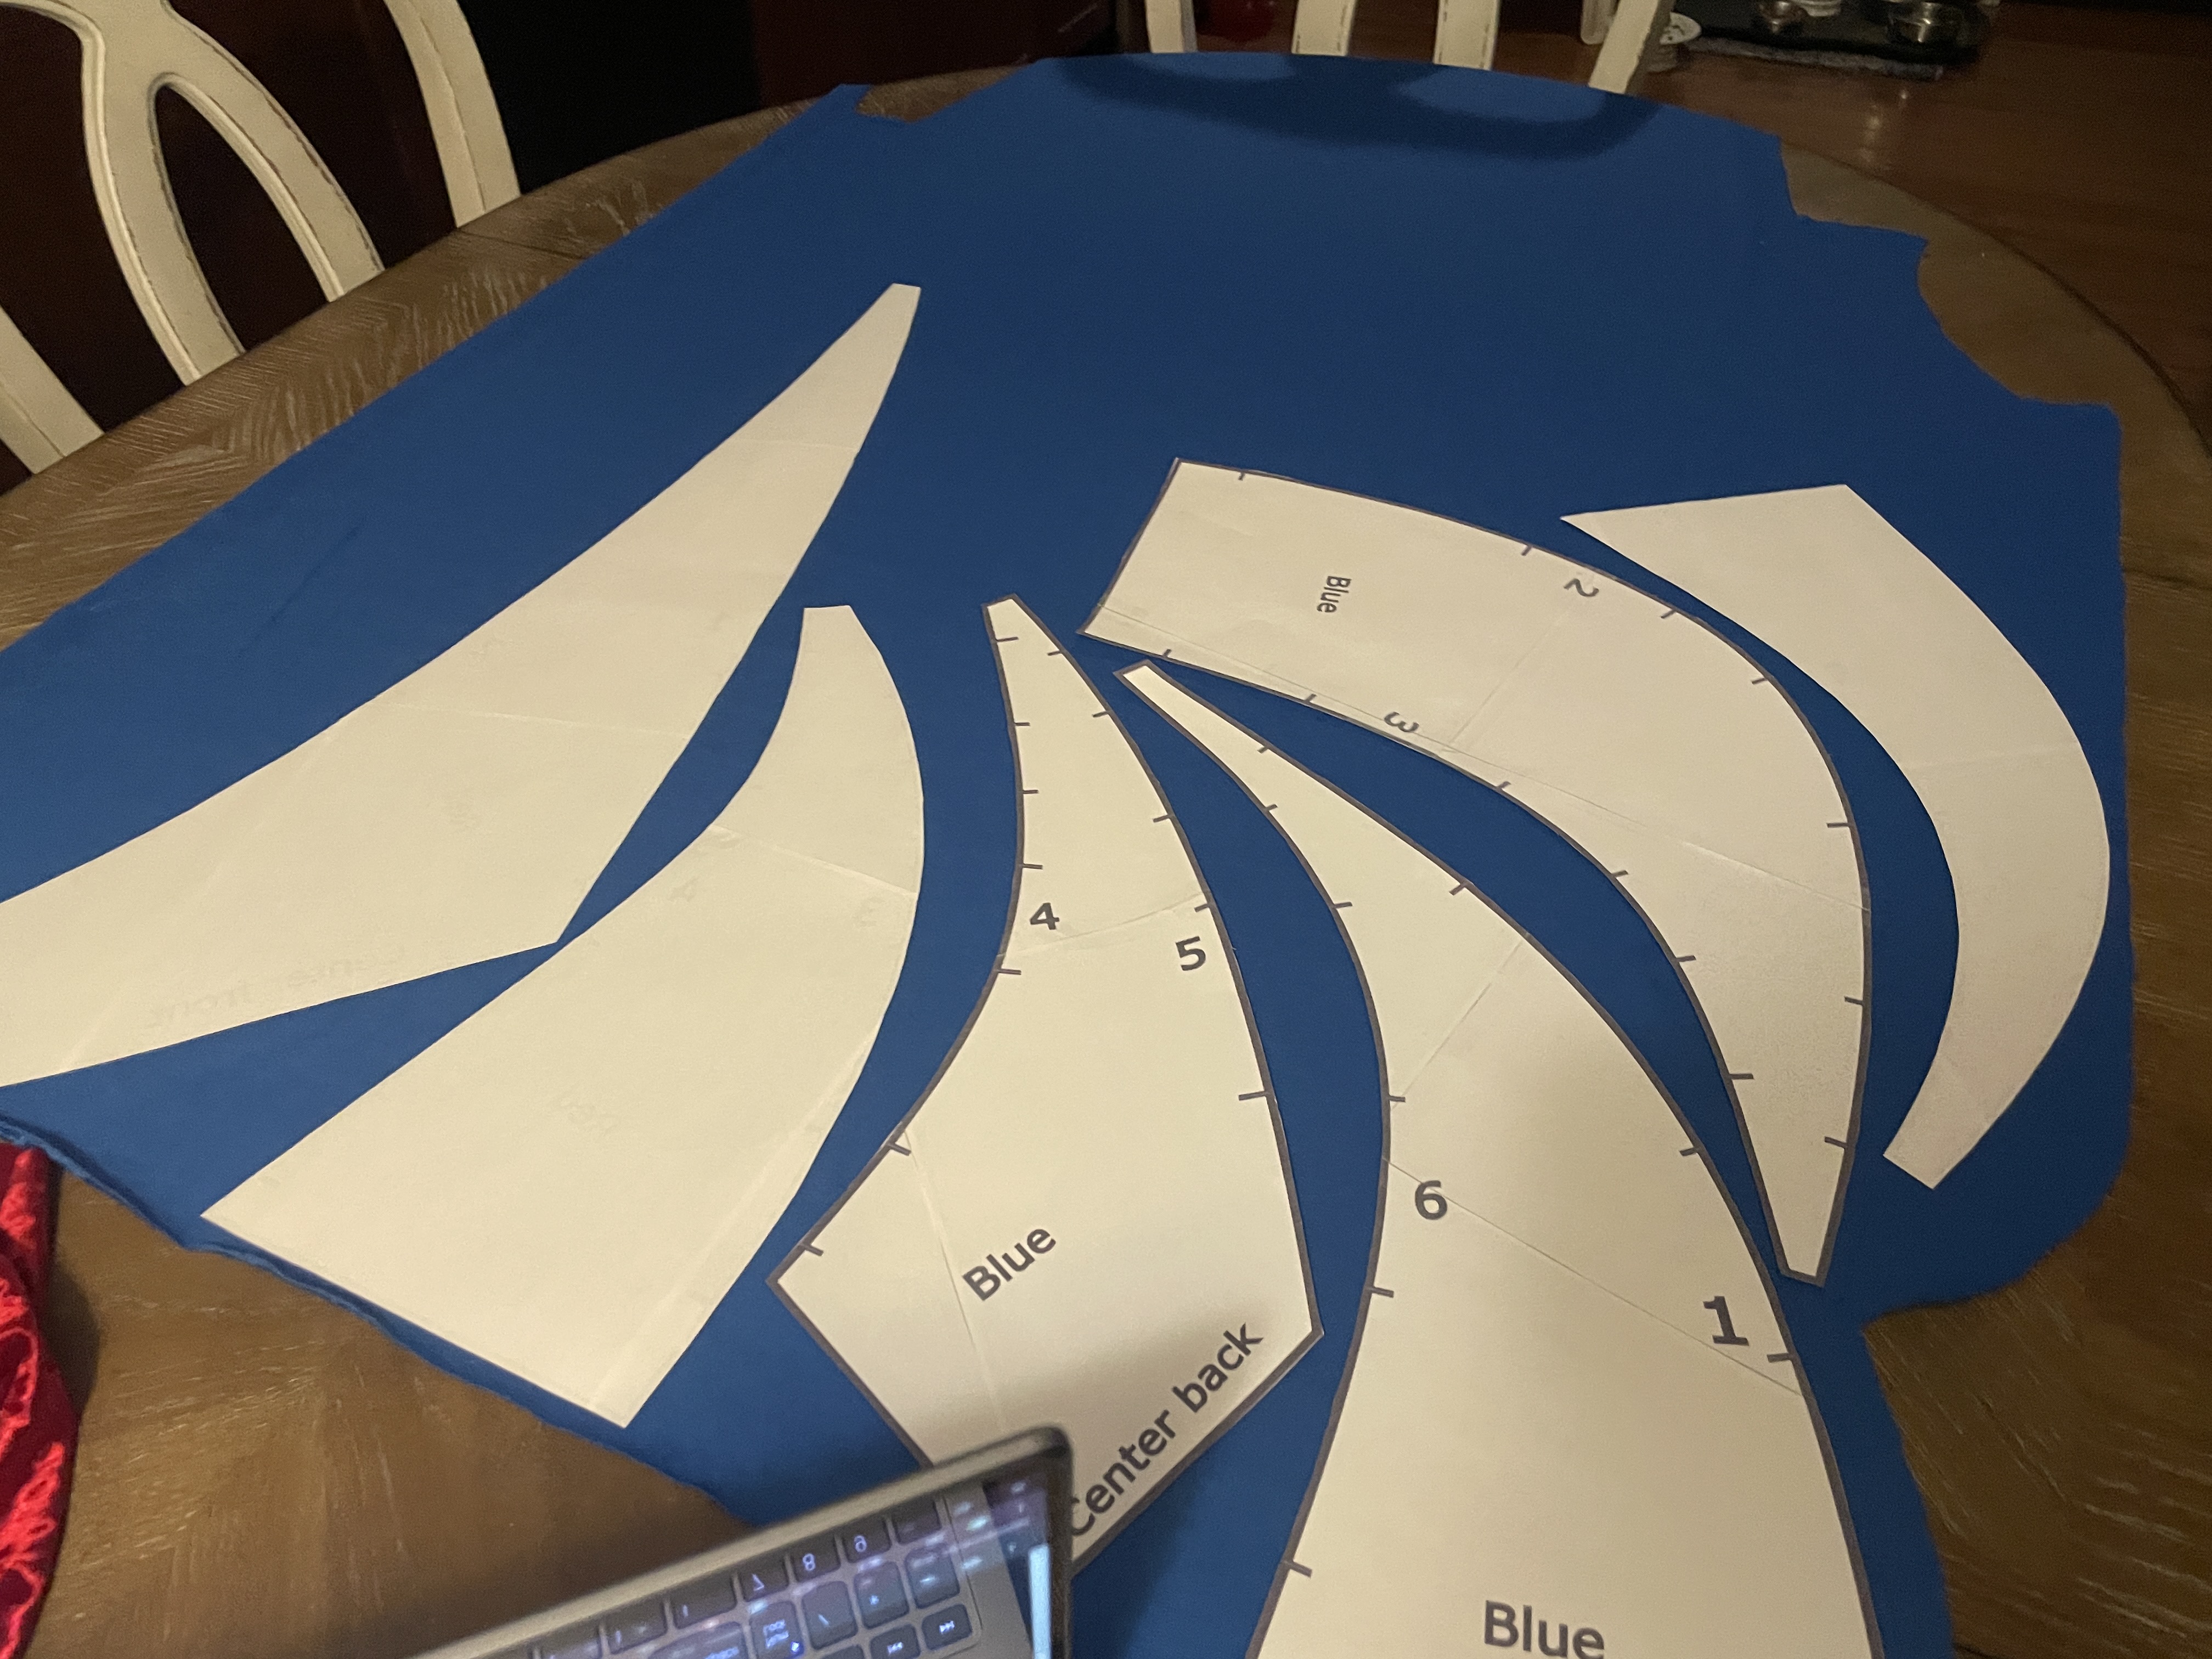
Next, I started on the puff sleeves. I used this pattern from SugarVail. I did make a mockup, but didn't take any pictures of it. Tracing and cutting out the pieces was pretty simple, but getting the velvet pieces to line up in order to pin and sew them was hell on earth. If you've never worked with velvet, you might not understand the sheer frustration this shit causes. Not only did the two colors stretch differently, as I mentioned before, which made every seam I sewed end up misaligned even if they were fine before, but the fibers of the velvet also allowed the fabrics to slide in only one direction-- meaning if they shifted one way, they would be stuck there and not shift back. This made any misalignments even more frustrating.
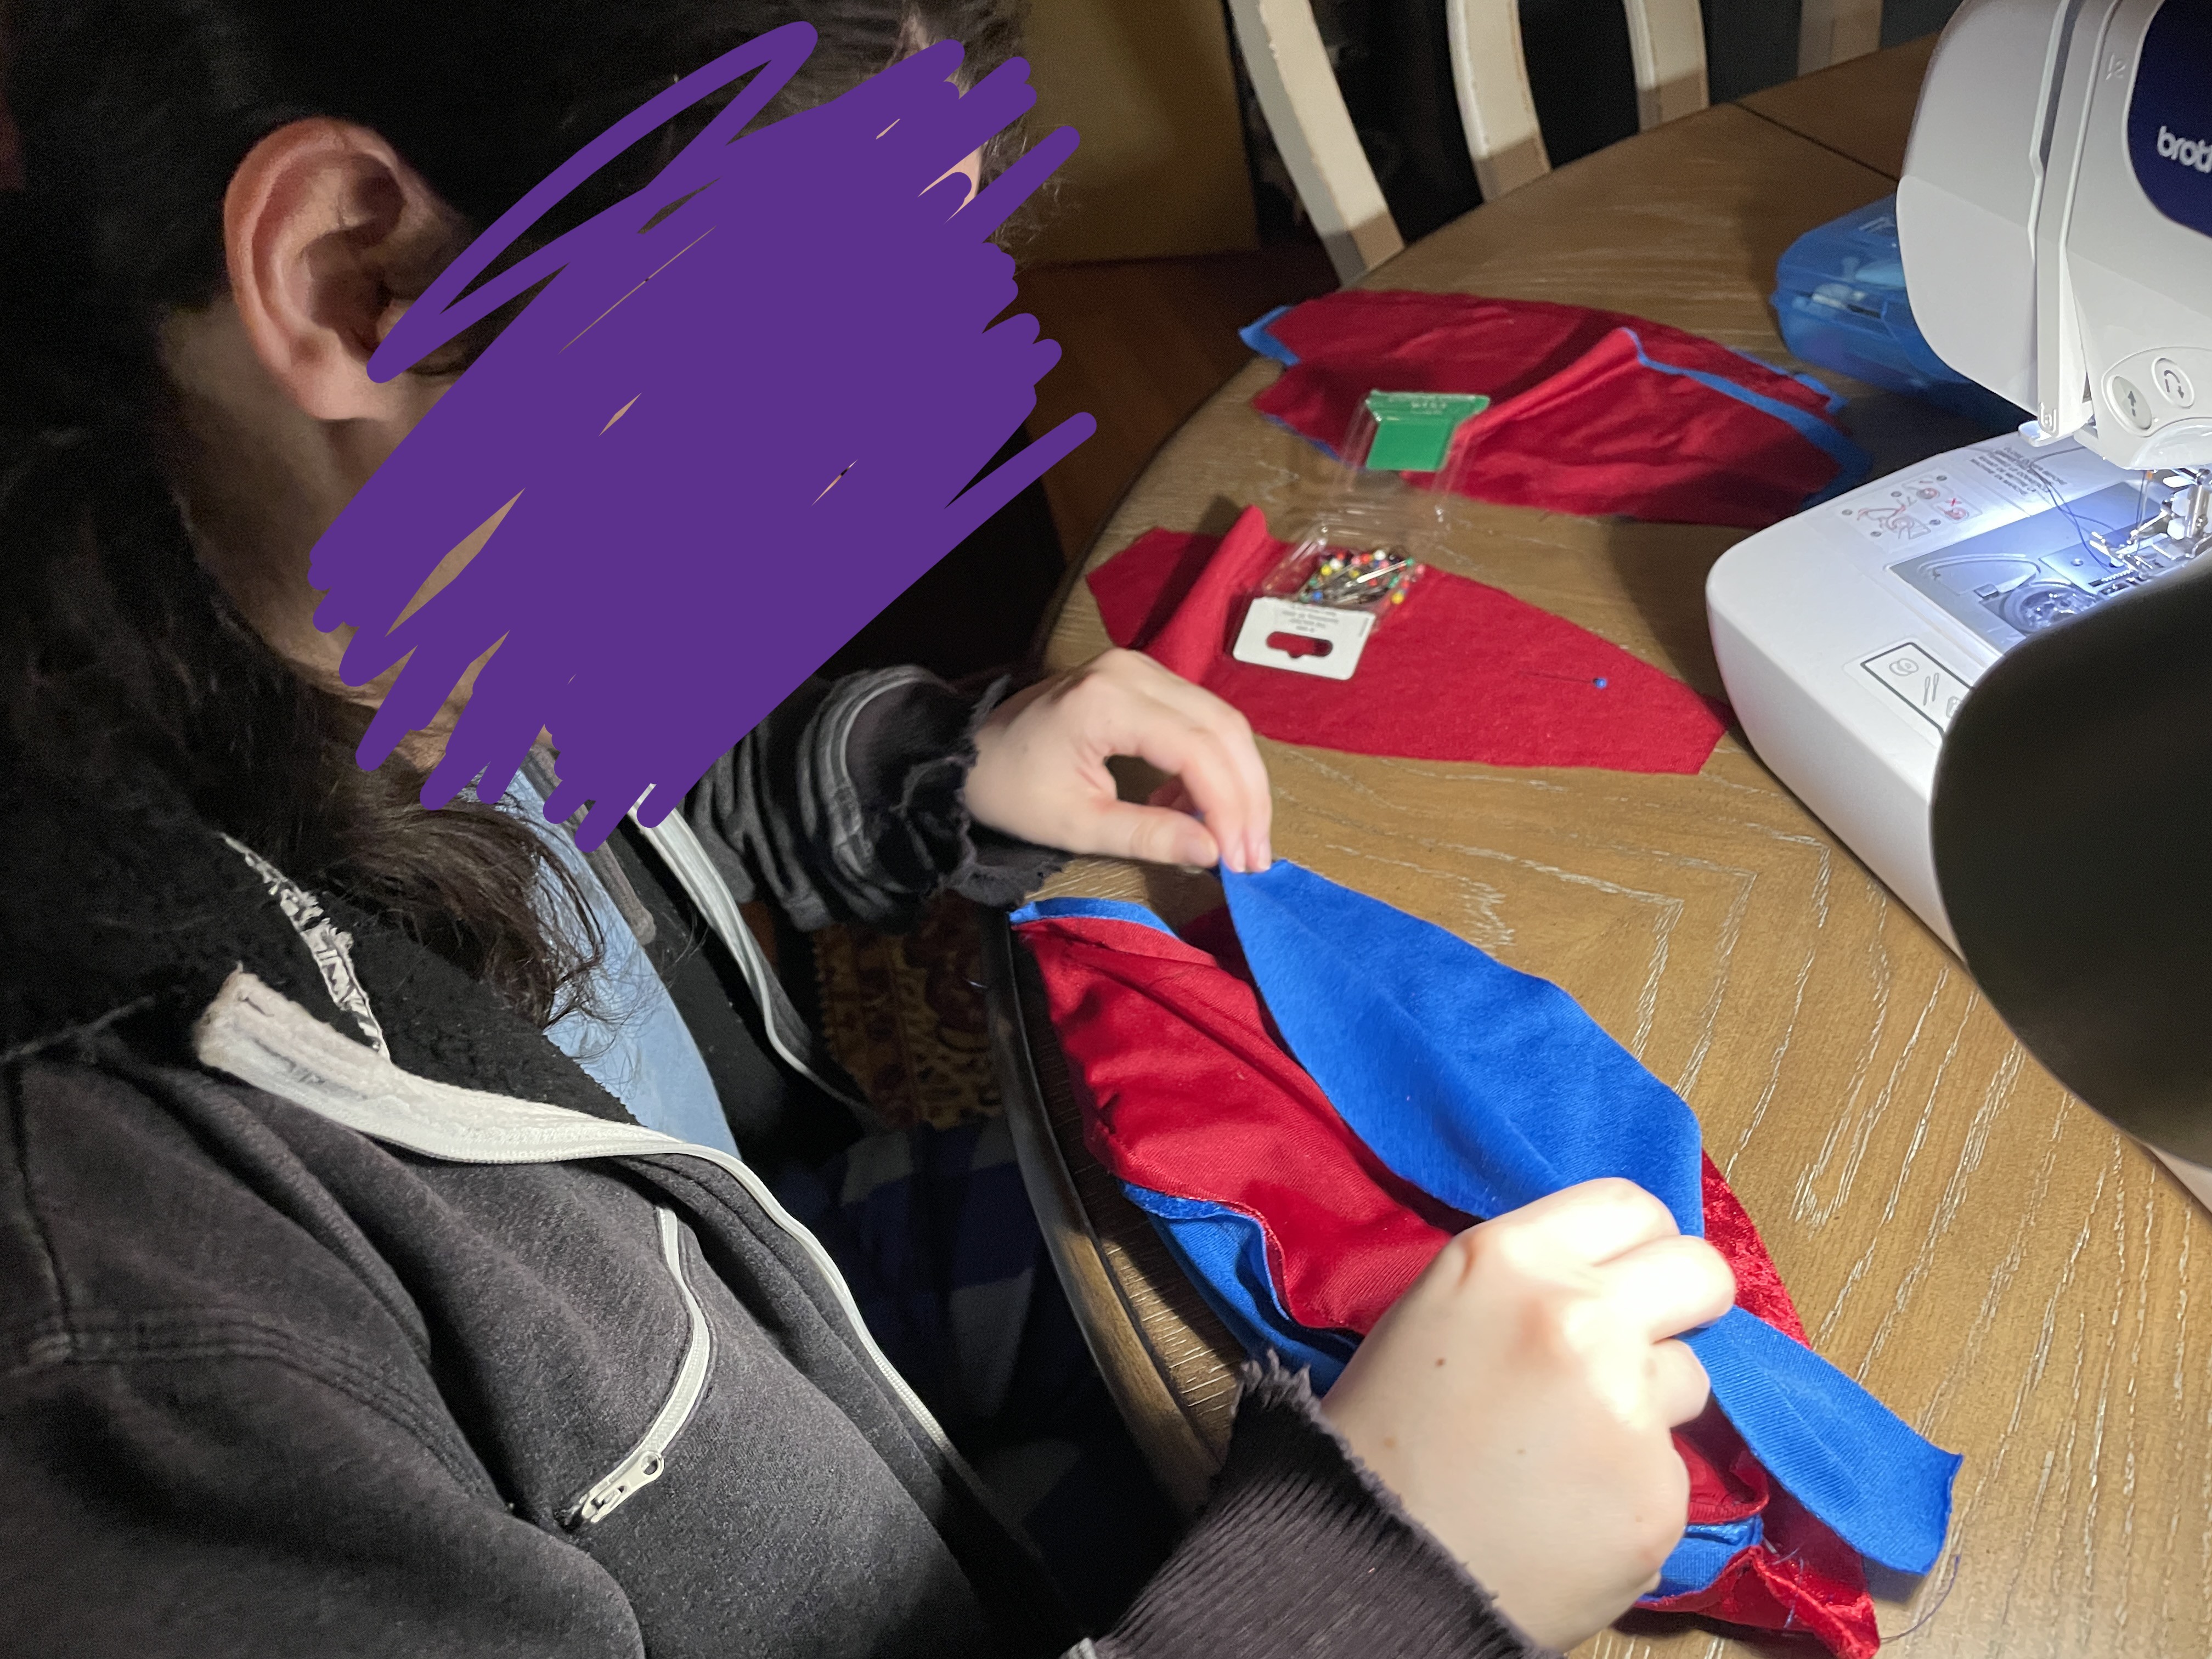
I got so frustrated at times that I forced my girlfriend to help line up and pin the sleeve panels. (Shoutout to my girlfriend, by the way. I would never have finished this cosplay without her.)
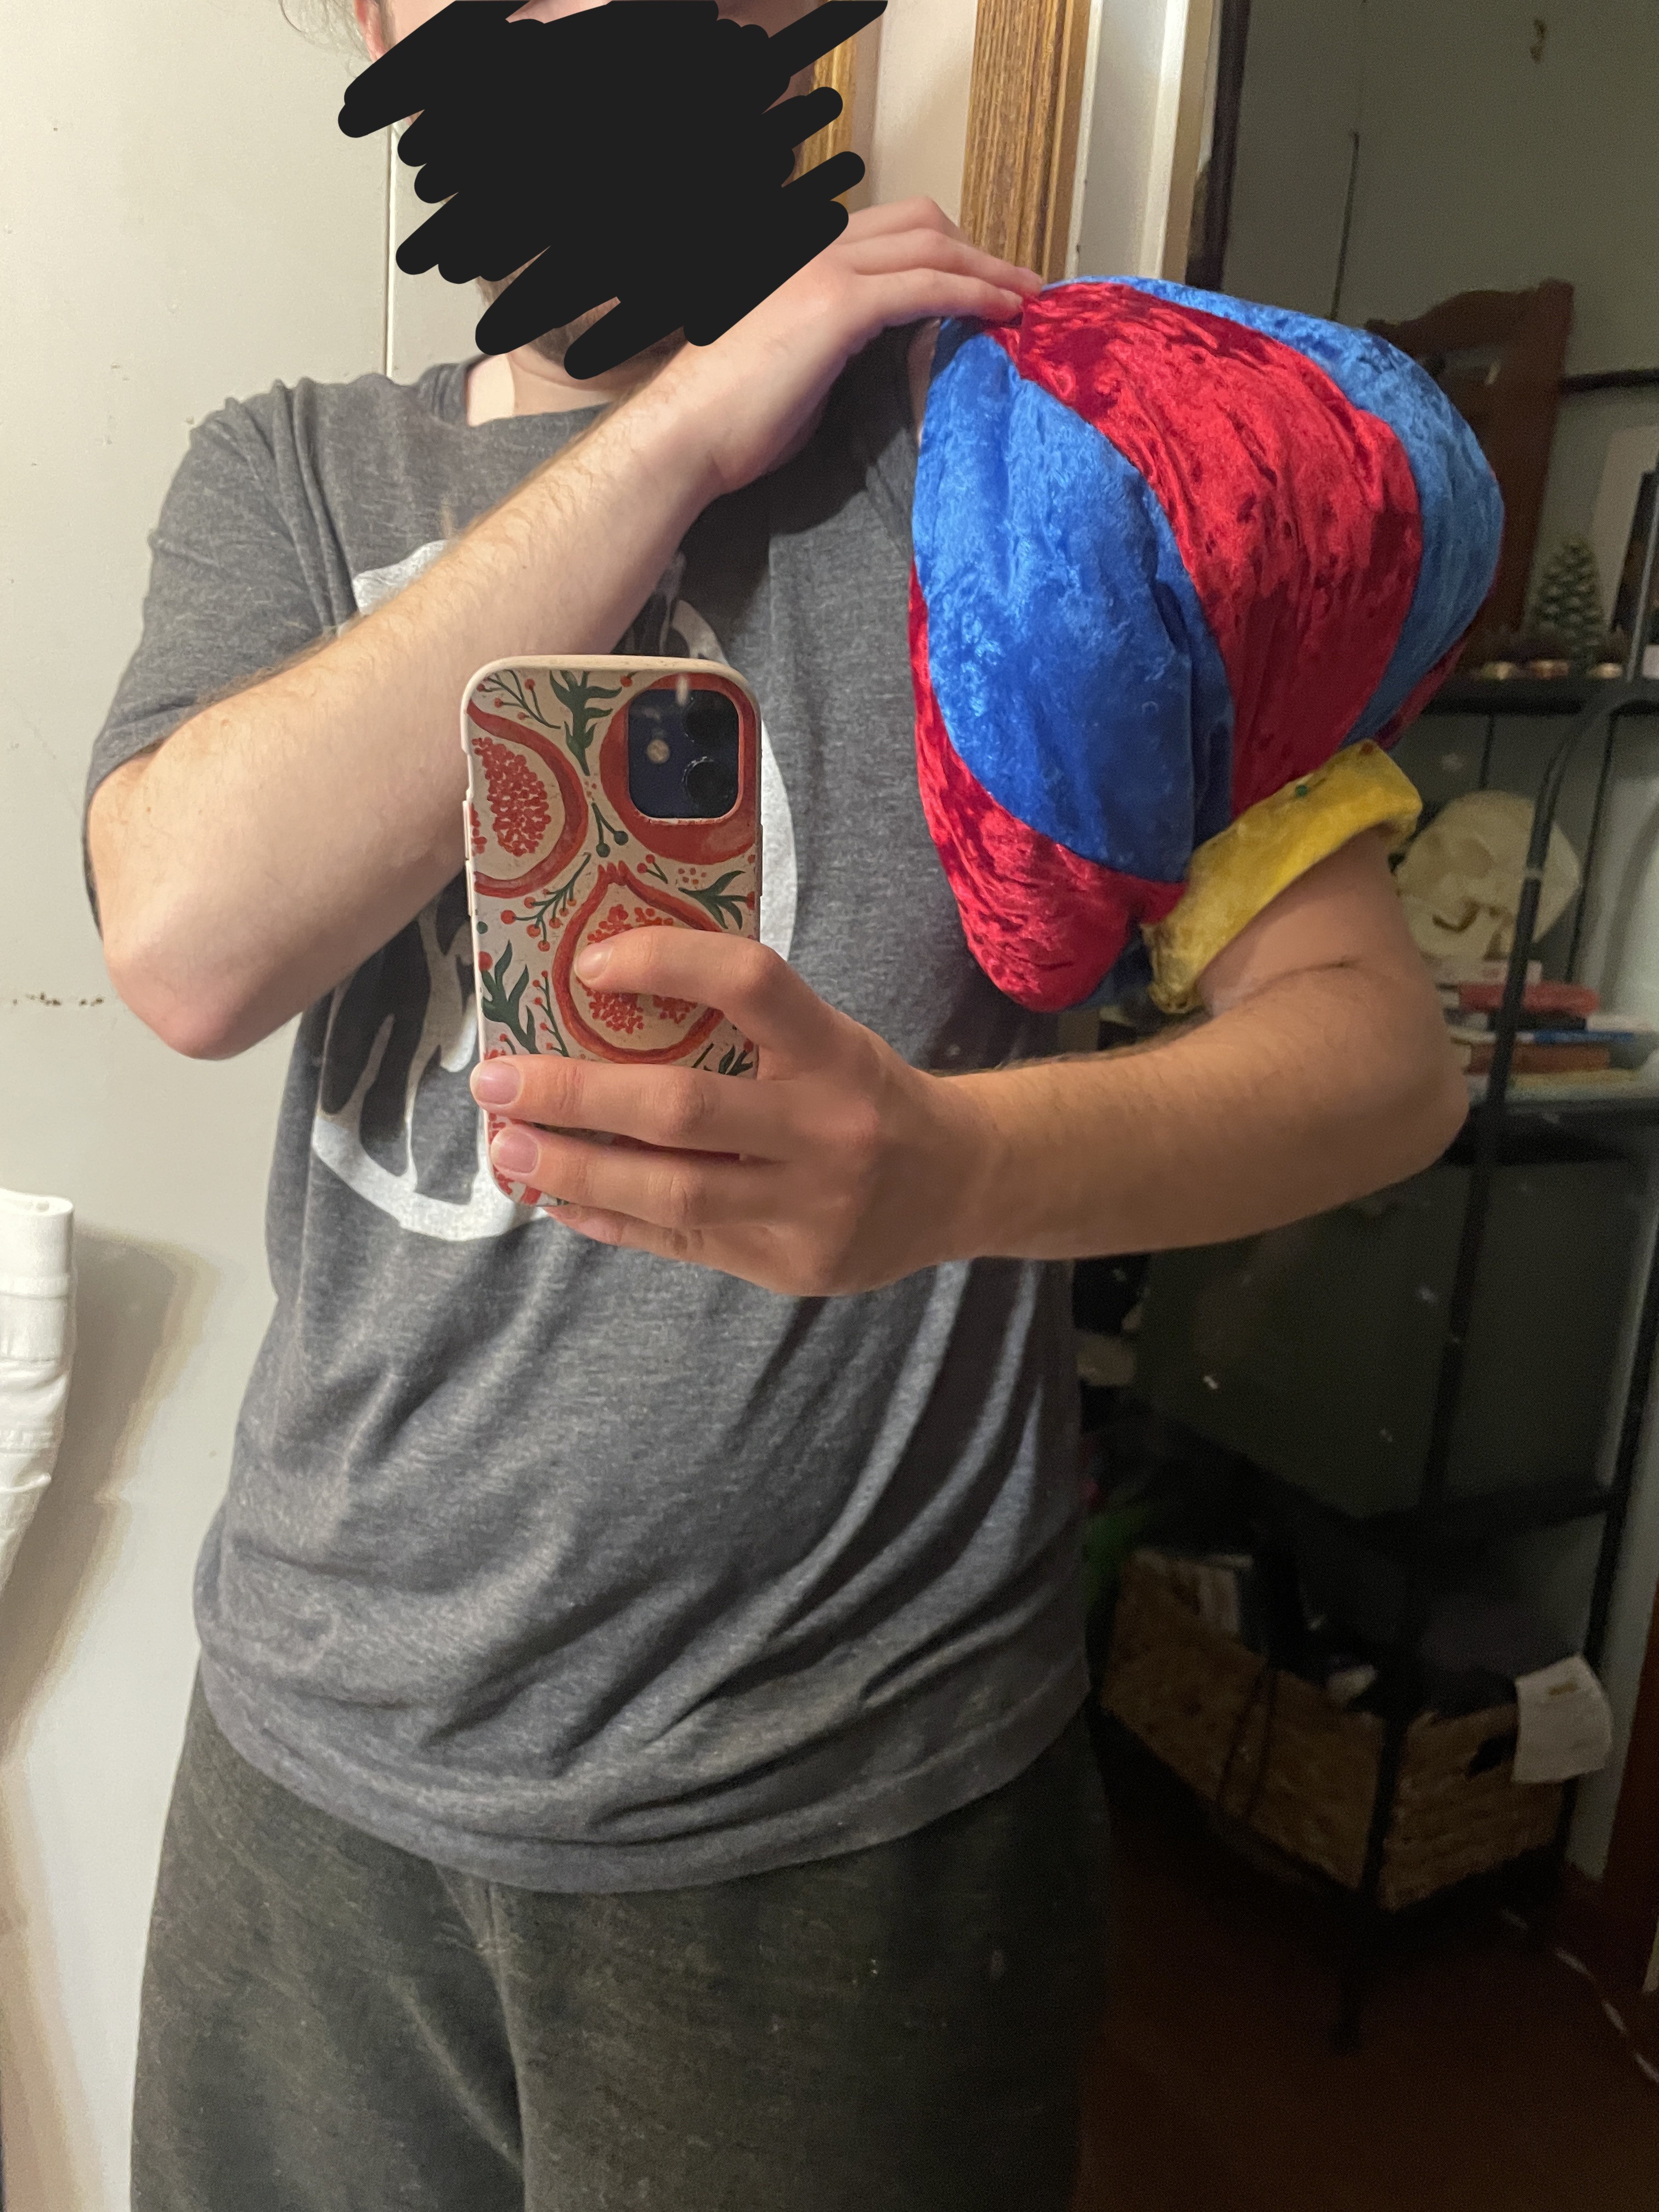
Anyways. Once I finally got the puff sleeves together, I basted them to the sleeve base from earlier, leaving a small hole to fill them with polyfil. I used two widths of the velvet ribbon stitched together as the sleeve band (a little janky up close, but it works).
Here you can see both the puff sleeves attached to the bodysuit!
Next, I started working on the leg puffs. I used the same basic shape as the shoulder puffs, but adjusted the size based on my leg measurements. Here you can see the mockup-- there was a bit of weird twisting/pulling in the fabric, as well as excess fabric on the inside of each leg. I figured it was good enough, and sewed together each leg puff out of the final fabric.
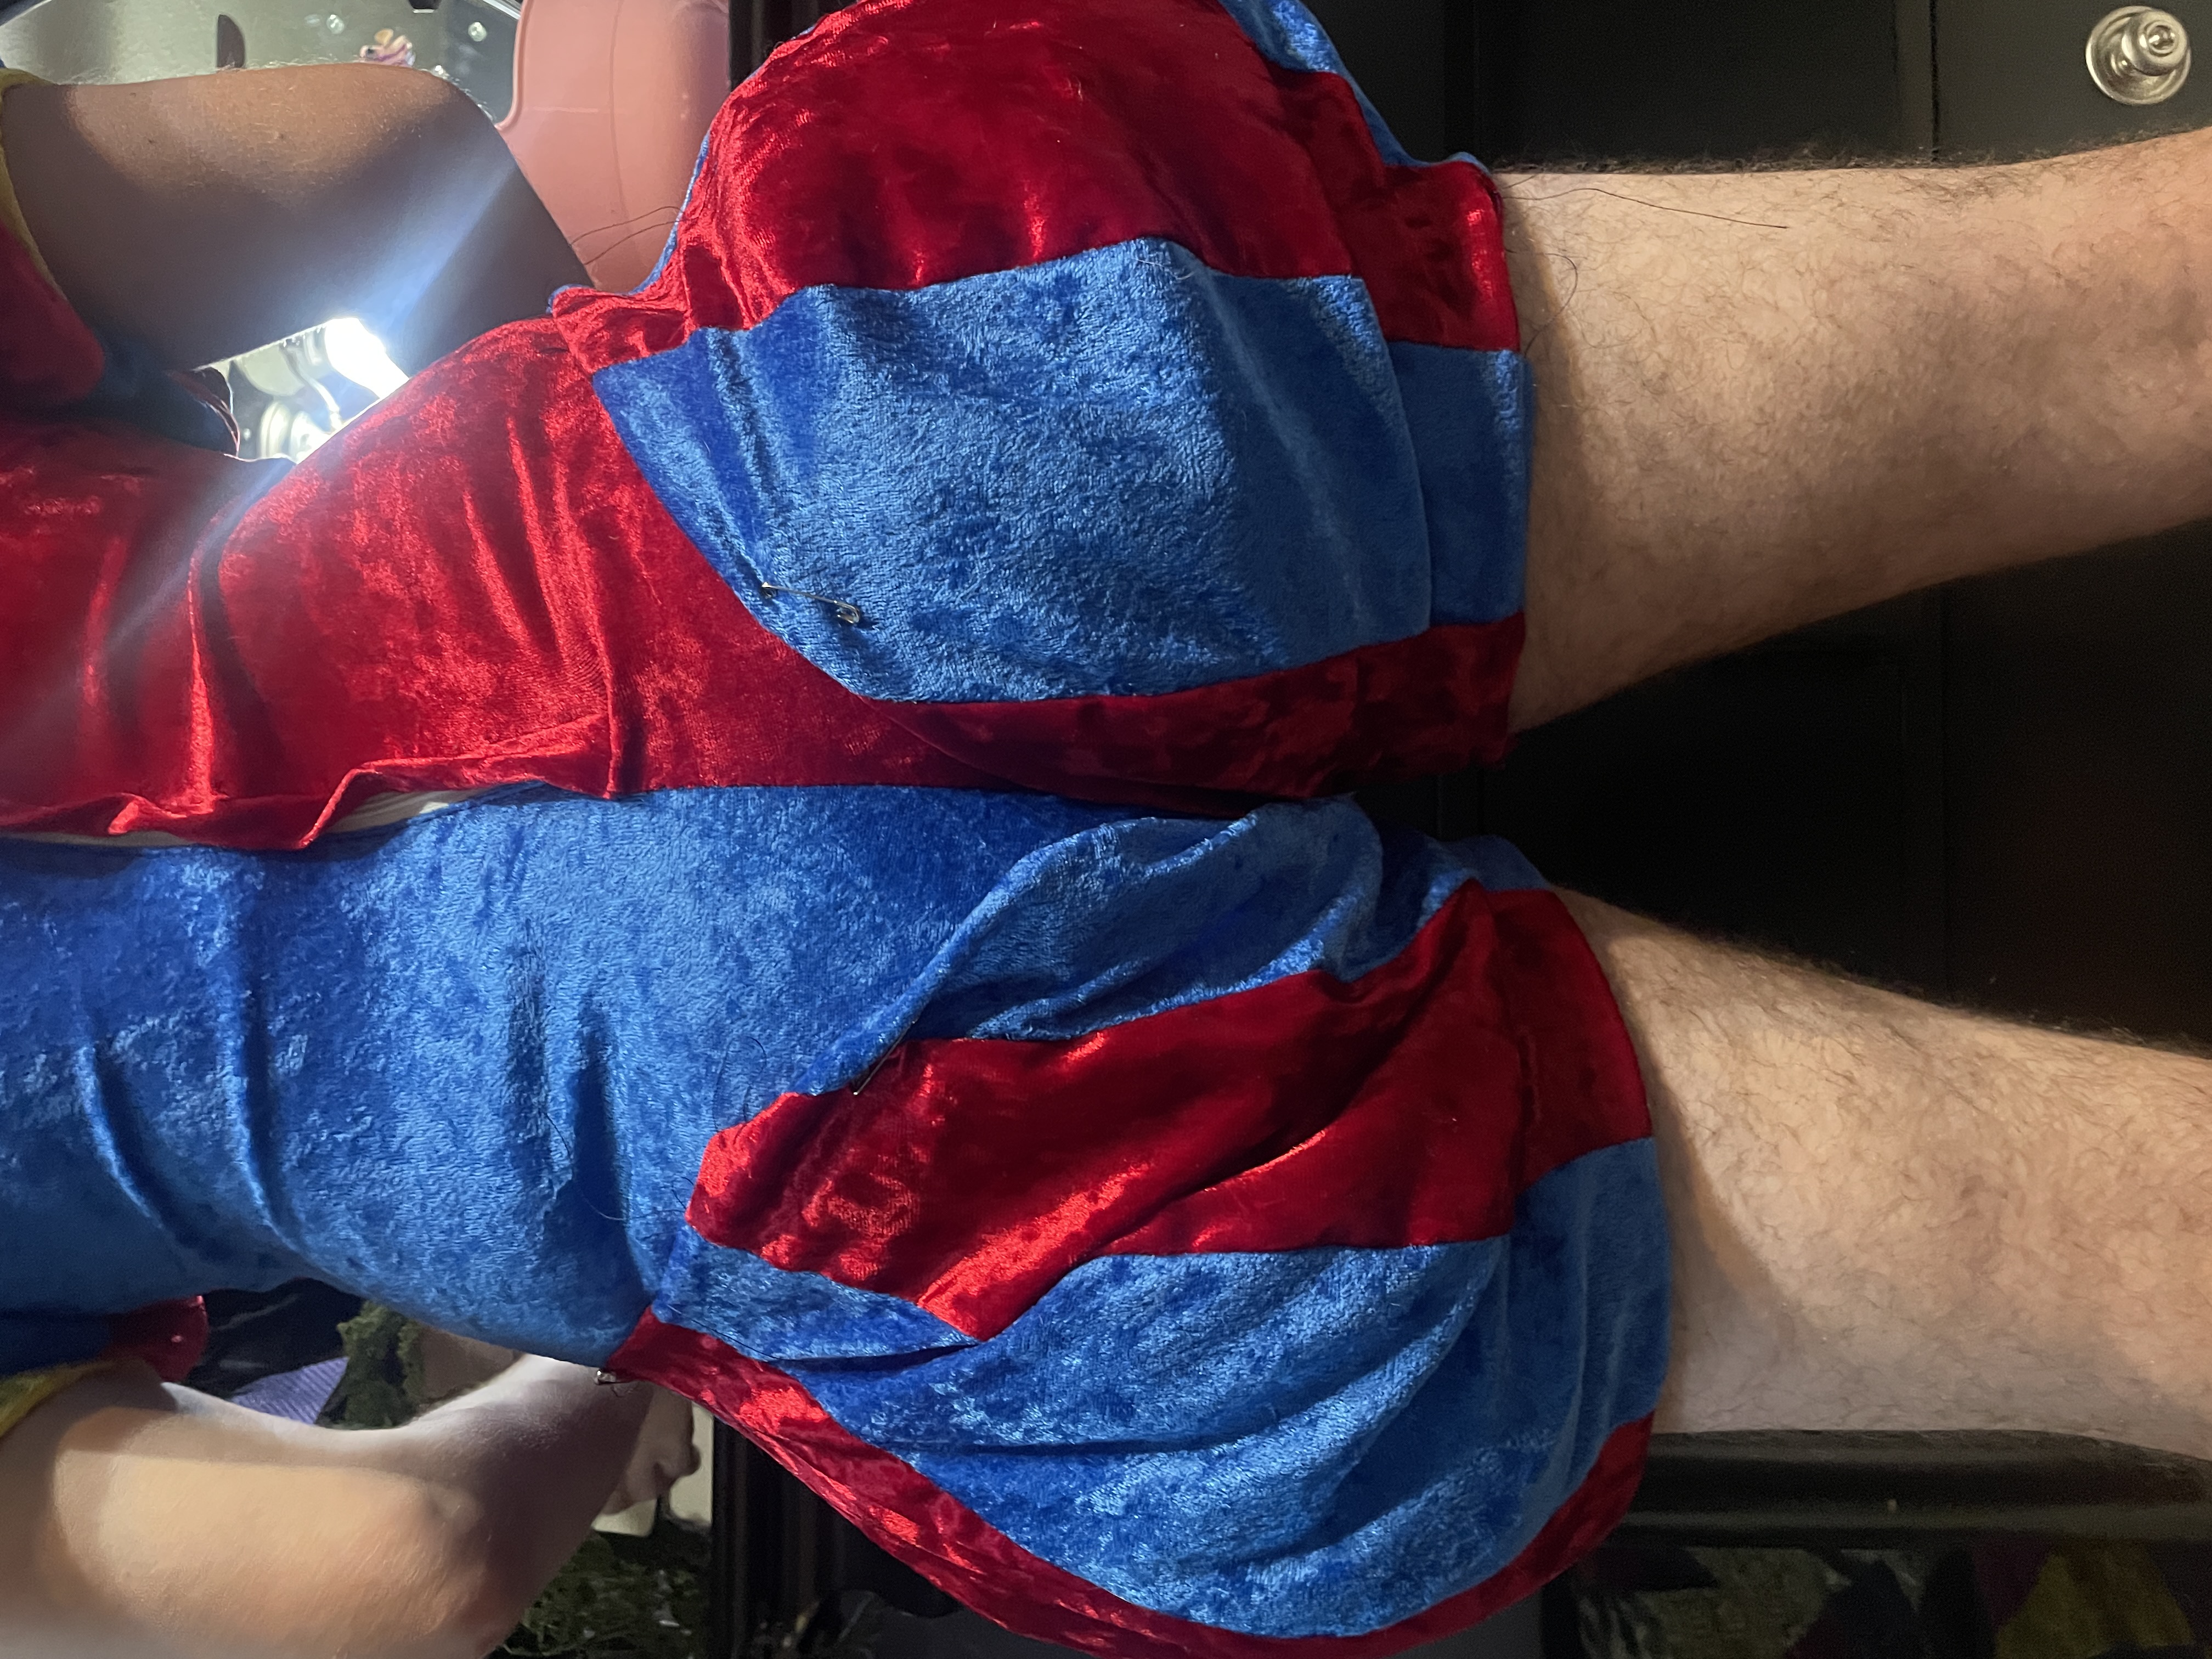
The leg puffs were pinned on while wearing the bodysuit-- because of the stretch and the shapes of the pieces, this was the best way I could think of to get good results. My girlfriend pinned on the puffs (thanks again babe!!). You can see the twisting on the left side, which was fixed by adjusting the placement of the puffs on the right side. I then took off the bodysuit and hand-sewed the puffs onto the bodysuit.
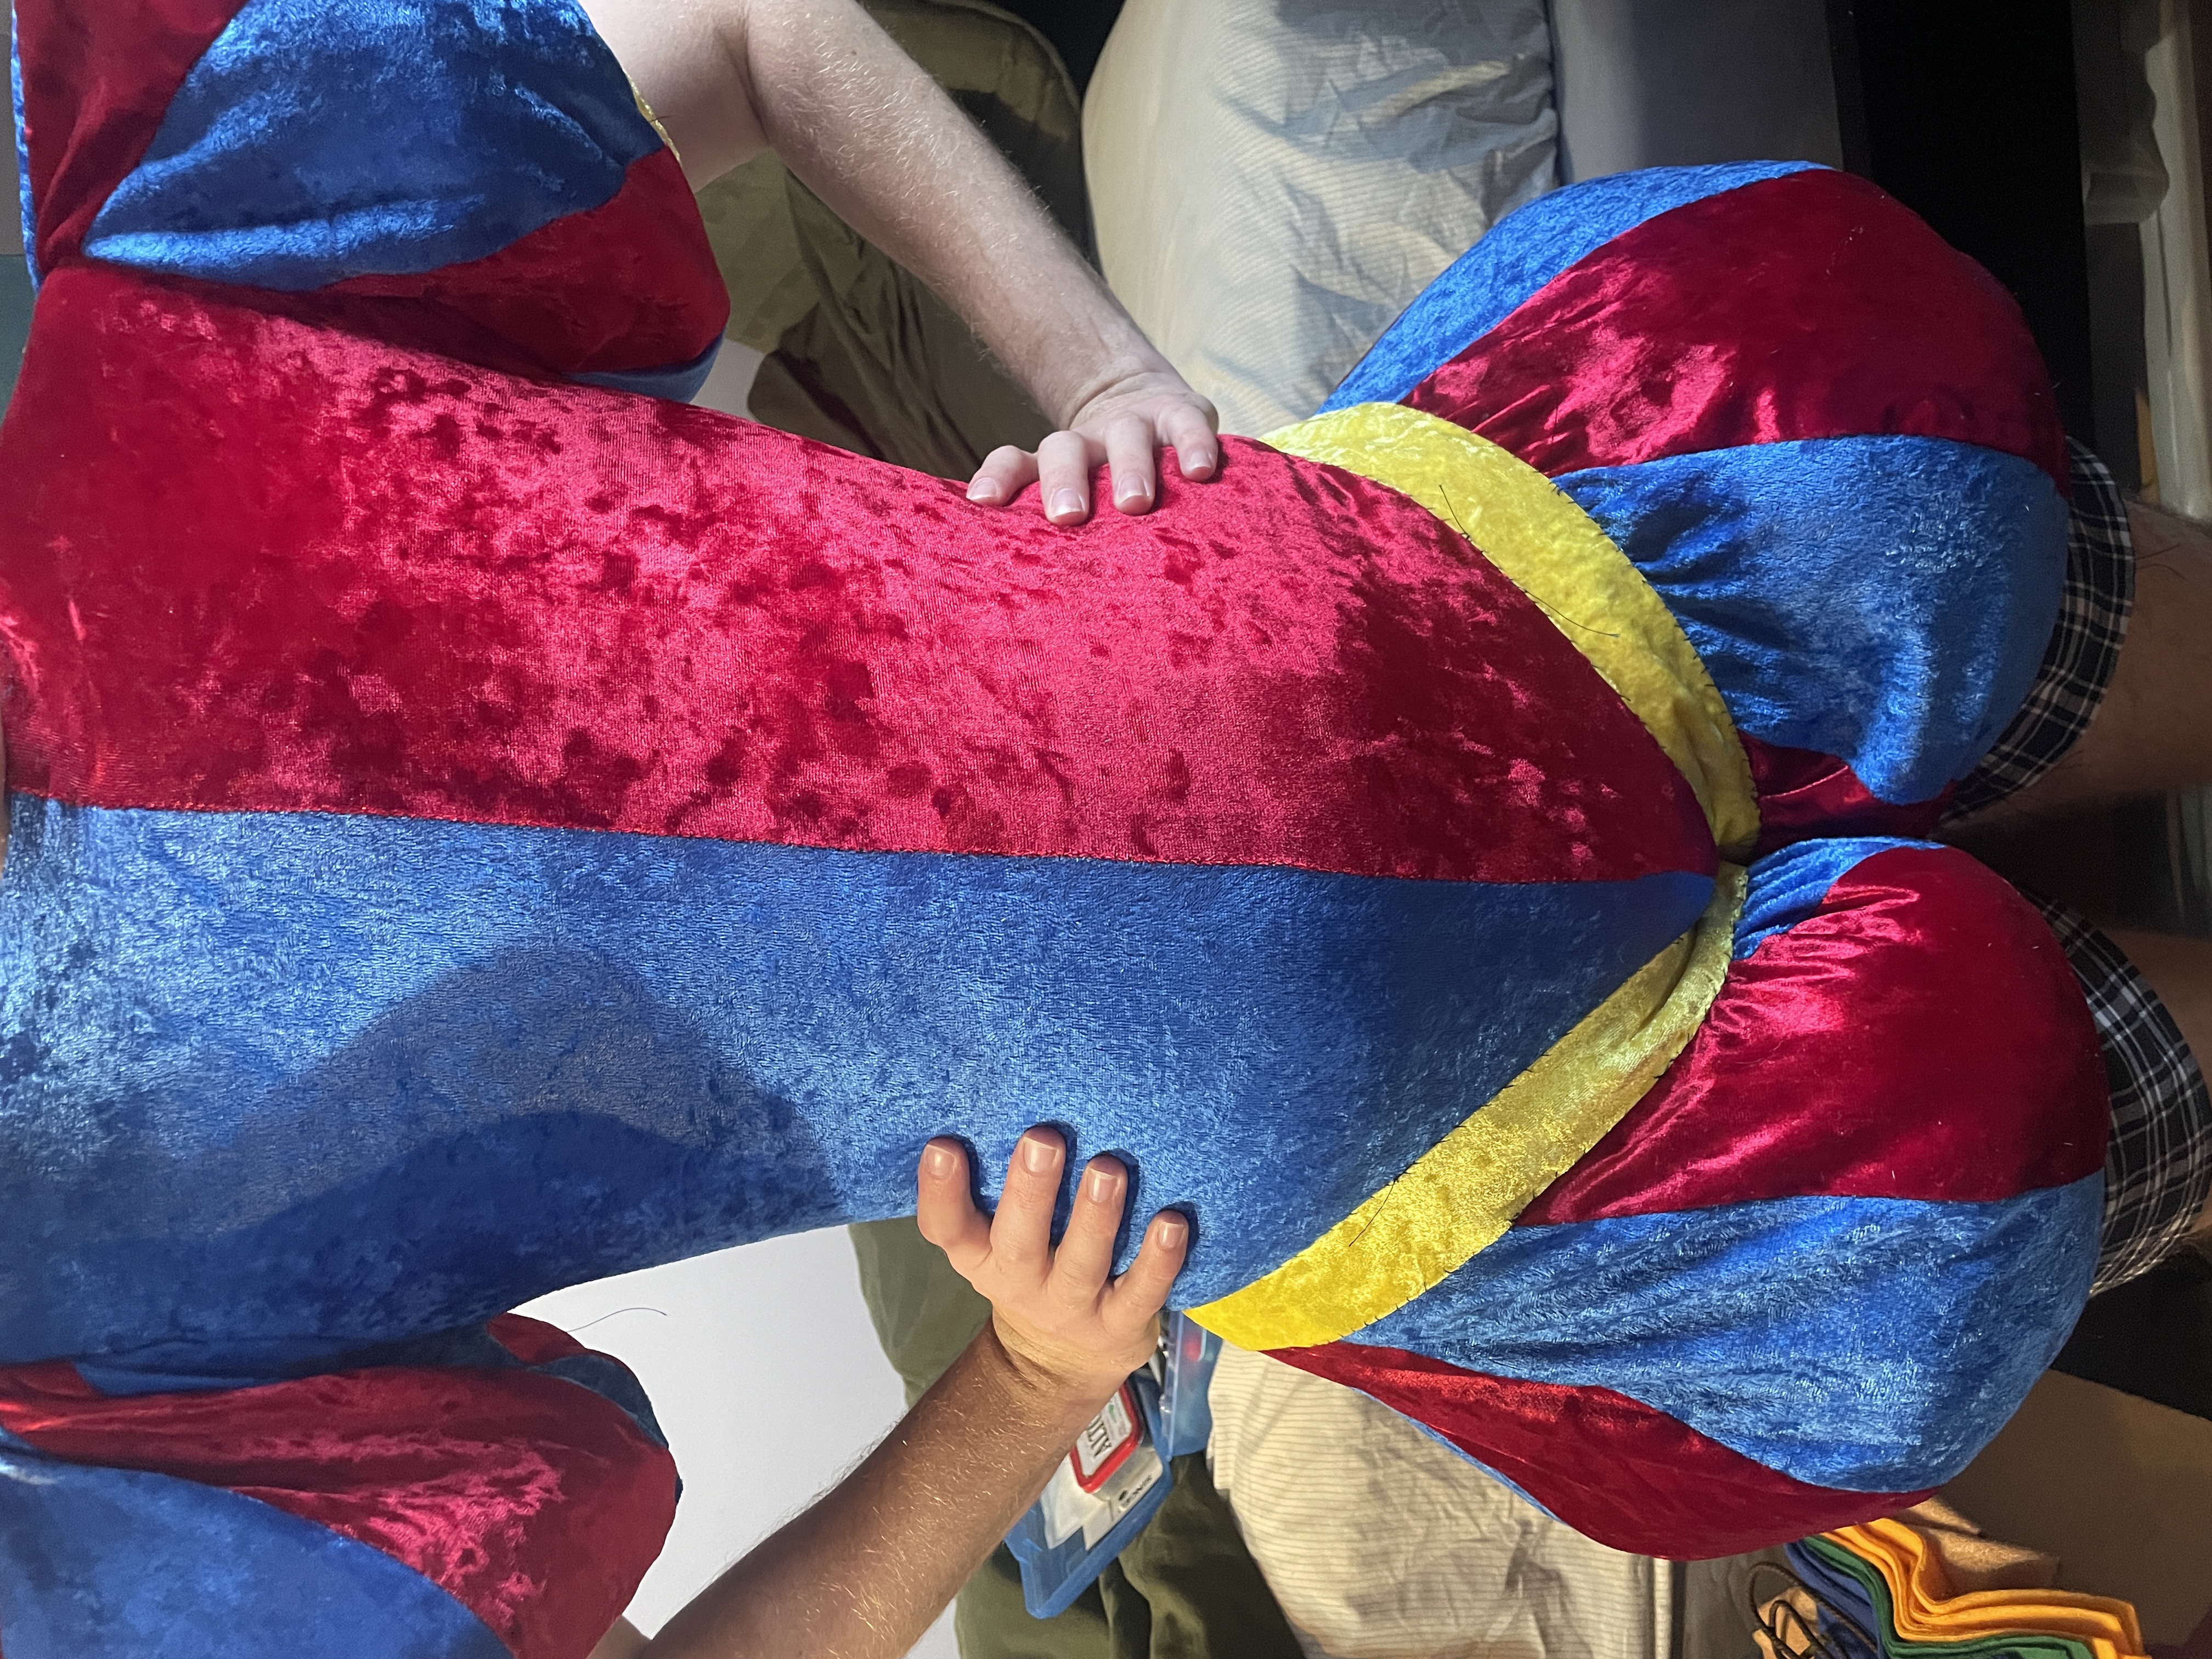
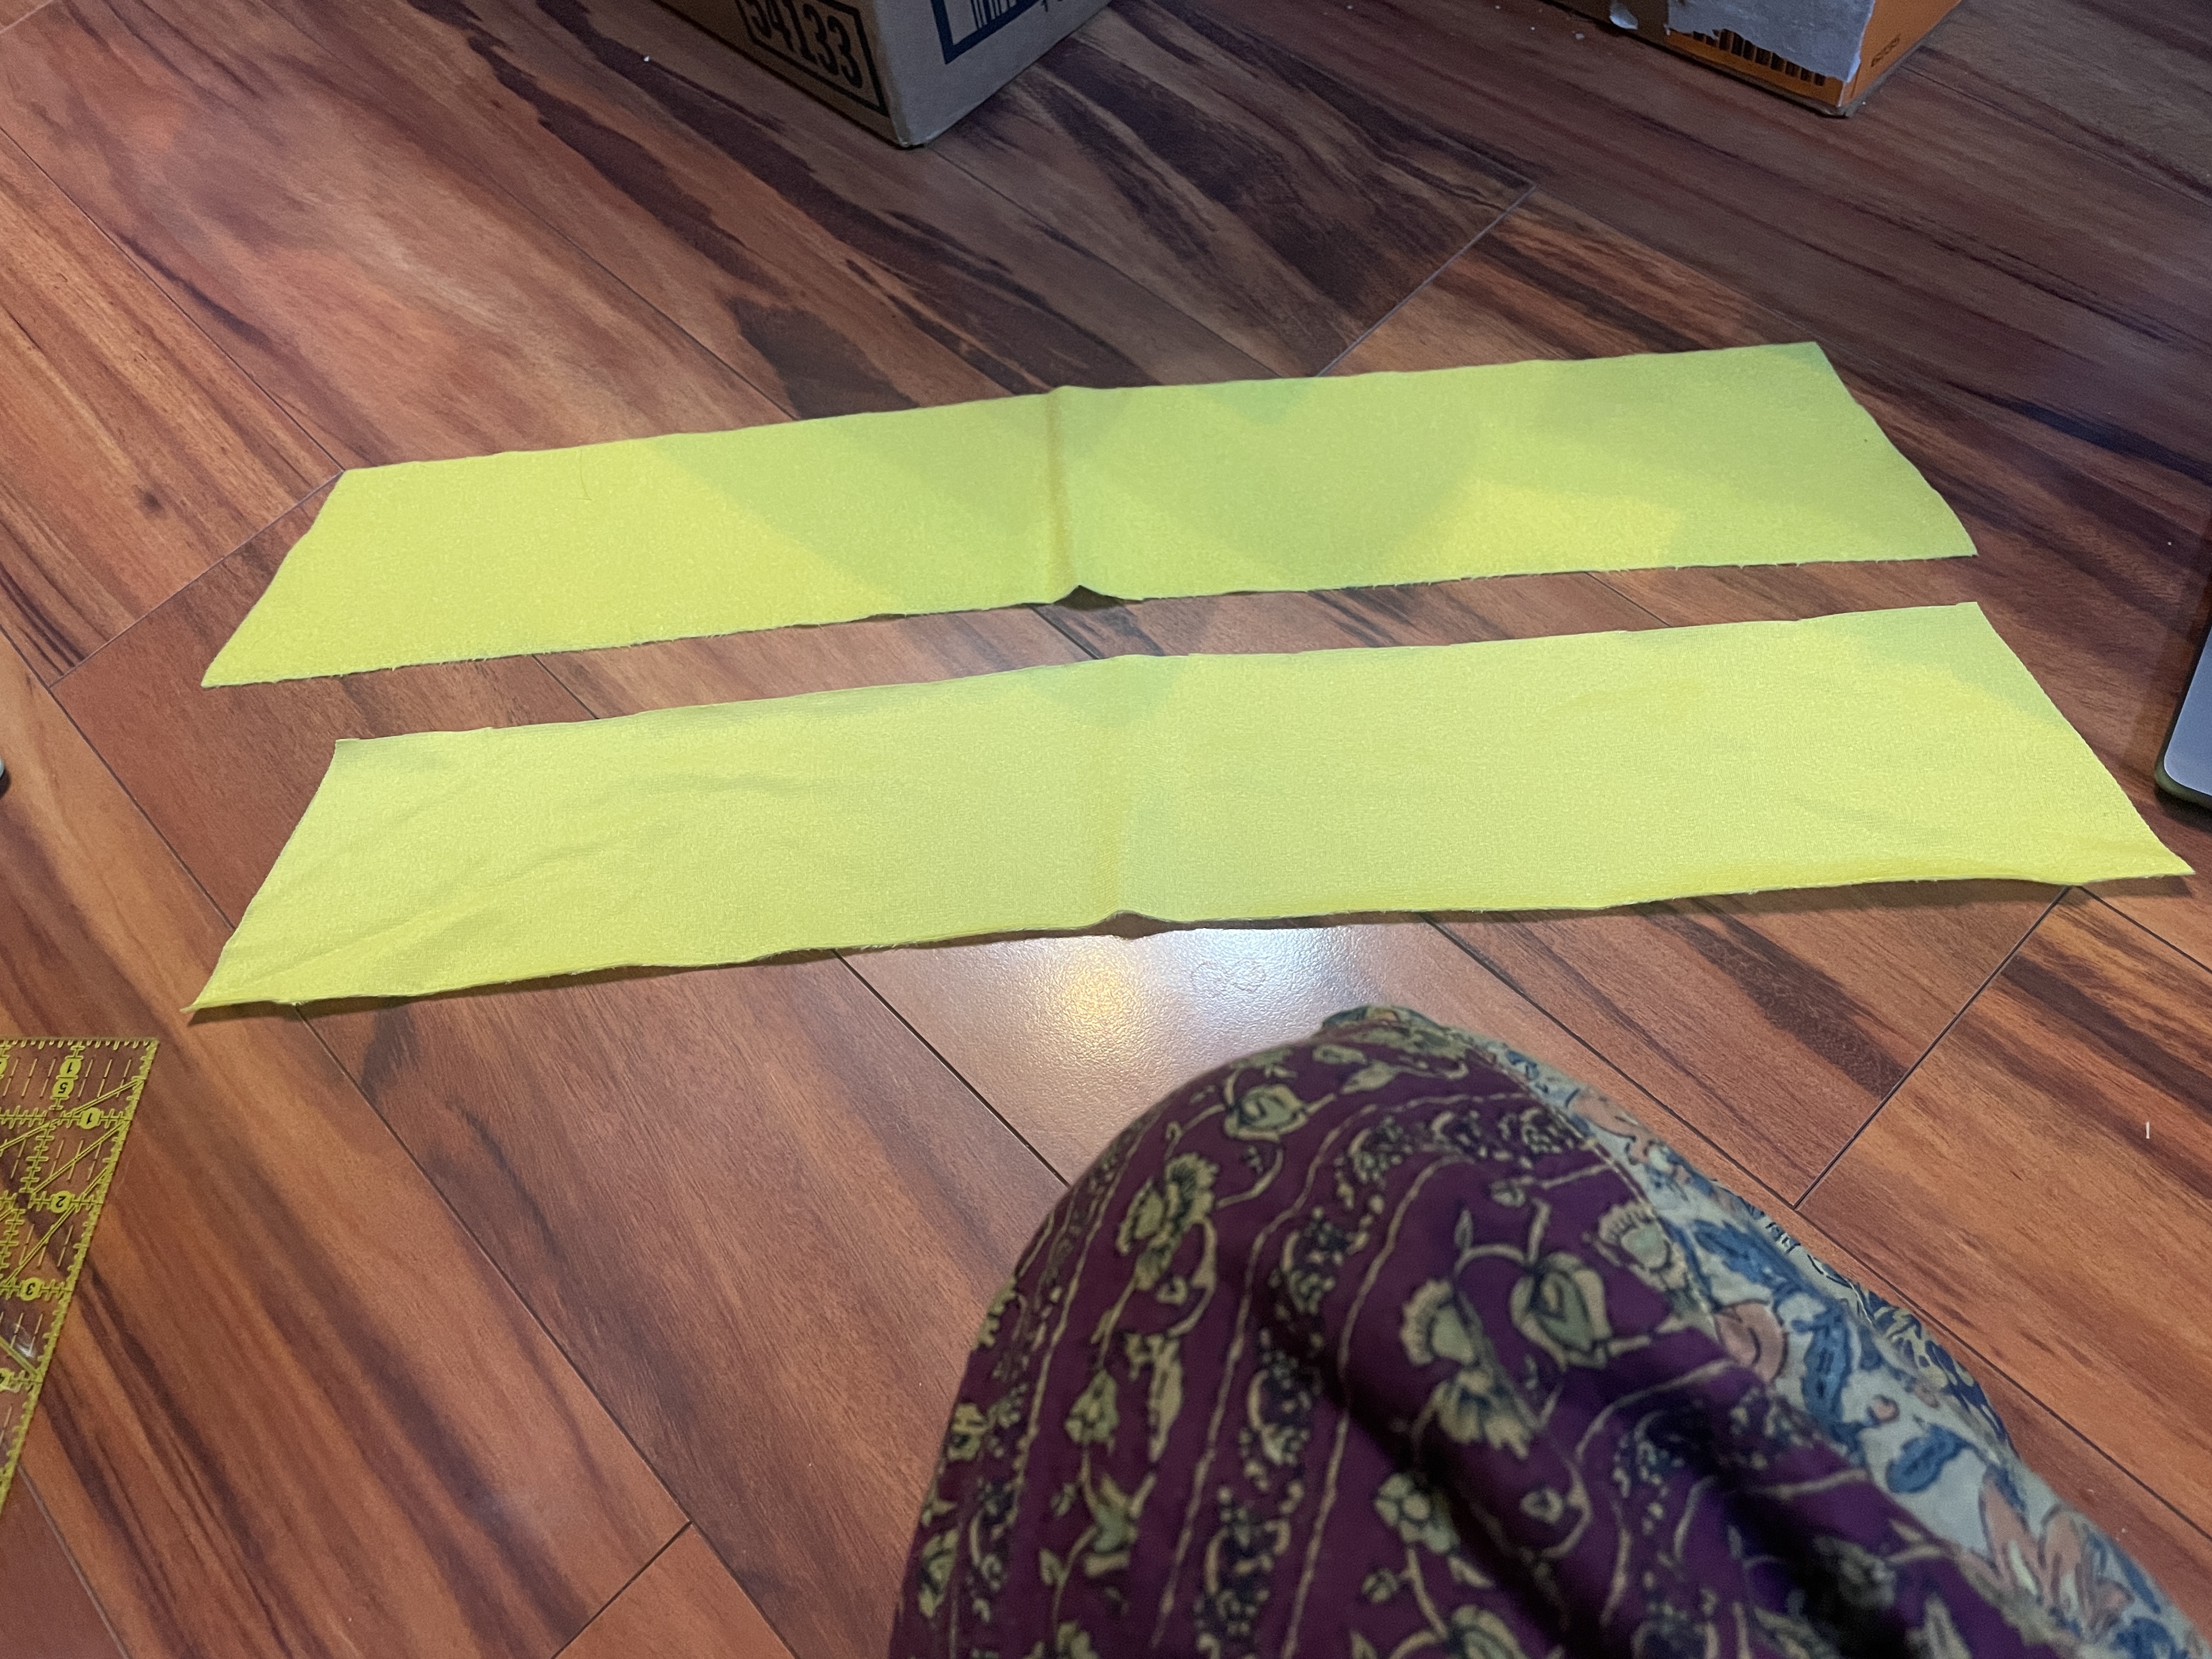
Next was the yellow trim for the leg puffs. This also required a live mannequin and lots of hand sewing. This time, my girlfriend wore the bodysuit and patiently stood while I hand-sewed the yellow velvet on, for about 3 hours and probably 15 accidental pin stabs. I used the same navy elastic thread as before, planning to replace it with a yellow embroidery floss later, but I didn't get to it before the convention. I'm hoping to do that in the future, though!
Next up was the collar. I made this out of a yellow slightly-stretchy synthetic fleece that I inherited. I used this video tutorial to draft the collar pattern, and adjusted it slightly so it would open at the back as well. I had my girlfriend make the pompoms out of the same fabric, using a pattern for a basic felt baseball. I also attached some arm socks I made out of leggings.
The Head
Now it was time to start the most daunting part-- the head. I ordered EVA foam online from Michaels, and was able to get two 2'x5' sheets of 8mm white EVA foam for just under $30.
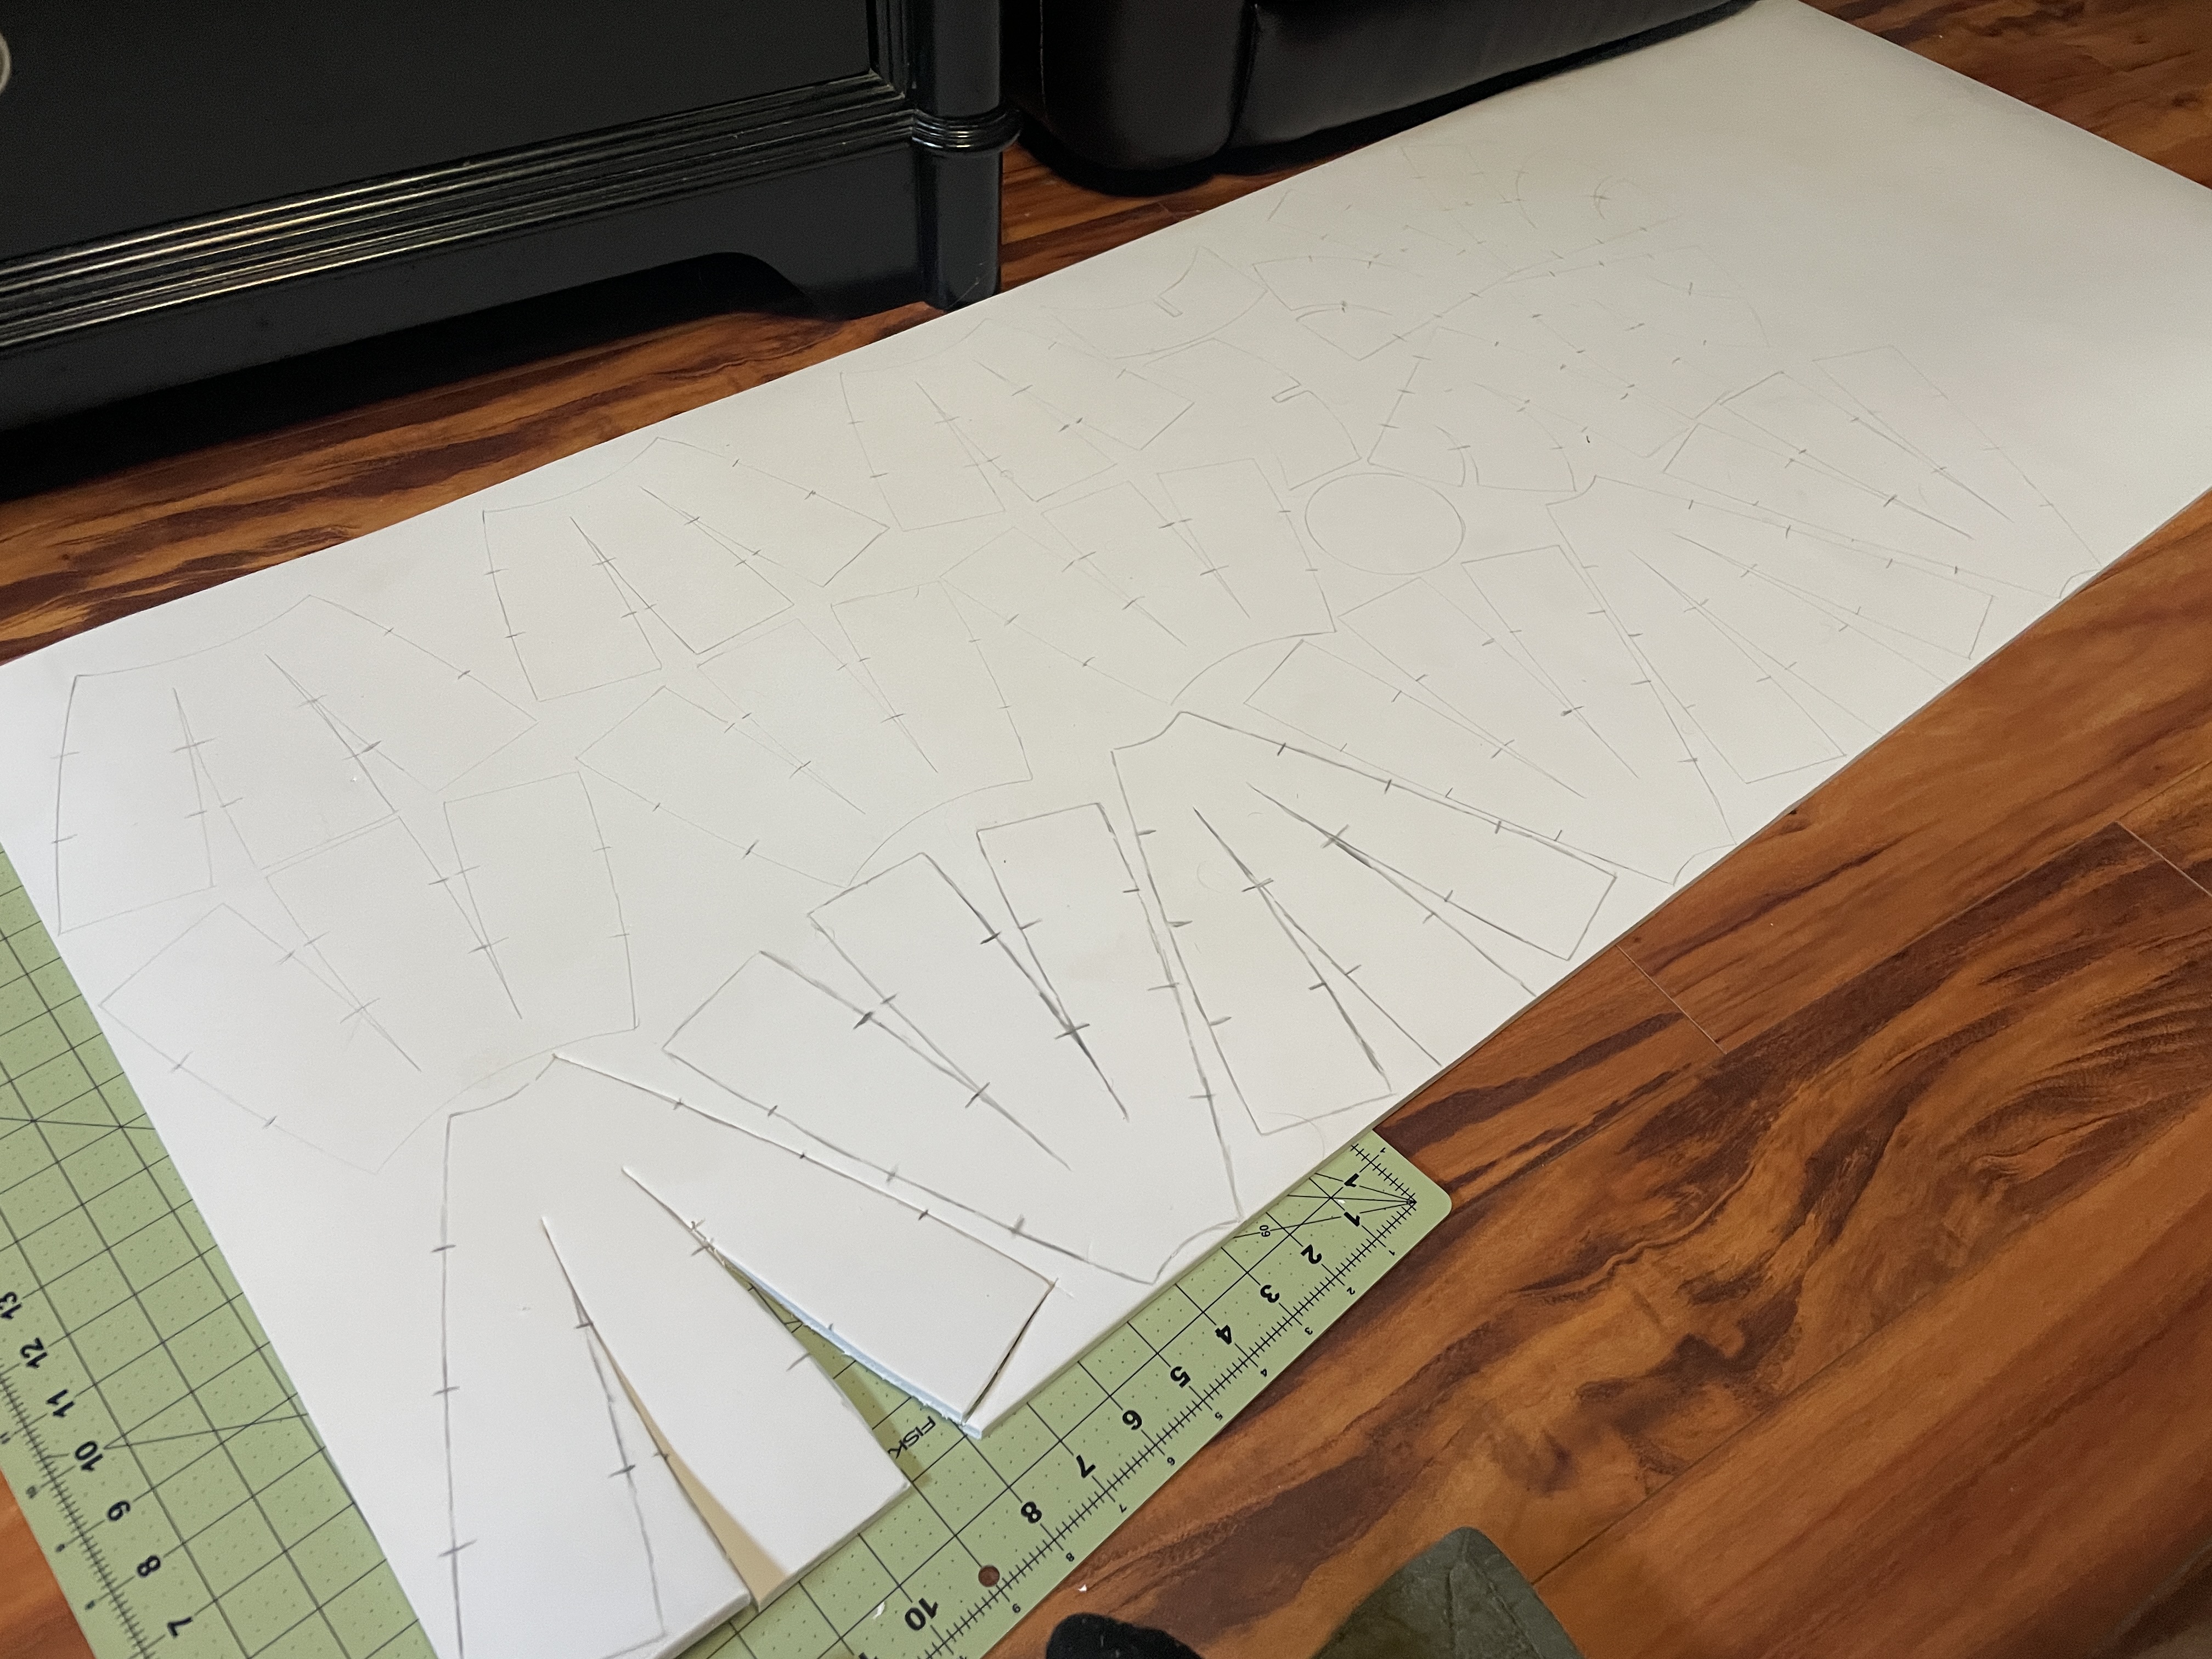
I bought this pattern for the head, and began tracing out the pattern pieces onto the EVA foam. I used a boxcutter to cut out the foam, which worked pretty well once I swapped to a fresh blade.
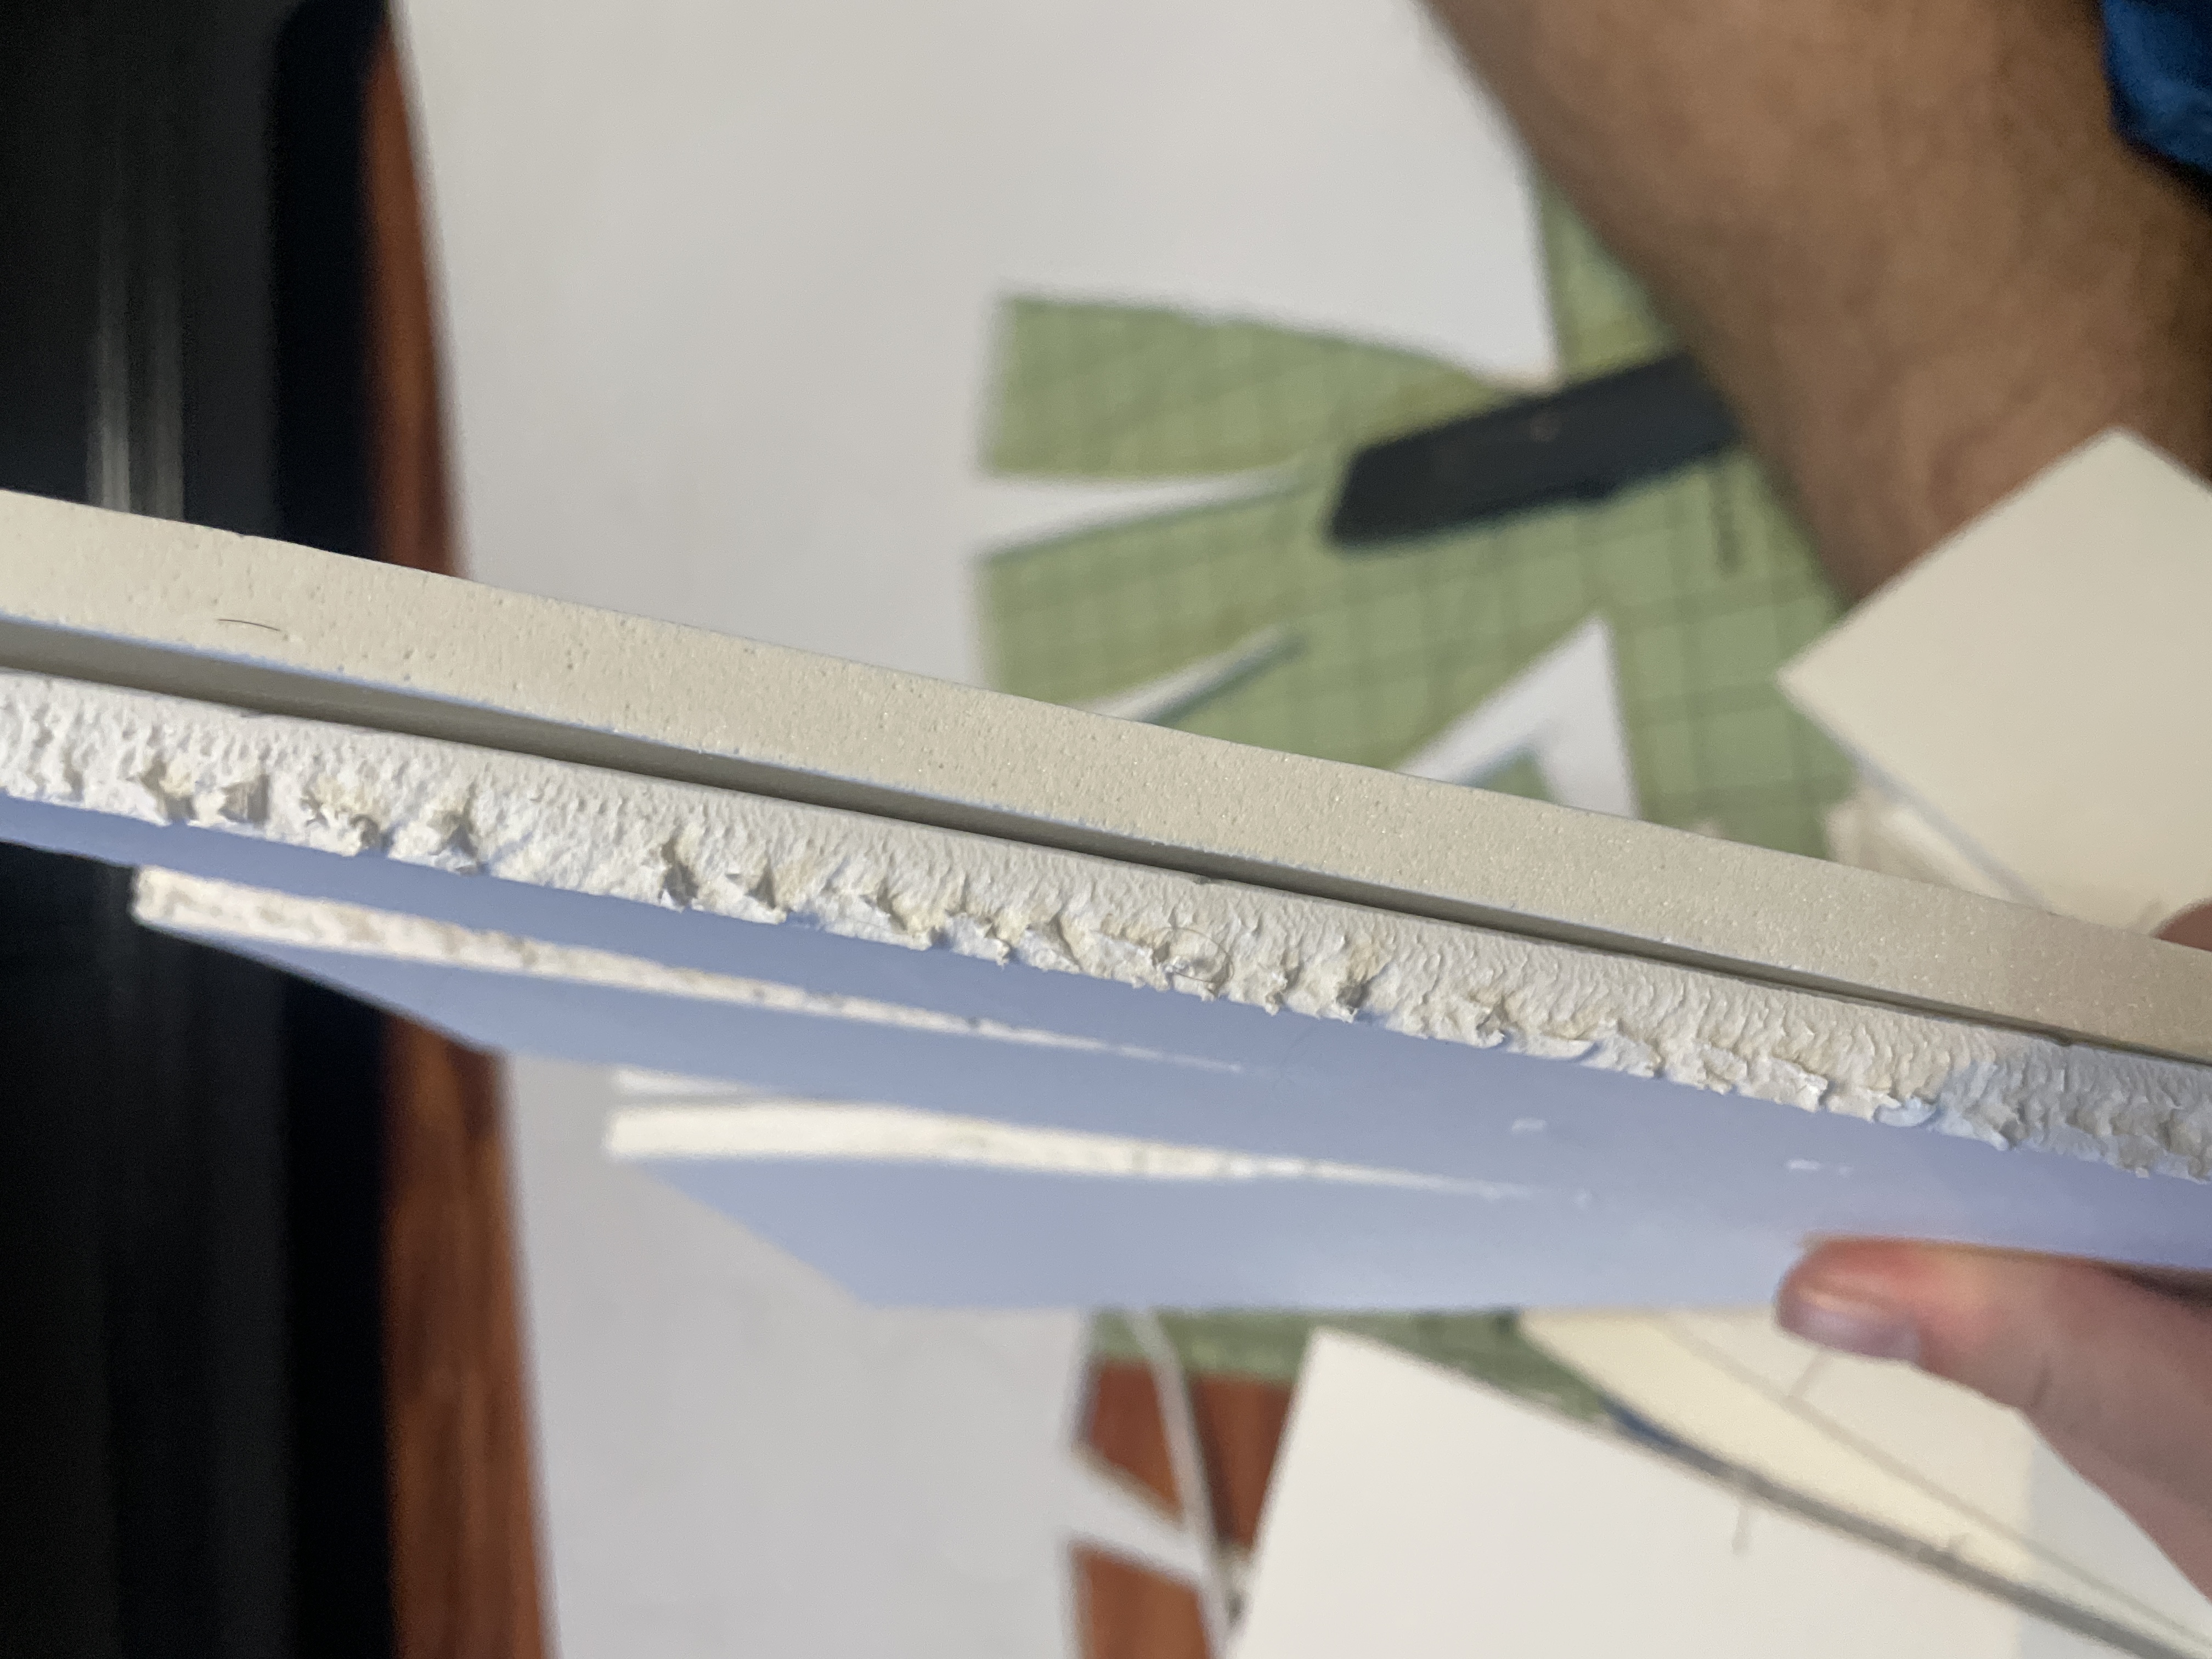
The difference between a dull and fresh blade.
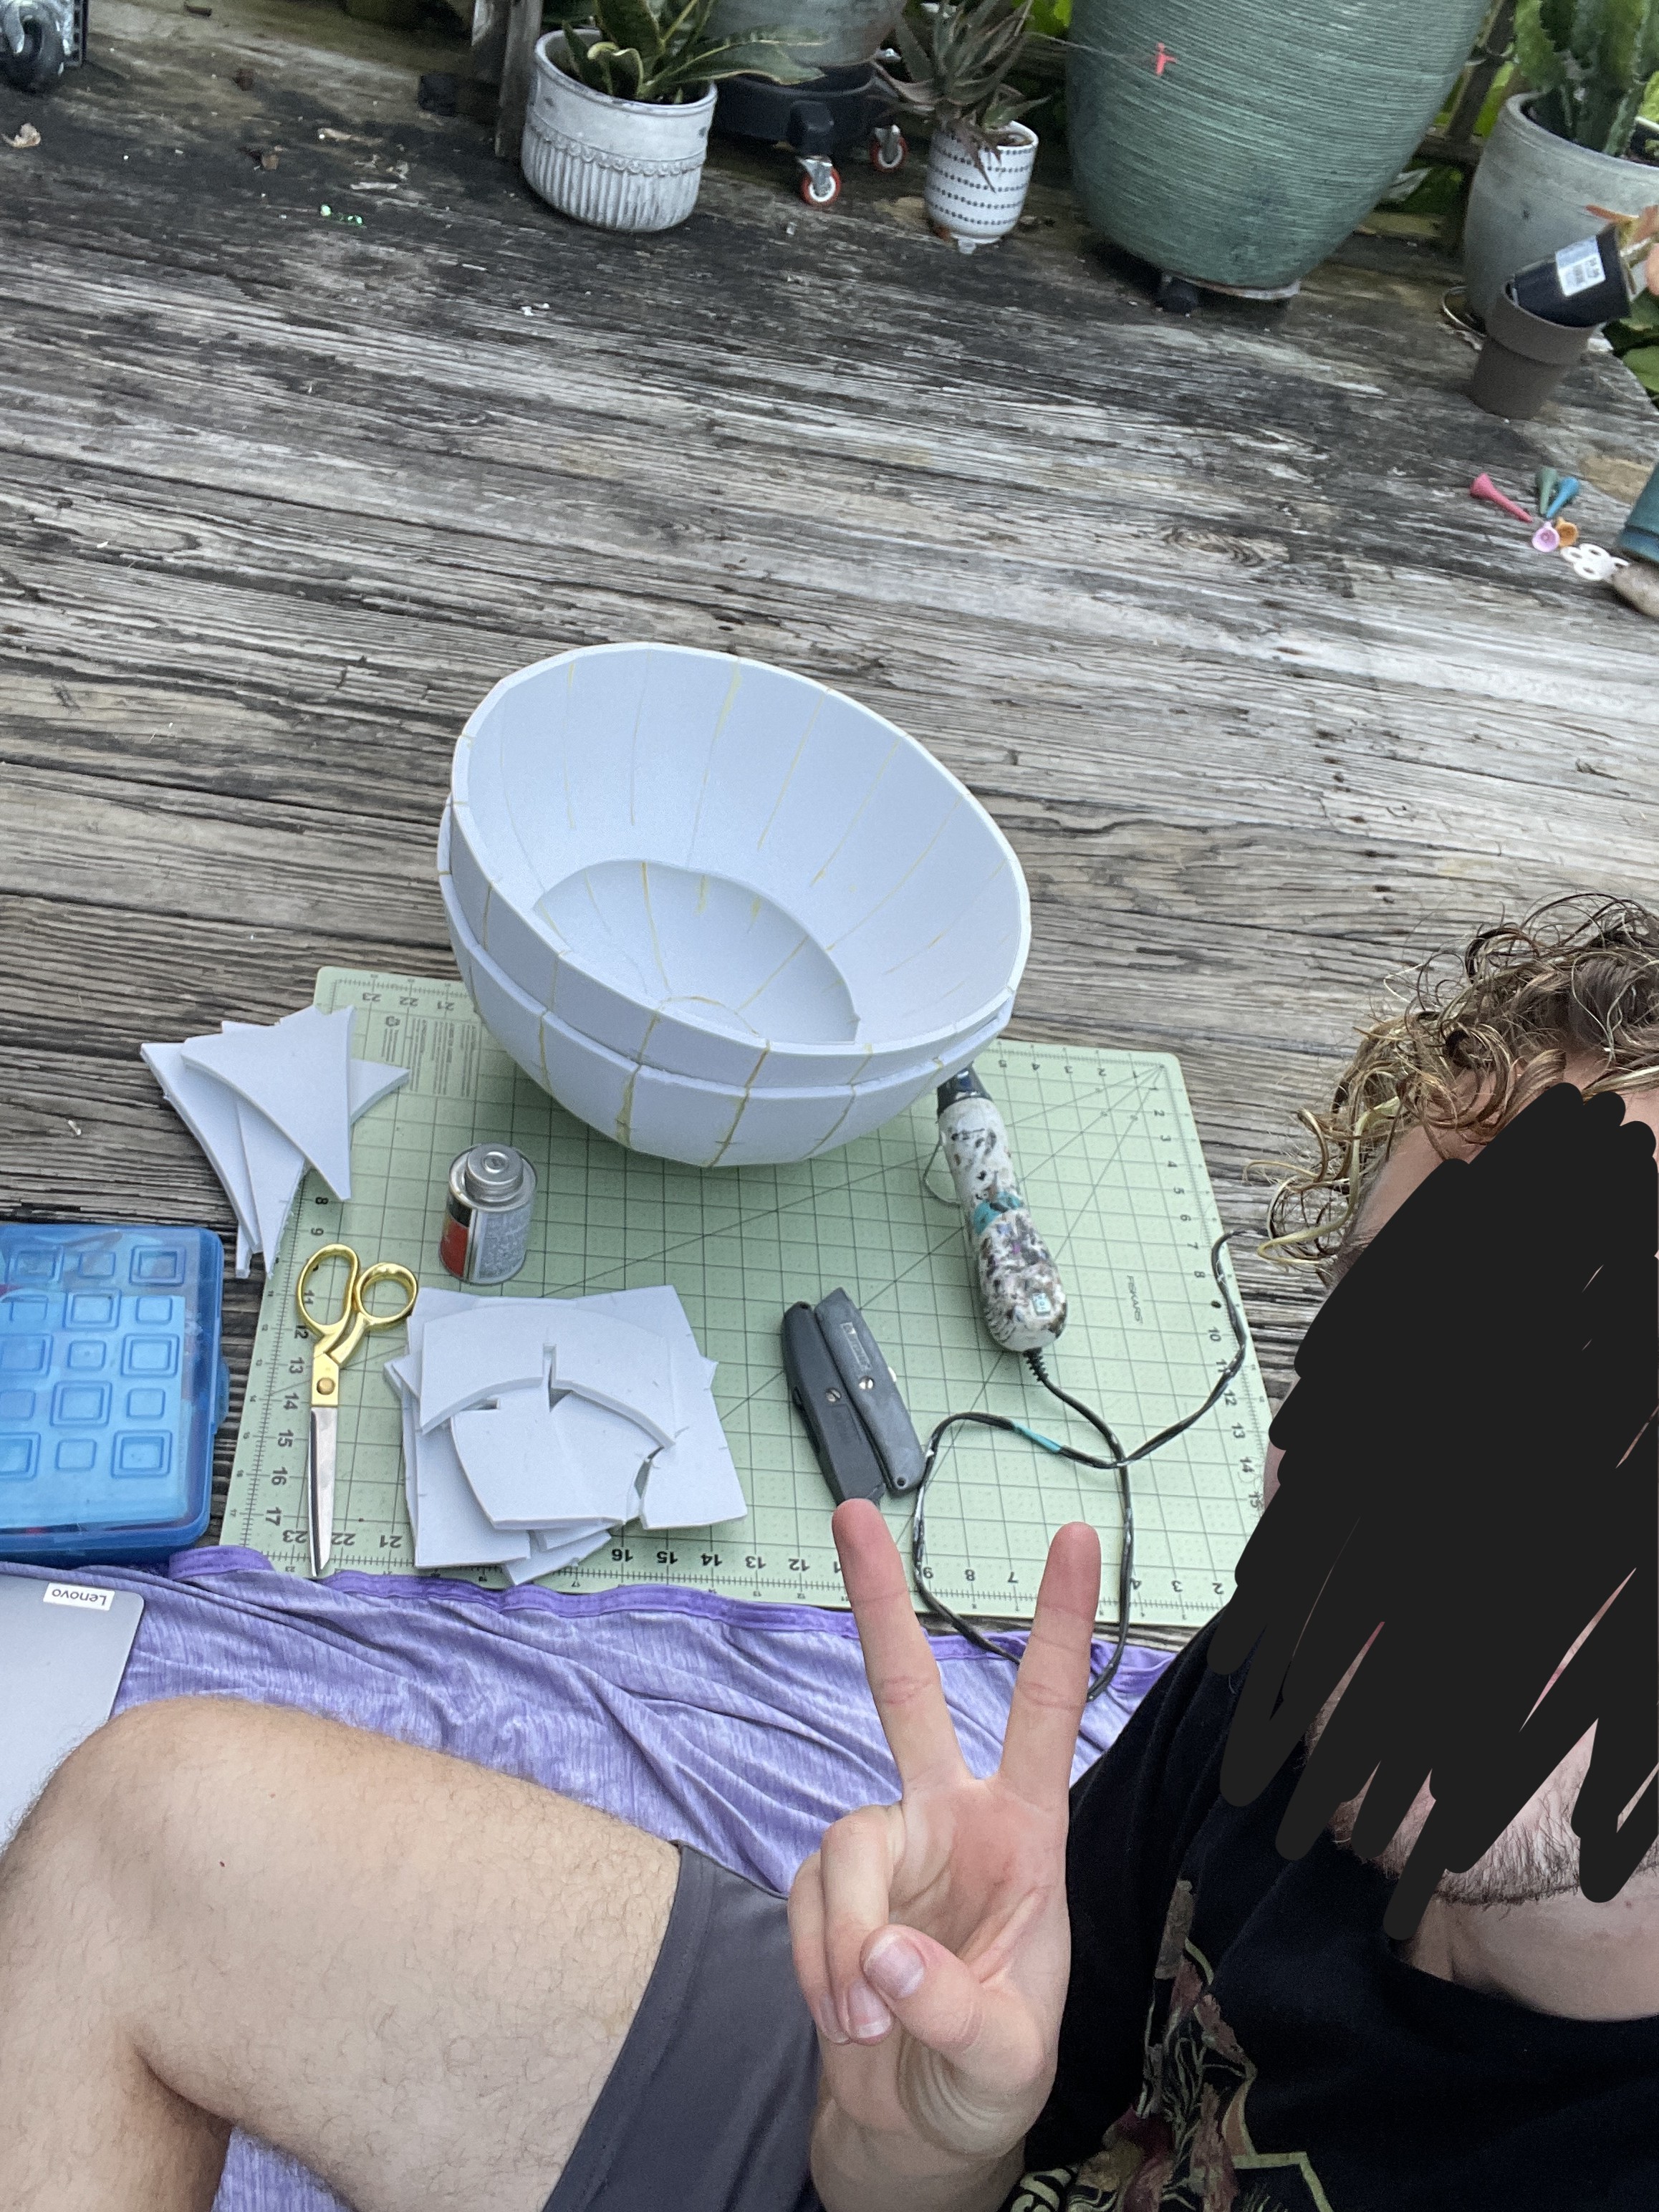
I followed the directions in the pattern and began gluing together the head with contact cement. After getting a stern talking-to from a friend about proper ventilation, I moved outside to finish assembling the head. I did use the heat gun to slightly shape the pieces, but most didn't need much shaping. I will say though, my seams were not very neat, both from messy cuts and not aligning all the seams properly when gluing. It was my first time working with EVA foam, so I'm not too mad, but it definitely was visible (to me) on the final product.

Forgot to take pictures of this step too, but I hot-glued polyester quilt batting and an old tshirt to the front half of the head to smooth out the head and act as a neater layer for the skin. It does have some wrinkles that I'm not happy with, but it is what it is. Next, I began roughly laying out the facial features and hairline/hat-line. Then I went oh shit she looks like a fish. So then I fixed it.
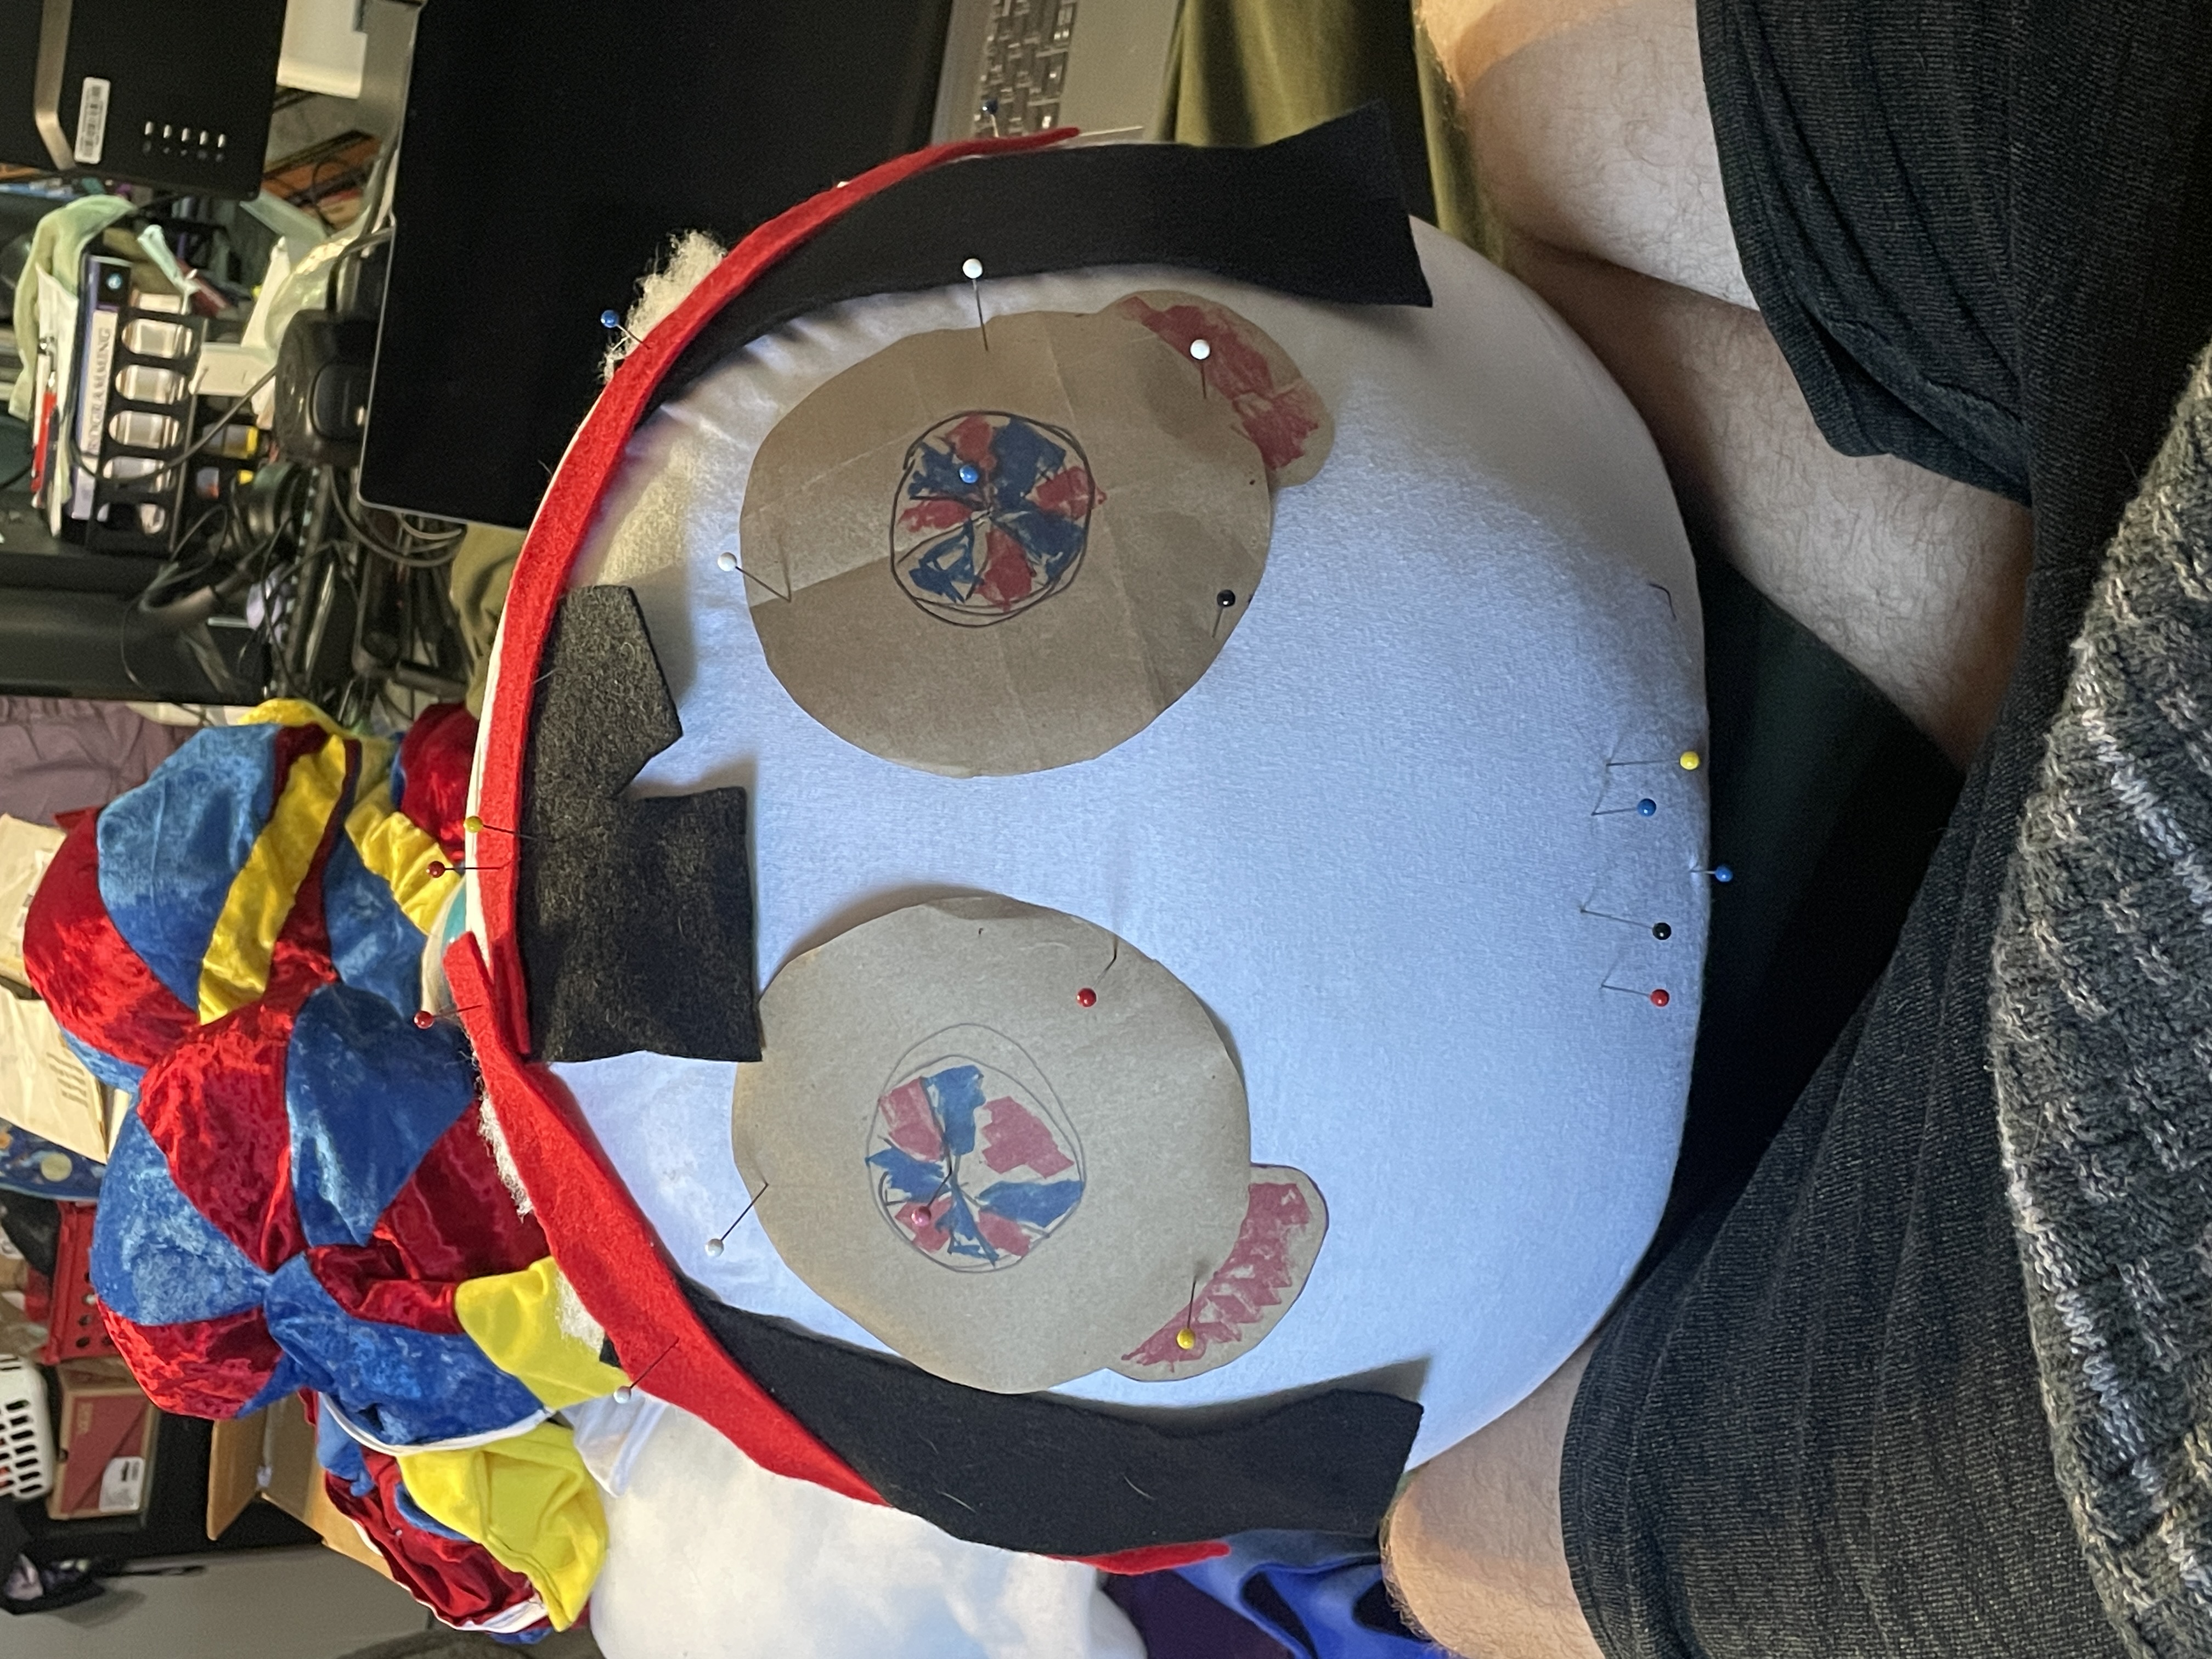
Ahh, much better.
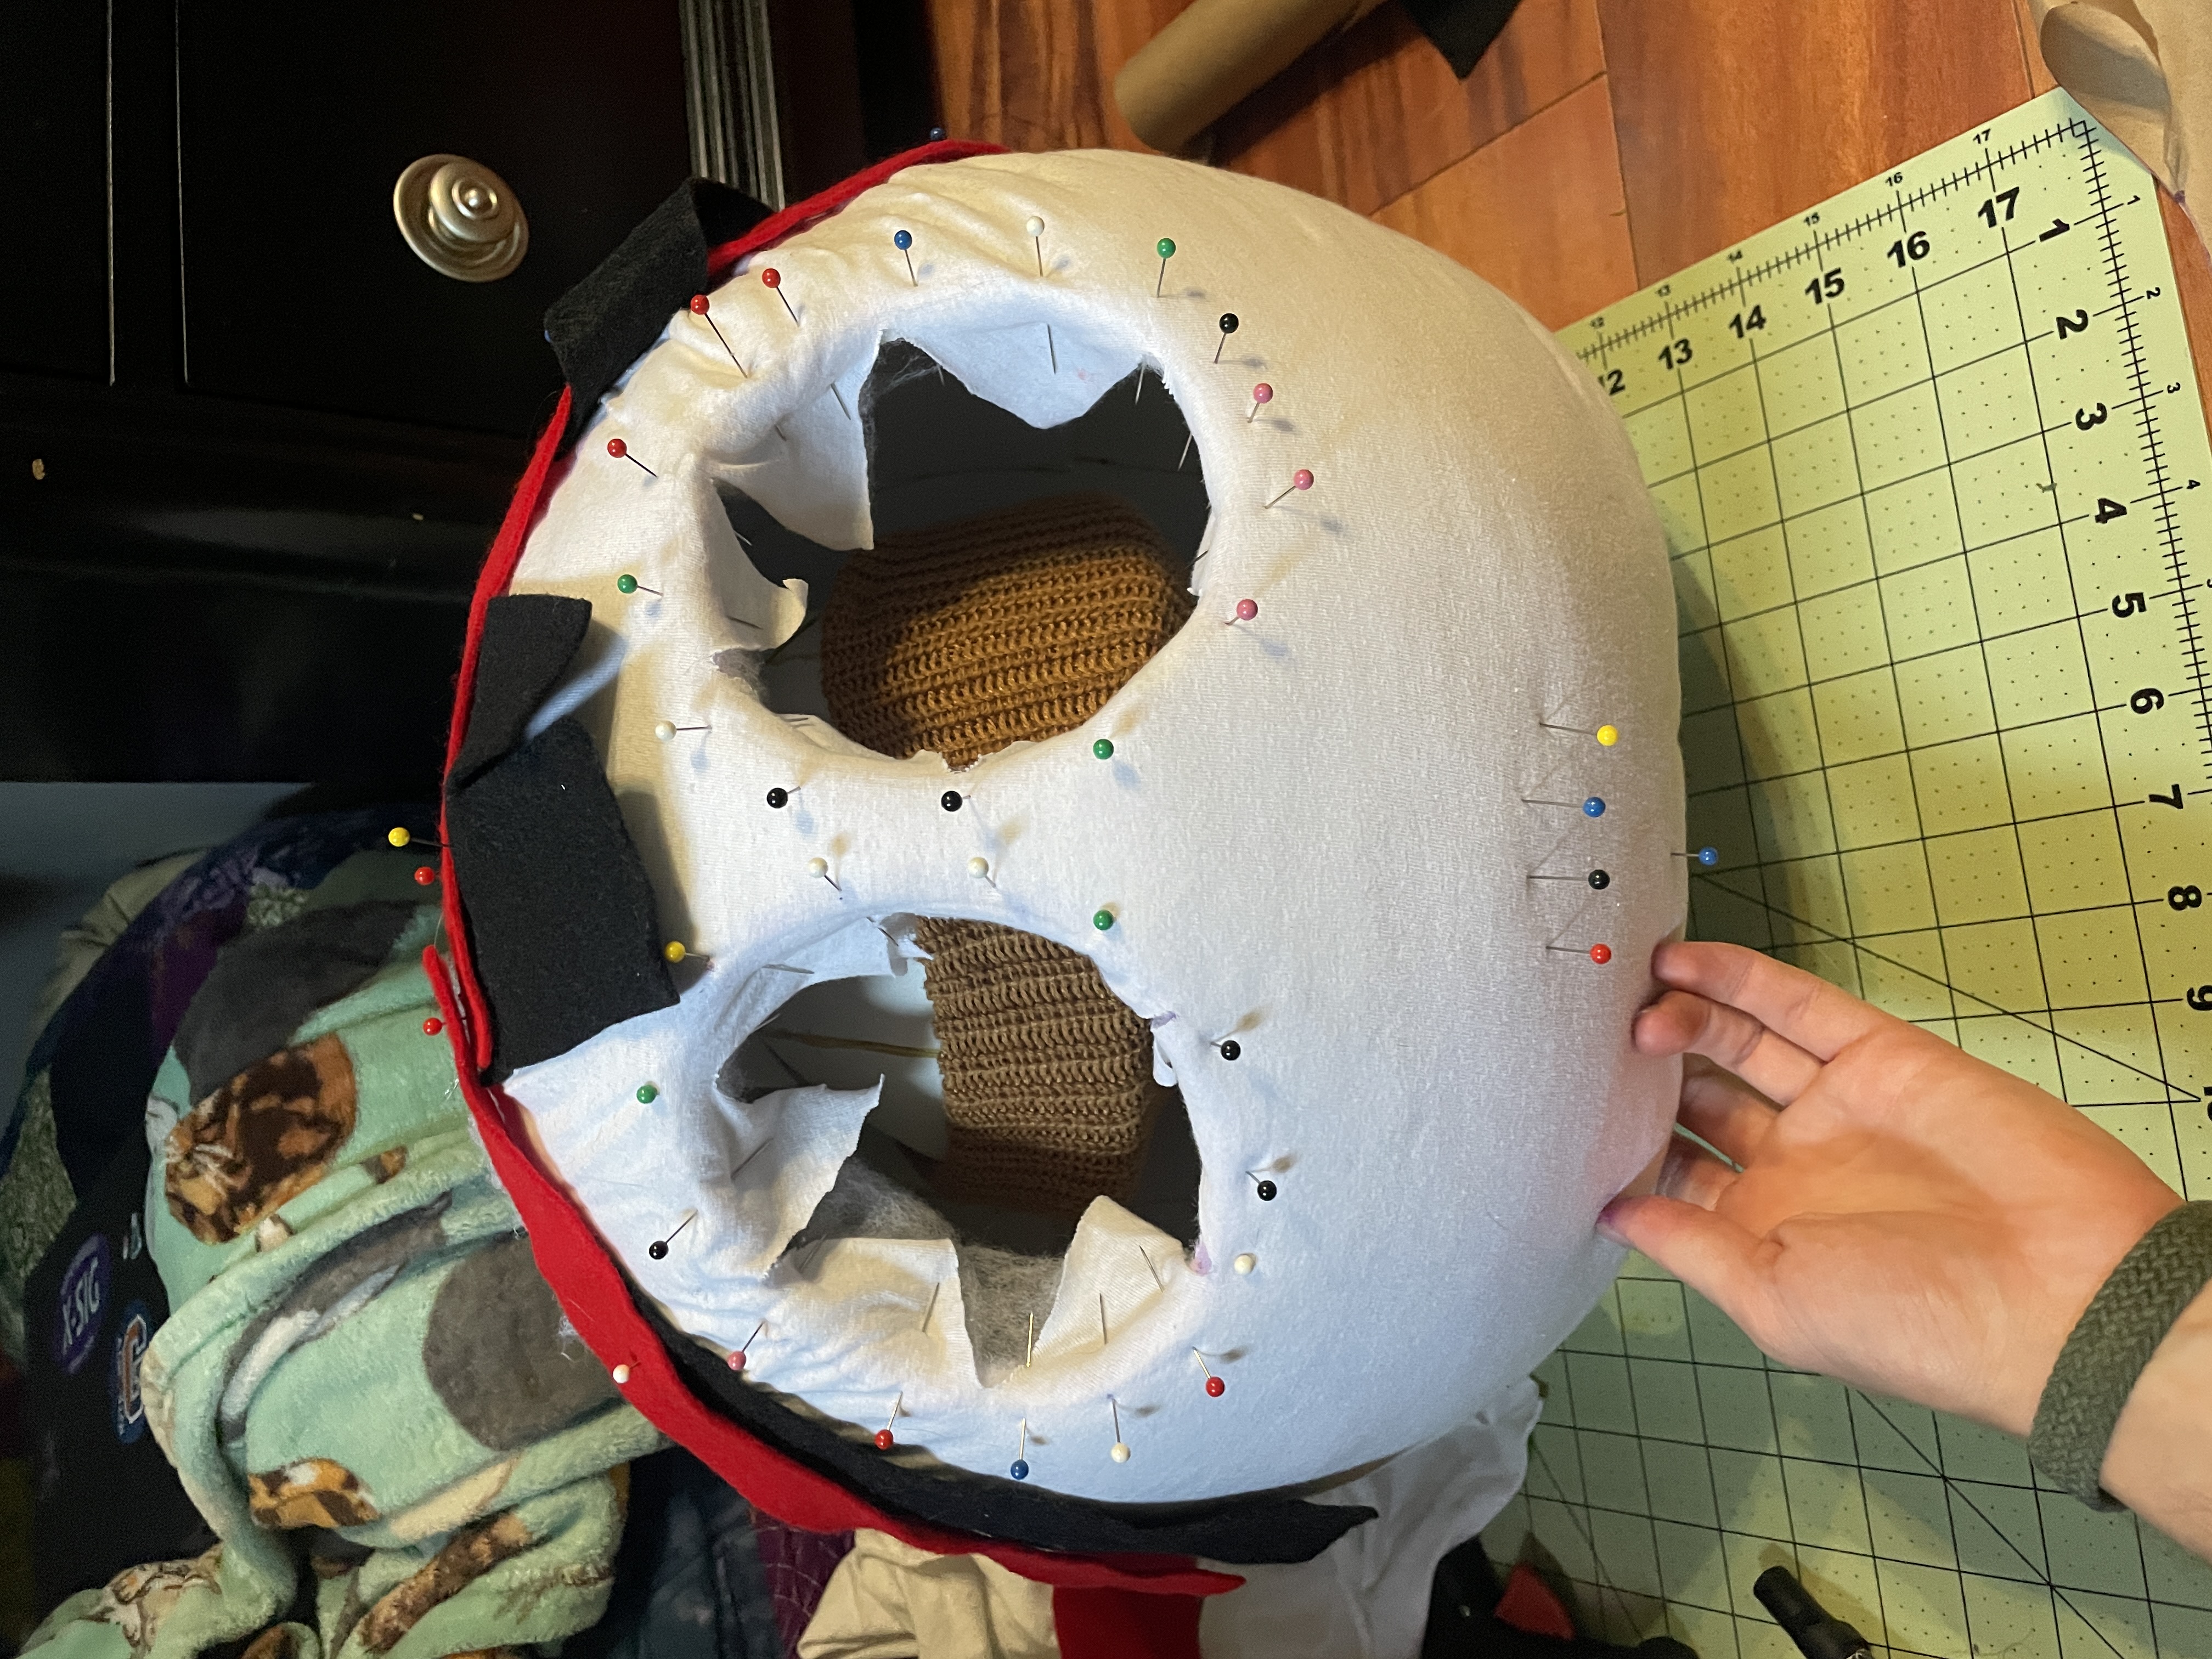
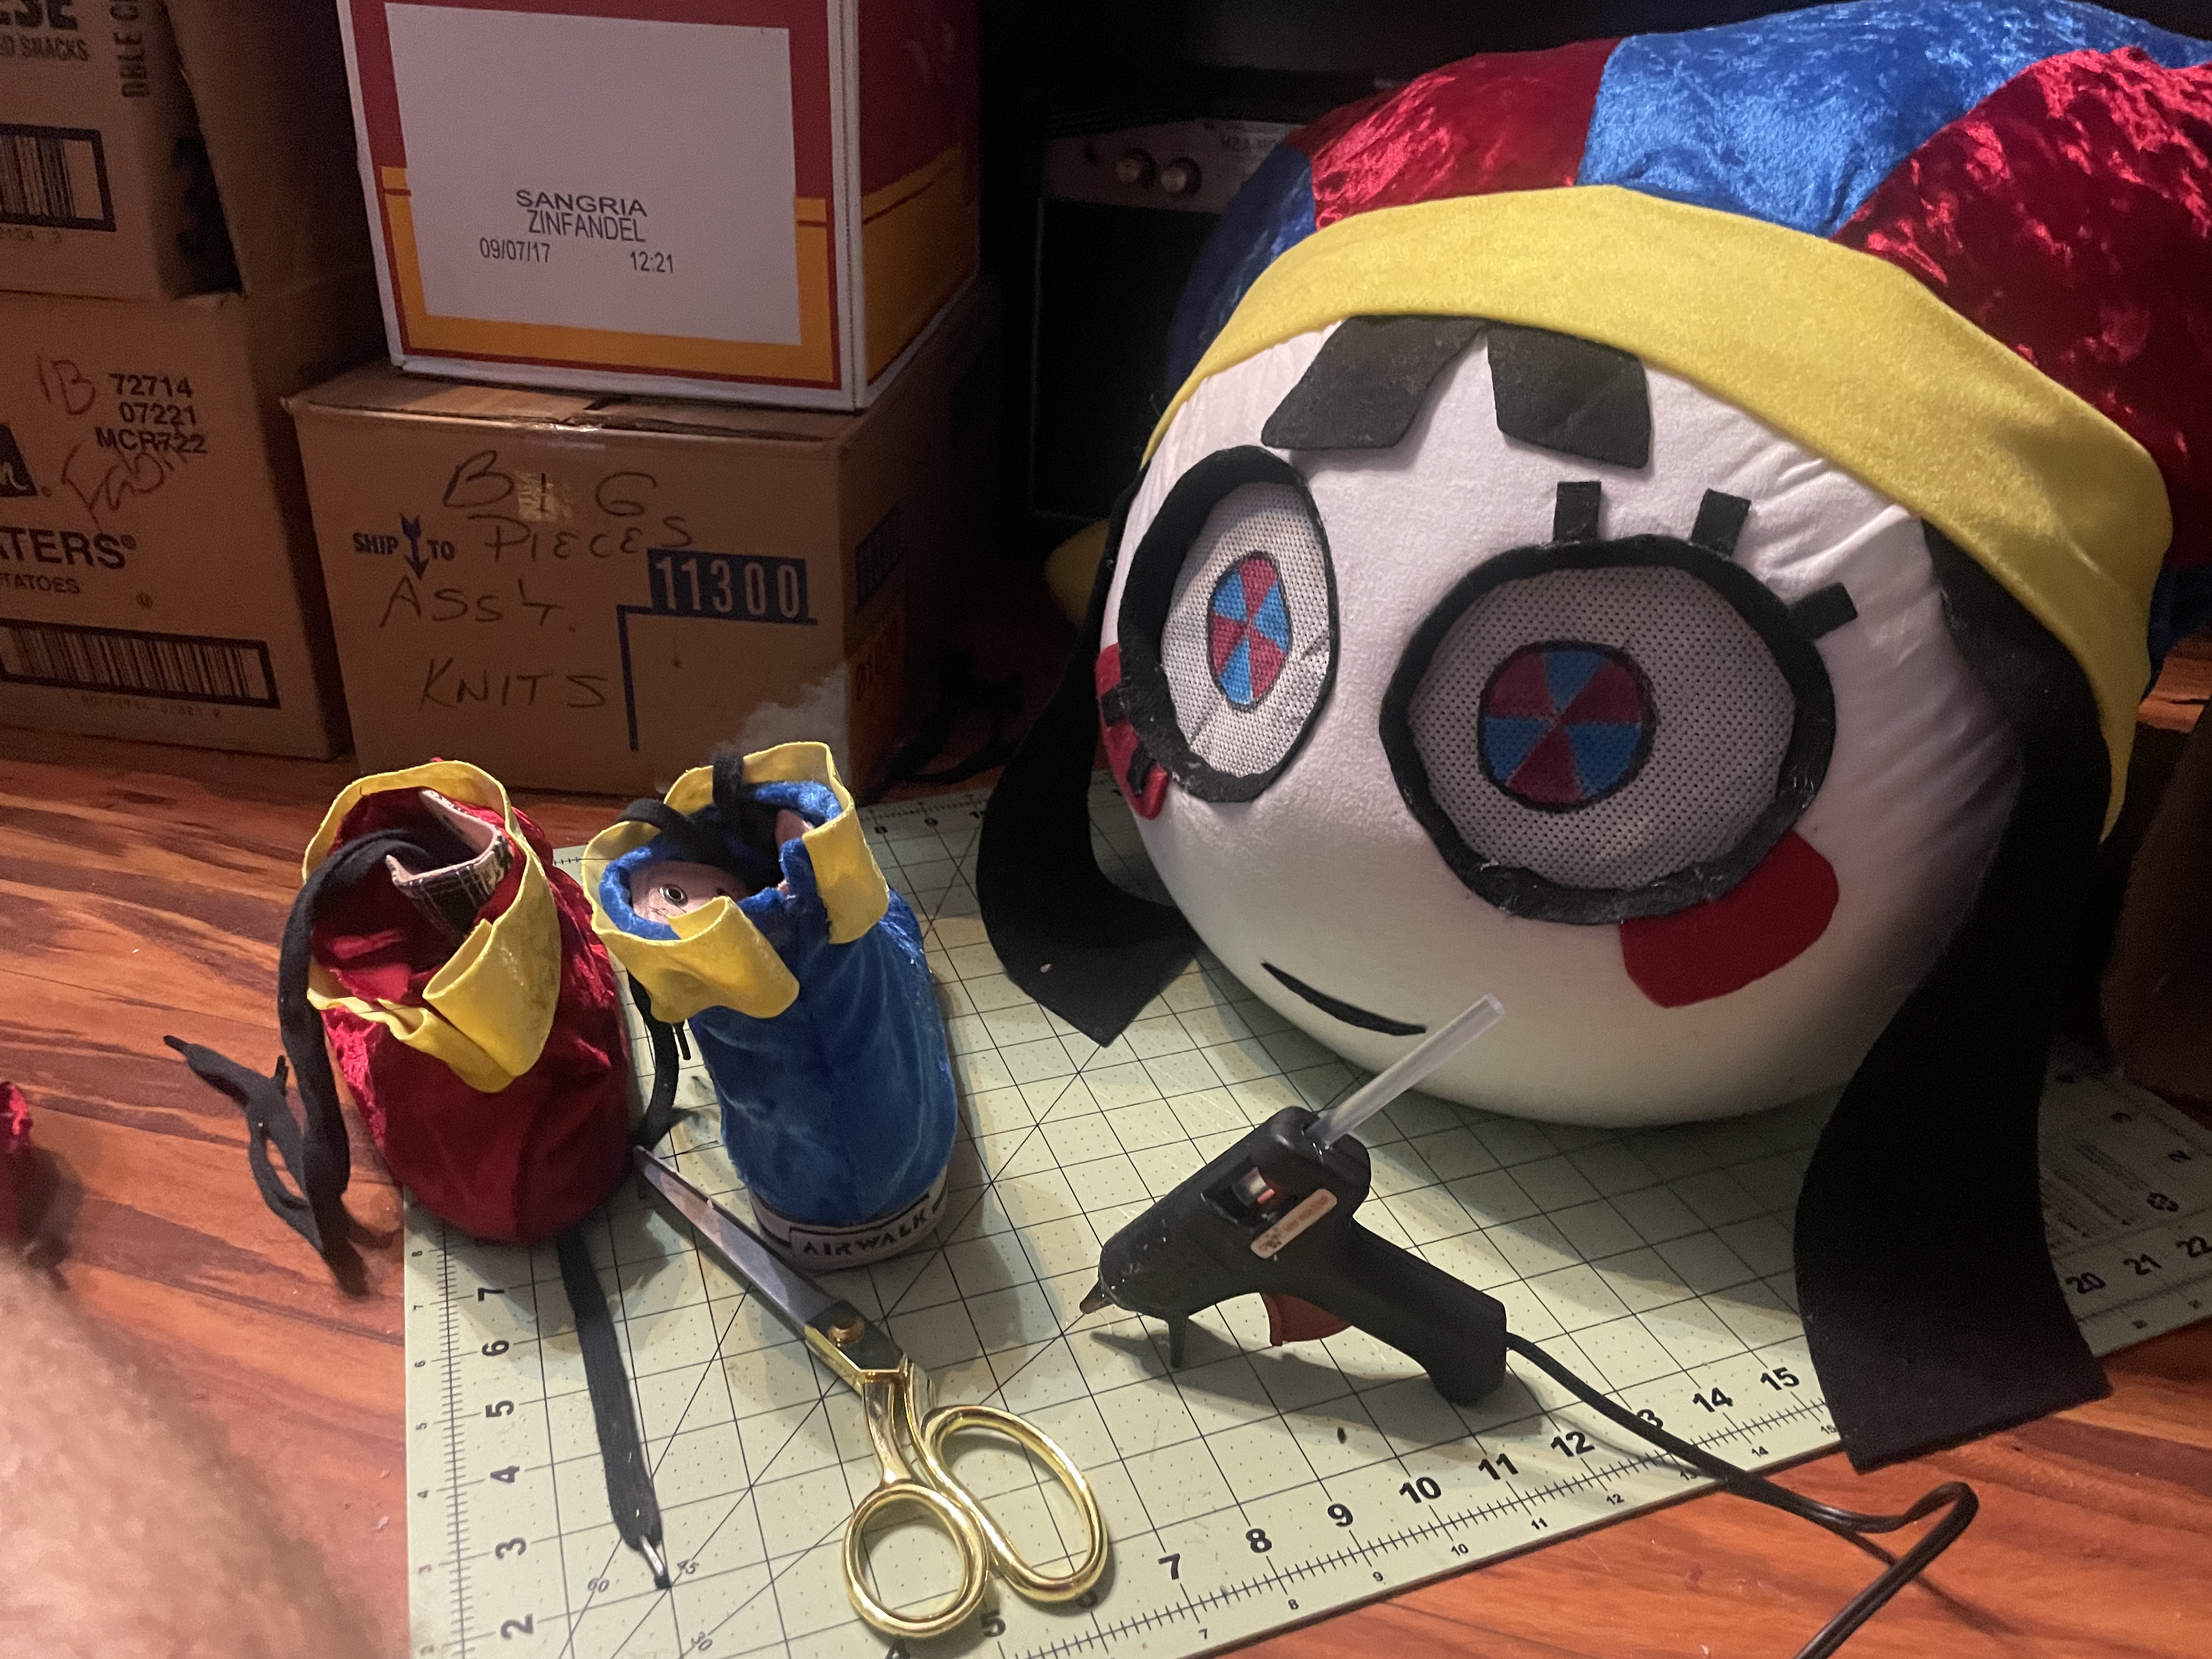
Once I was happy with the placement, I cut out holes for the eyes, making sure to leave the fabric layer so that I could fold it over the edges of the eyes. At this step you can see the head support piece, which holds the head at a proper height to see out of. I had to put a beanie on it because it was slightly too big for me.
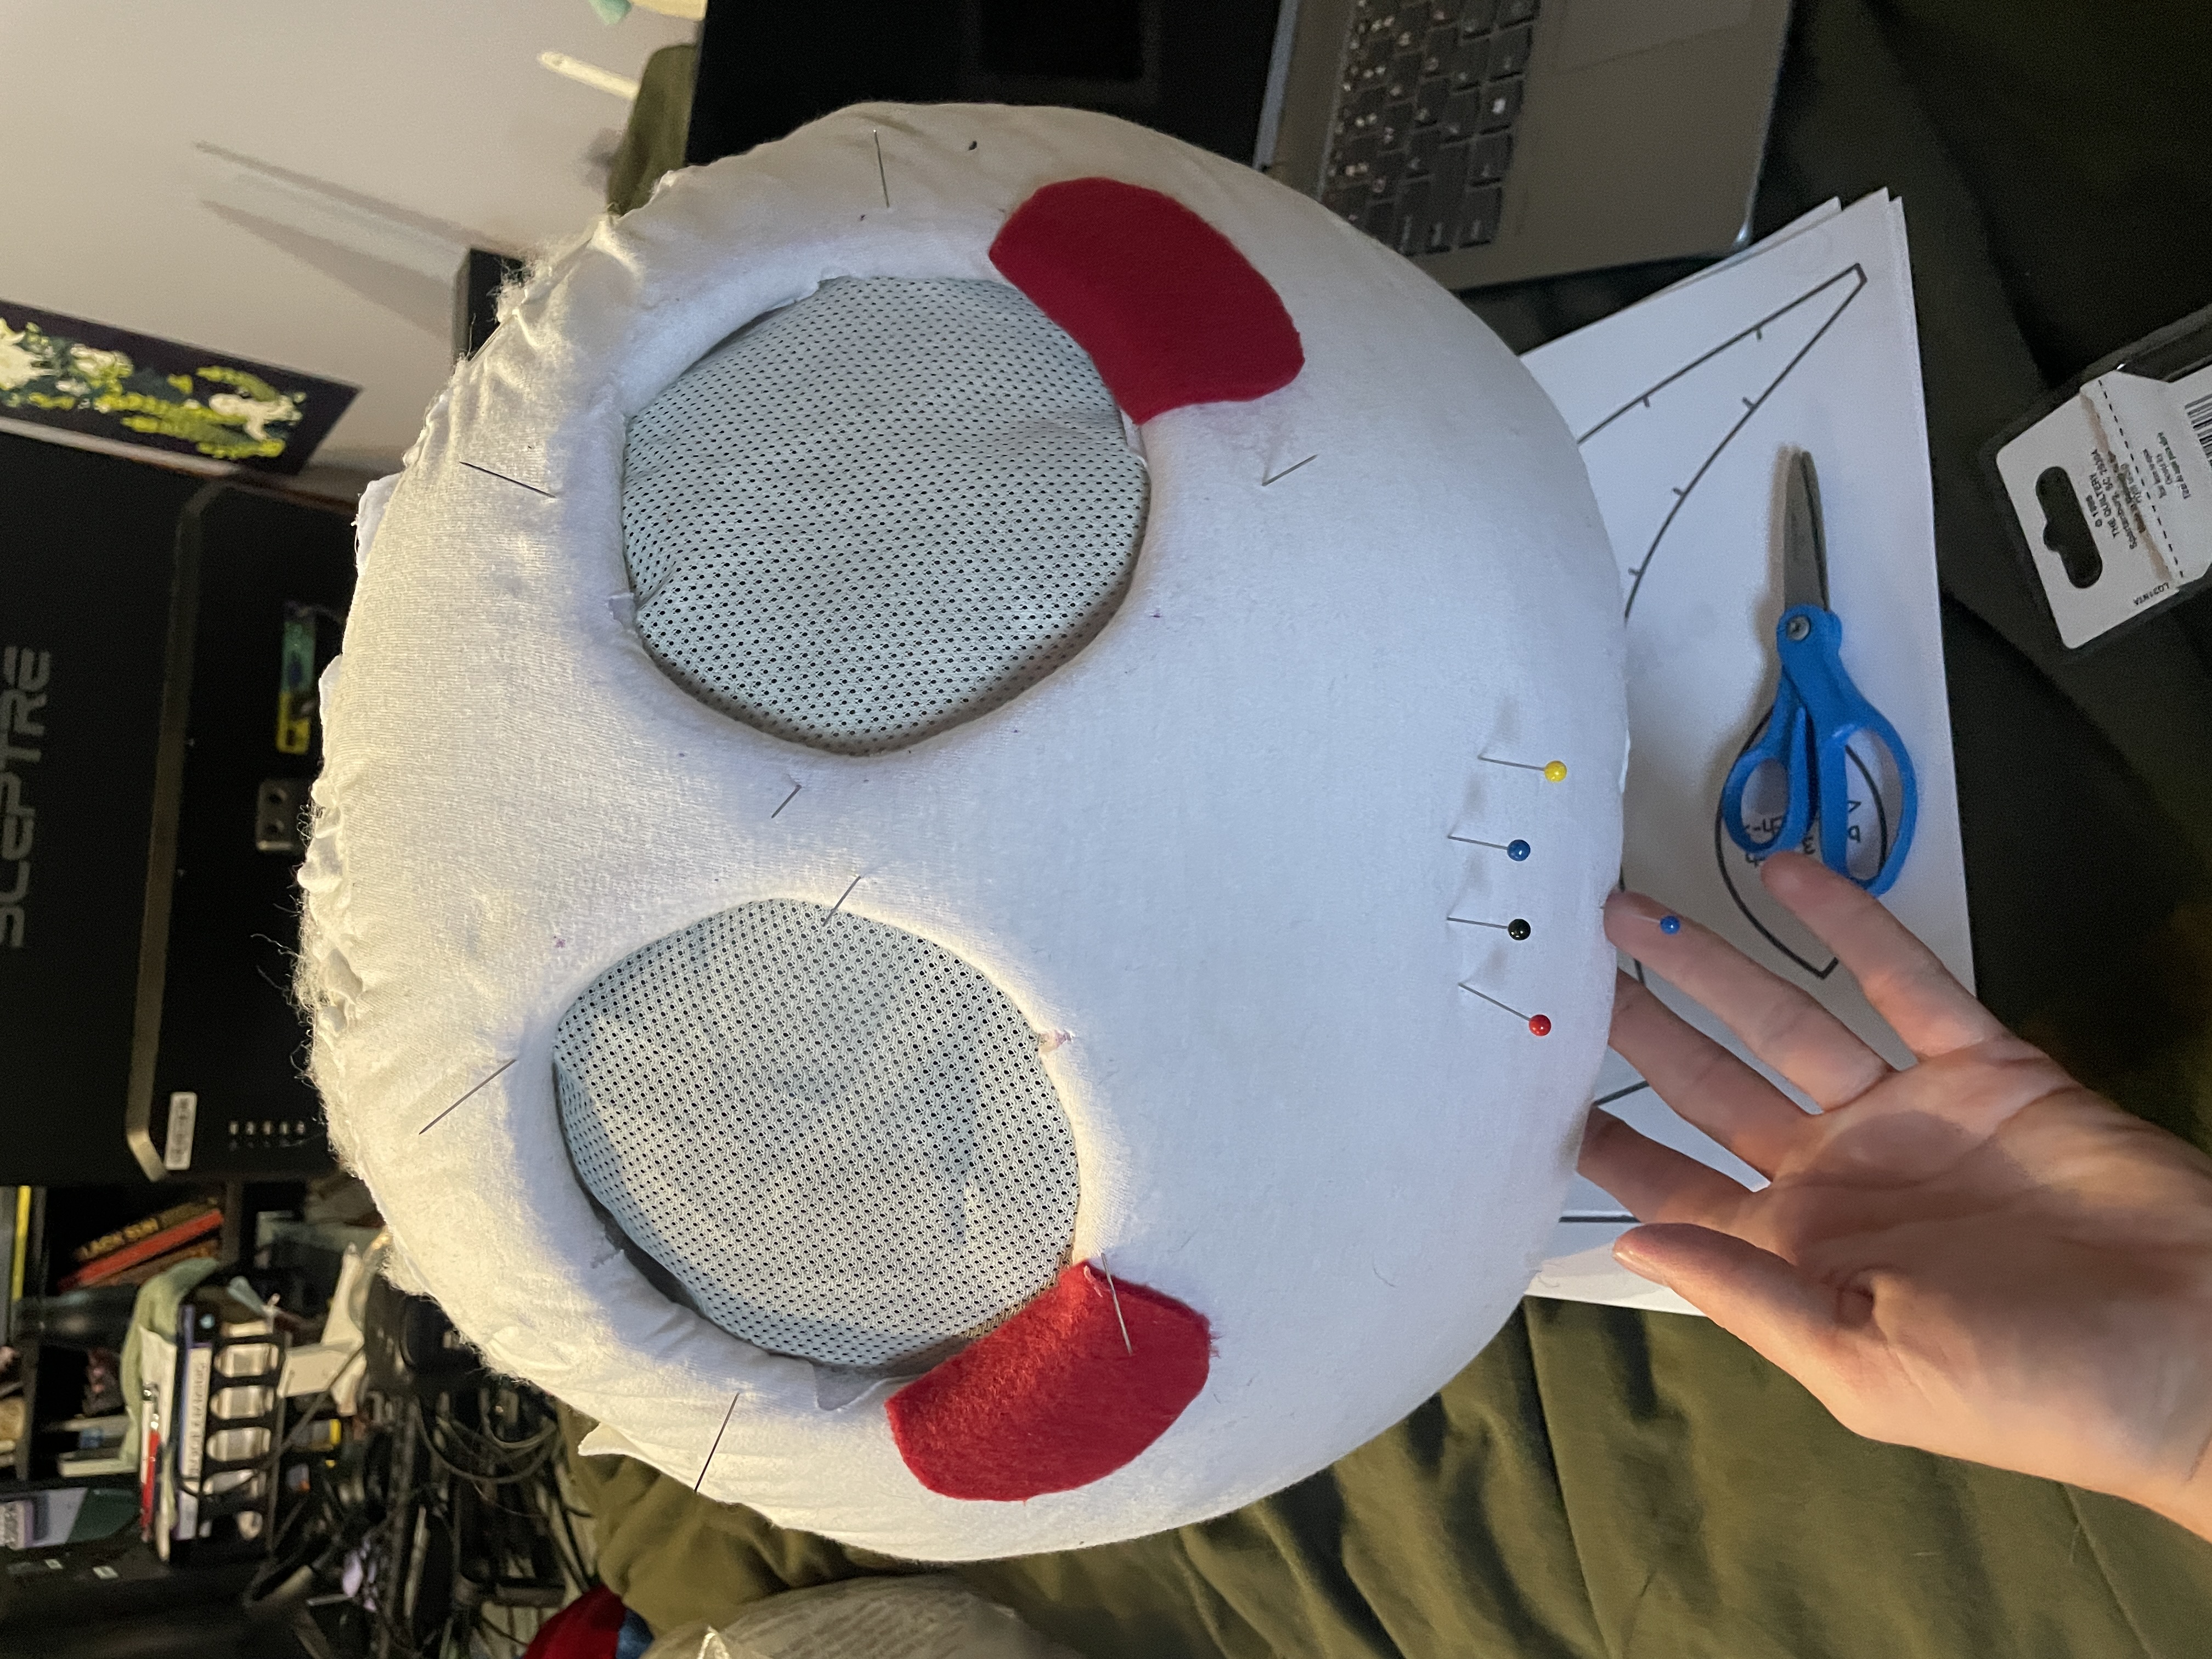
Next, I added mesh (also from my inheritance fabric) to the eye holes. The mesh was a light grey, so I painted it with several layers of white gouache to try to lighten the color without ruining to ability to see through it. I also hot-glued some pieces of felt for the cheek blush (hot glue was definitely my friend for this part). I didn't take progress photos of this either, but I painted the irises/pupils, also with gouache, and added more felt for the outline of the eyes and the eyelashes. (picture later at full head reveal!)
Now, it was time for the hat! I used this pattern from Etsy for the hat. I measured my head and the mascot head, and conveniently, the mascot head had twice the circumference of my head. This meant I could just scale up the pattern pieces to 200%, print and assemble (well, after some png-splitting shenanigans). At this point I was well into con-crunch time, so I was focusing more on getting it done than documenting the process.

The (almost complete) head! After making the hat, I attempted to stuff it with more polyfil, but it was so heavy that the head was sliding around too much. I ended up taking some unused garden mesh, scrunching it up, and using that to fill the hat (plus small amounts of polyfill to smooth out key areas). After cutting out some felt pieces for the hair, I glued on the hair and the hat with more hot glue.
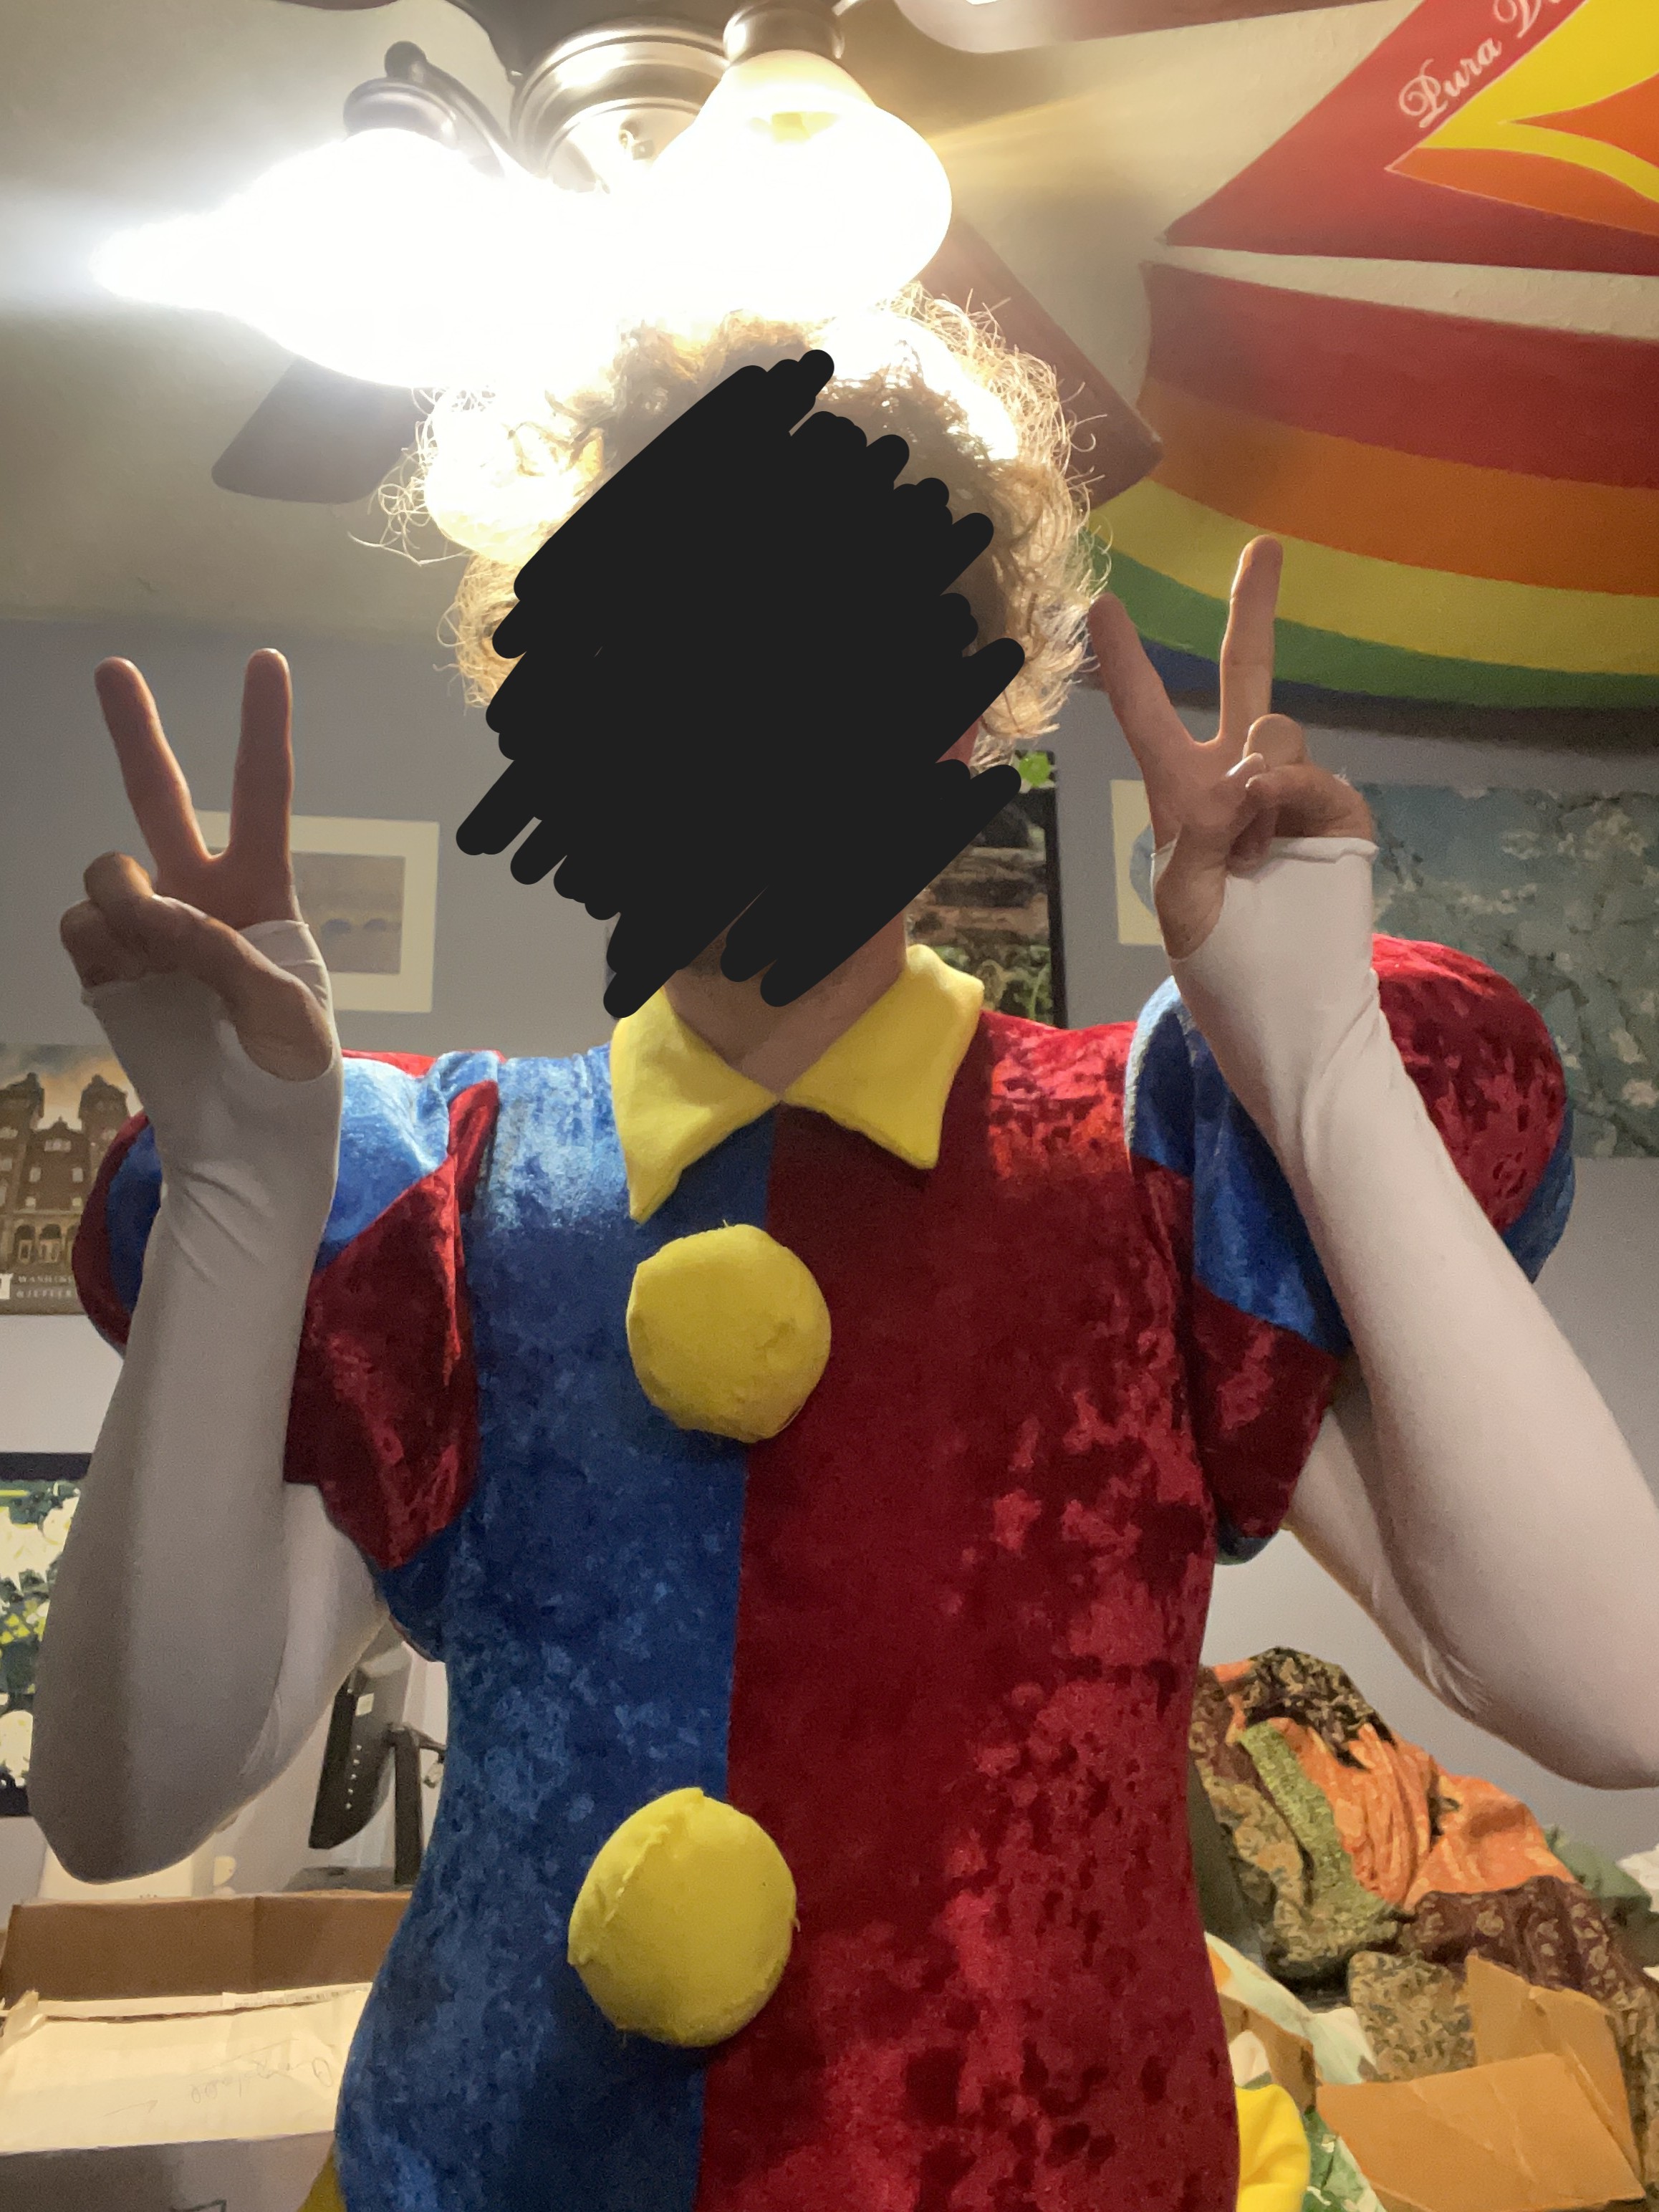
The head's all done! Now for all the small things left that didn't get done yet: shoes, gloves-- oh yeah, and my other cosplay for the convention, which hadn't been started yet at that point. But that's a story for another day, lmao.
For the shoes, I just traced an old pair of converse onto two layers of fabric, sewed them together, and hot glued them onto the shoes. For the gloves, I traced my hands on two layers and sewed them together-- and then redid it about 10 times because I kept fucking it up. But we got there in the end! And now, for the big reveal:
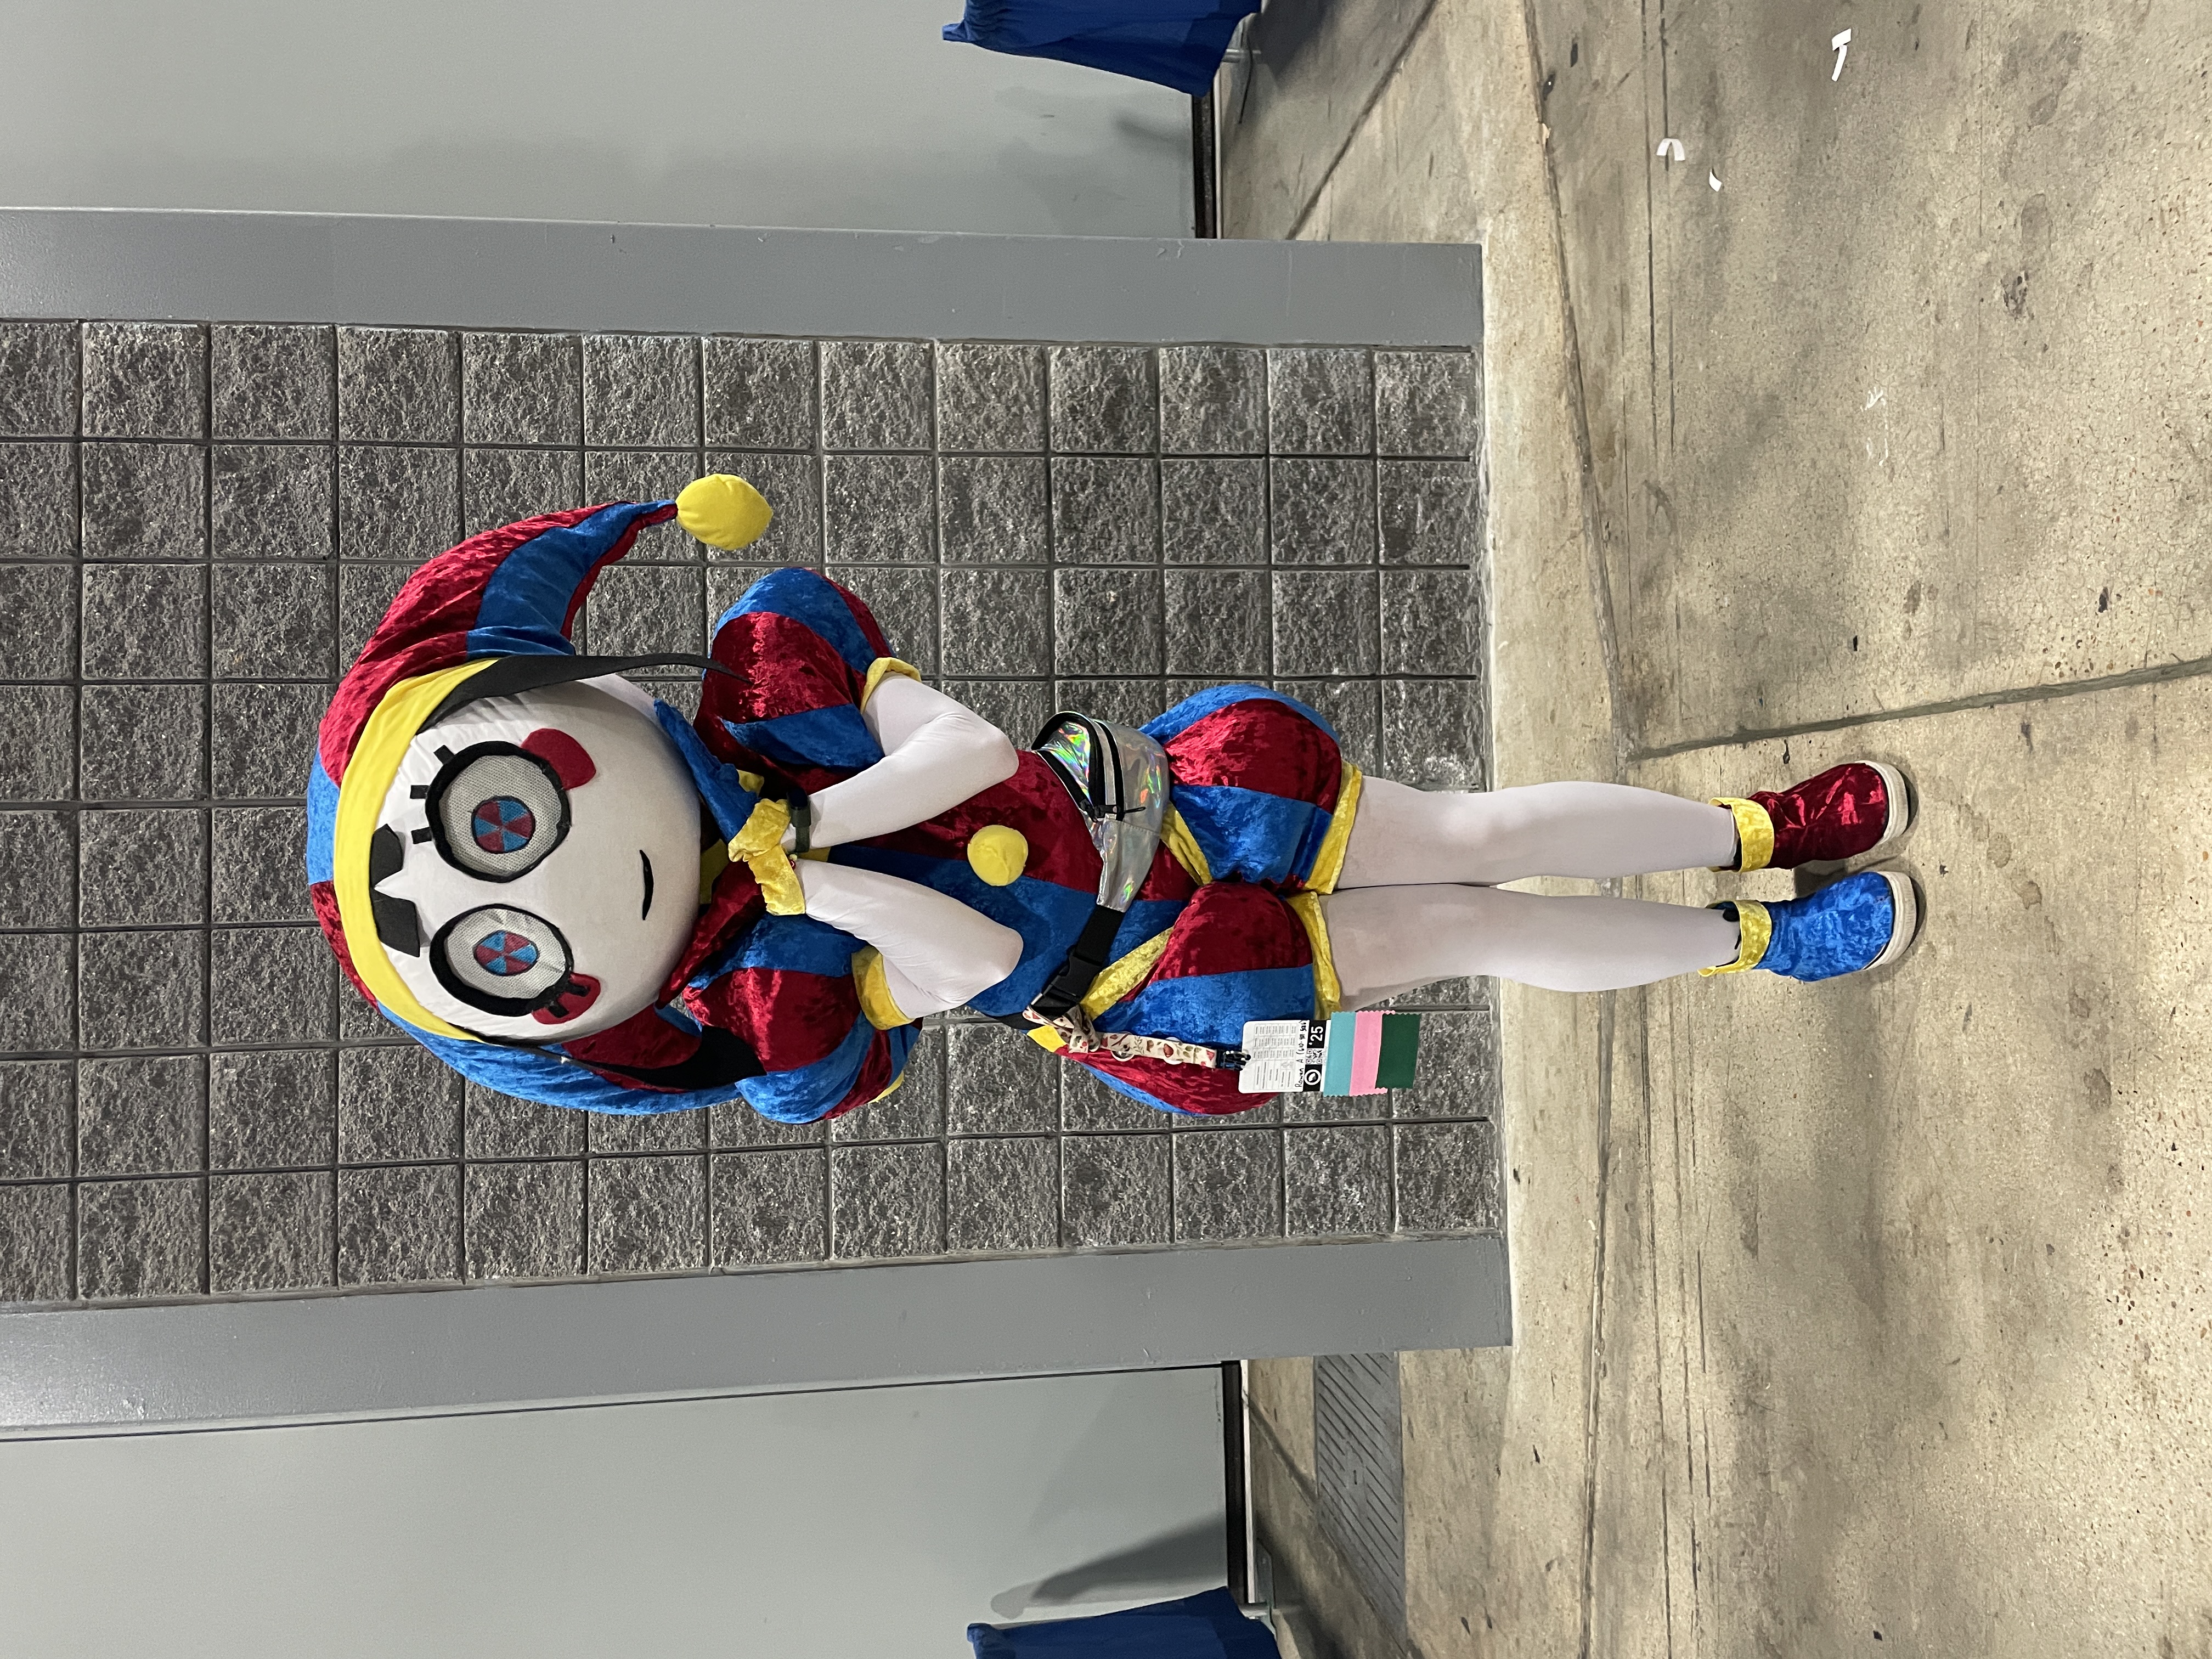
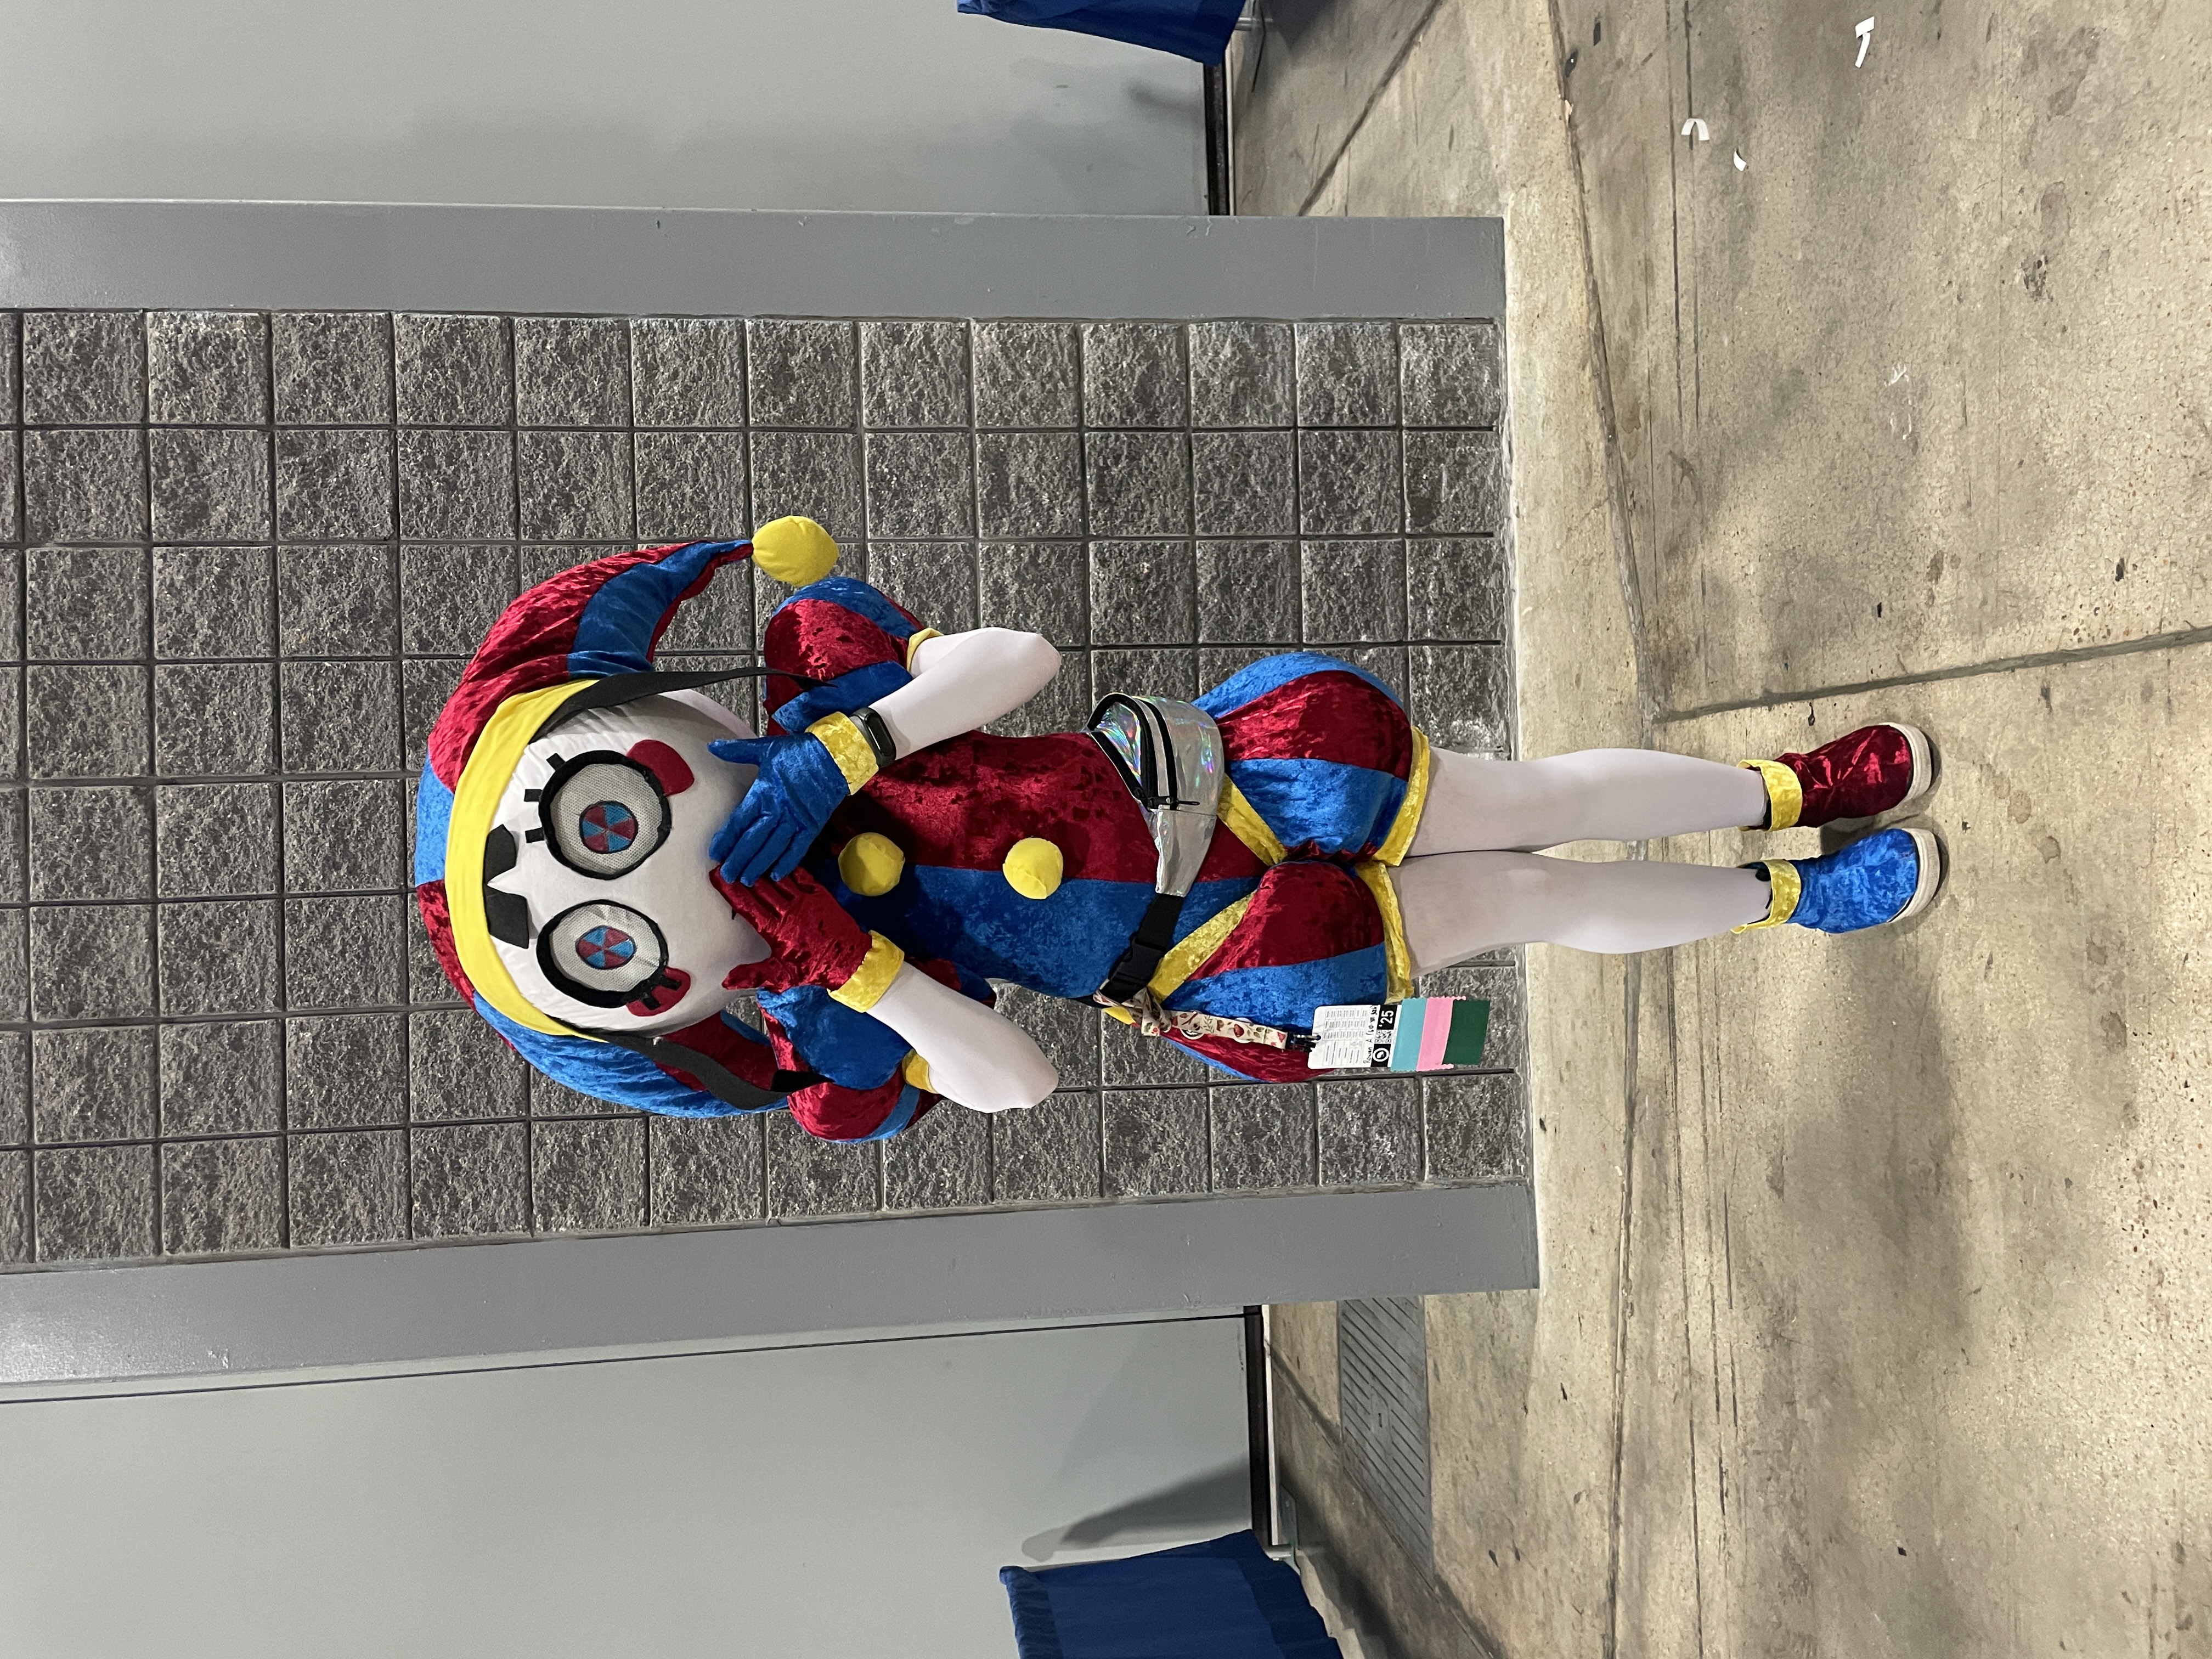
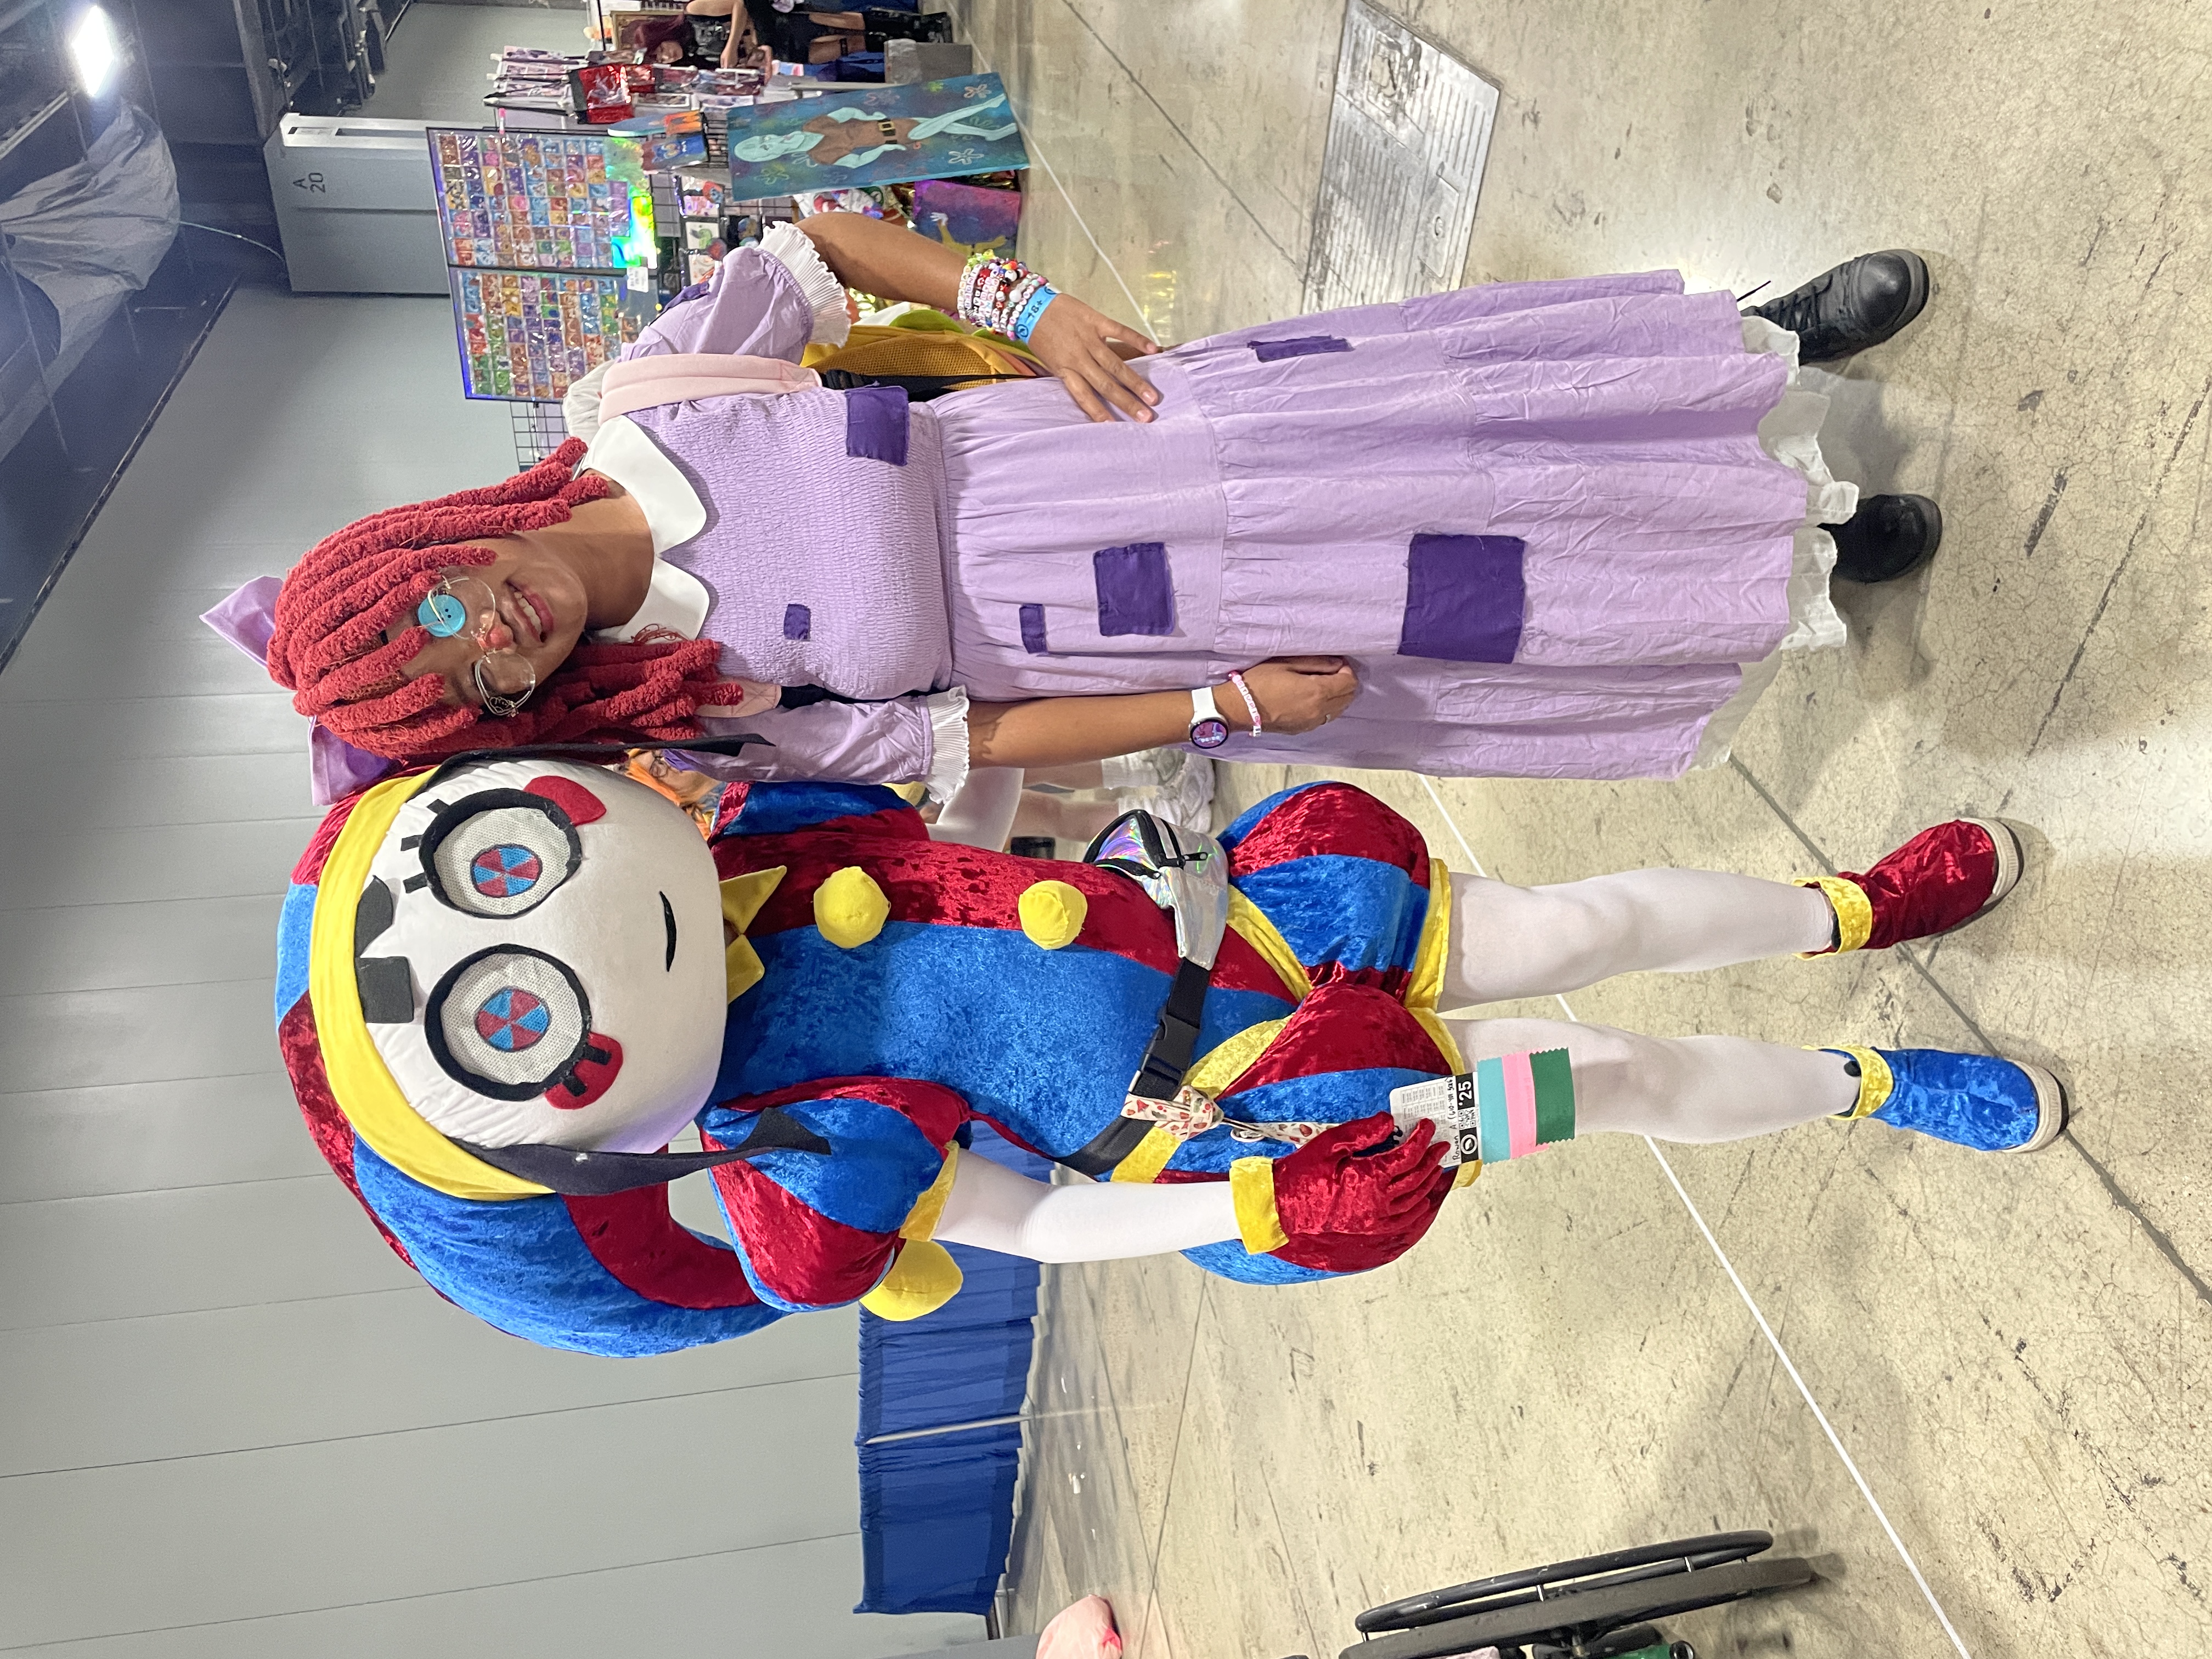
Thank you to everyone at Otakon 2025 for showing Pomni so much love! I'm super excited to wear her again in the future-- hopefully with some minor improvements to look a bit more neat (and maybe be competition worthy?)